Figure Images
Incorporate multiple images, videos, and other multimedia
Quire books are visual and as a publishing tool, it is built to support the use of images for scholarly purposes. On this page, we explain where images are placed in the project and how you can manage them. We recommend using the figures.yml file to manage all the information about your images, and then inserting them into your Markdown documents where they are needed with the q-figure shortcode. As a reminder, a shortcode is a simple snippet of code inserted in a Markdown file that pulls in information from other files in your project.
Include Figure Image Files in Your Publication
Figure image files should be placed in the static/img/ directory. It is defined in your project’s config.yml file with the parameter imageDir: "/img/" and the directory can be changed if needed.
[Note] You can organize figures into sub-directories within the img folder, but you will need to include those directories along with the filename when defining the src attribute for the figure, as noted below.
Quire does not require a specific image file format or size, but we have some recommended best practices:
- Use JPEG, PNG, or GIF.
- If your project is web-only, 800 pixels is fine for most images, whereas 1,800 pixels on the longest side will provide both a decent web experience and work for printing in the PDF without being too large a file size.
- Watch out for file sizes, especially on animated gifs which can get to be multiple megabytes quite quickly. Use software when possible, and consider the total number of images on a given page when choosing sizes.
Create a figures.yml File for Figure Image Metadata
For most publications, or, at least, those with more than just a handful of images, figures and all their associated attributes can be listed in the figures.yml file, which should be placed in your data folder. This figure image metadata can then be called from wherever you need it in your project with a shortcode. See the API-DOCs section for complete details on possible figure attributes, but below there is a very simple example with id and src (required attributes) and alt (recommended attribute).
- id: "1.1"
  src: "clyfford-still_untitled96.jpg"
  alt: "detail of painting showing jagged brushstrokes in browns and reds"
- id: "1.2"
  src: "portrait-of-still.jpg"
  alt: "photograph of a frowning older man in brown jacket and fedora"
Also available are the attributes caption, credit, media_id, media_type, aspect_ratio, and label_text.
- If your figures are organized in sub-directories within your
static/img/directory they should appear as part of the file path undersrc, otherwise, only the filename is needed.
Insert Figure Images with q-figure Shortcode
Assuming each YAML figure entry in the figures.yml file includes a unique id (with a value in quotes: “1.1” not 1.1), you can insert a figure in your publication with only the id attribute in the shortcode, and all of the other attributes, such as captions or credits, defined in the YAML for that figure will be automatically included.
Figure shortcodes should be inserted on their own line of your Markdown file, not within the text of a paragraph. A basic use of the q-figure shortcode would look like this:
{{< q-figure id="1.2" >}}
If you include an attribute in the shortcode that is also in the figures.yml file, the figures.yml version is overridden. This can be useful when, for example, a figure is used in multiple locations and you want different captions.
{{< q-figure id="1.2" caption="" >}}
- Leaving an attribute blank, as in the caption example above, can also be used to display no caption at all, even if one is present in
figures.yml. - Attributes may be called within the shortcode in any order.
{{< q-figure id="1.2" caption="" >}}is the same as{{< q-figure caption="" id="1.2" >}}. - Always use the figure shortcodes on their own lines in your Markdown documents, in between paragraphs. Never within a paragraph. Traditionally, figures will be placed directly after the paragraph in which they were first referred to.
Label Figure Images
By default, all figure images are labeled automatically, either at the start of the caption or just under the image itself in the case of a figure group with a single group caption (see below). You can turn off this behavior in the config.yml file by switching the value figureLabels: true to figureLabels: false.
Figure labels are constructed with the id of the image and the figureLabelsTextBefore figureLabelsTextAfter values defined in your config.yml file. For example, if the id value is “12.3” and the figureLabelsTextBefore value is “Figure “, and figureLabelsTextAfter value is “. “, the resulting label would be “Figure 12.3”.
To customize the label text on a figure-by-figure basis, use the label attribute in the YAML attributes for your figure. Any text there will override the automatically constructed version.
To remove a label from a specific figure or a group of figures, add label="false" to the shortcode. Or, in reverse, if you already have figureLabels: false set in your config.yml file, use label="true" in the shortcode to show a label for that figure.
Style Figure Images
Depending on your , by default, figures will appear at about the width of the full-column of text. Modifier classes can be added to a shortcode to style the way the figures appear. Available classes are is-pulled-left and is-pulled-right. Classes are added just like other attributes in the shortcode.
{{< q-figure id="1.2" class="is-pulled-left" >}}

is-pulled-right and is-pulled-left added to their shortcode.- Some themes may offer additional options, and styles may be edited and new styles added in any theme with .
Create and Style Figure Groups with q-figure-group Shortcode
If your project uses a figures.yml file, you can also create a group of figures by using the q-figure-group shortcode and simply including multiple, comma-separated values in the id field.
{{< q-figure-group id="1.1, 1.2" >}}
In the above example, each figure’s caption will be included in the grouping. Alternatively, if you add a caption attribute directly in the shortcode, it will override those present in the figures.yml file and display with the group alone as a single, group caption.
Just as with the single q-figure shortcode, classes can be added to groups to style them. For example, to create a small group of images running along one side of your text.
{{< q-figure-group class="is-pulled-left" id="1.1, 1.2" >}}
In addition to all the attributes available to the q-figure shortcode, the q-figure-group extension also supports the grid attribute to specify a preferred grid width. In the below example, a grid="2" is specified and so the gallery grid will be 2 images wide at your publication layout’s full-size. Alternately, if you specified grid="4" the grid would be 4 images wide, making each image relatively smaller.
{{< q-figure-group grid="2" id="1.1, 1.2, 1.3, 1.4" >}}
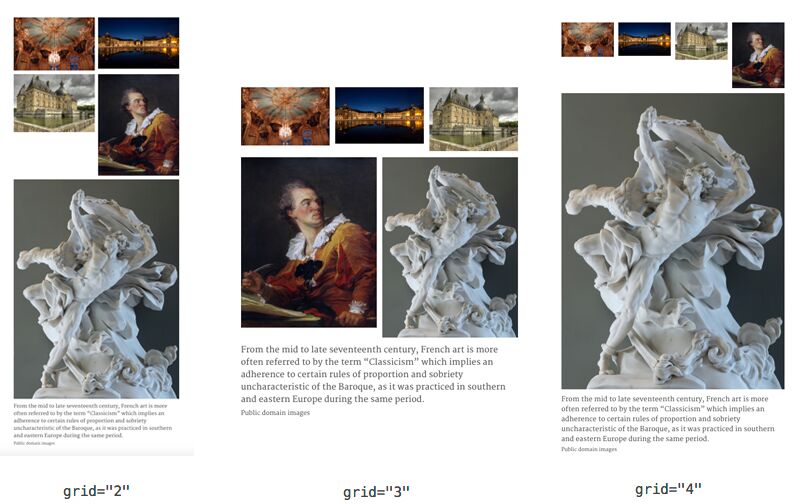
- Note that this is only a preferred grid width. With Quire’s responsively designed templates, the specific width of images is variable and their position relative to one another may also change depending on a reader’s device. For instance, on a large monitor, four images in a group may appear side-by-side in a row, whereas on a phone, they would most likely be in a 2 x 2 grid, or stacked one on top of another. This responsiveness also means that group captions that use language like “From left to right” or “Clockwise from upper left,” will only be correct some of the time. To avoid this issue and ensure a clear reading experience across all devices and publication formats we recommend labeling figures individually.
Add Video Figures
Videos can be embedded in your publication the same way as other figure images, using either of the two figure shortcodes. The difference is in the figures.yml file where you’ll need to include a media_id and a media_type attribute for any video, along with an optional aspect_ratio attribute.
Quire supports video embeds from either YouTube (media_type: youtube) or Vimeo (media_type: vimeo). The media_ids can be found in the URLs of the videos you wish to embed. For example, in https://www.youtube.com/watch?v=VYqDpNmnu8I or https://youtu.be/VYqDpNmnu8I, the media_id would be VYqDpNmnu8I; and in https://vimeo.com/221426899 it is 221426899.
- id: 1.5
  src: videostill.jpg
  media_id: VYqDpNmnu8I
  media_type: youtube
The
srcimage provided in this example is a frame from the video and will be used in place of the video in the PDF and EPUB versions of your publication. In Quire this is referred to as a fallback. Along with the fallback image, Quire will also automatically append a link to the video following the caption.Like the image labels this is controlled in the project’s
config.ymlfile withvideoFigureFallbackText: true,videoFigureFallbackTextBefore: "Watch the video at "andvideoFigureFallbackTextAfter: ".".
- Note that on YouTube, videos can be filed as “Unlisted” and this will let you embed the video, but will not include the video on your channel page, or in YouTube’s general search engine.
Add Tables
In addition inserting tables in your project as Markdown, can you also embed tables as HTML files (a format which enables more complex formatting). In the static/img/ directory of your project create a new folder called tables. Create an .html file in that folder that follows the structure below:
<table>
  <thead>
    <tr>
      <th>Heading 1</th>
      <th>Heading 2</th>
    </tr>
  </thead>
  <tbody>
    <tr>
      <td>table data row 1 column 1</td>
      <td>table data row 1 column 2</td>
    </tr>
    <tr>
      <td>table data row 2 column 1</td>
      <td>table data row 2 column 2</td>
    </tr>
    <tr>
      <td>table data row 3 column 1</td>
      <td>table data row 3 column 1</td>
    </tr>
  </tbody>
</table>
- Use a free conversion tool like Text Fixer to quickly convert Word tables to HTML. You may still need to clean up the HTML, but for long tables, it is much faster than creating them by hand.
Now that you’ve created your .html file you will need to add the table information to the figures.yml. Similarly to embedding audio clips and videos, you will need to add a media_type to the entry. In this case, the type would be table. Make sure the src matches the name of the .html file you added to the static/img/ directory.
- id: "table-1-1"
  src: "tables/table-1-1.html"
  media_type: table
  label: "Table 1.1"
Then use the q-figure shortcode as normal to insert the table into the page:
{{< q-figure id="table-1-1" >}}
For more information on HTML tables check out the Mozilla website.
Add Basic Figures
If you are not using a figures.yml file, figures—including still images and animated gifs but not video—can be inserted in any Markdown document in your publication with the q-figure shortcode, where src is the name of your file as it appears in the static/img/ directory of your project.
{{< q-figure src="fig01.jpg" >}}
Additionally, you can add caption, credit, class, and id attributes in this manner.
Using Alt Text
Unless the figure is purely decorative, it should always also include an alternate textual description (alt) for the use of screen readers and other assistive technologies. We recommend using alternate textual description for accessibility purposes. For more information check our Accessibility Principles.
{{< q-figure src="fig01.jpg" alt="detail of painting showing diagonal brushstrokes in browns and reds" >}}