Style Customization
Alter look and feel with custom styles and themes
The look and feel of your Quire publication can be customized at four different levels of complexity:
- Changing style in the
- Adding new style rules to the
custom.cssfile - Overriding specific theme with your own custom version
- Creating an entirely new Quire theme.
Change the Theme Style Variables
When you first start a new Quire project by running the command quire new, a default theme is installed in the project’s themes directory. This default theme includes a number of default style variables that will let you update text and background colors, some element sizes, fonts, paragraph indents, and more. This allows relatively easy customization without the need to dig into the stylesheets and CSS markup. A complete list of these variables includes information about the customizations available.
To find the variables, open the themes/default directory, navigate to the source sub-directory, and then css, and open the file called variables.scss.
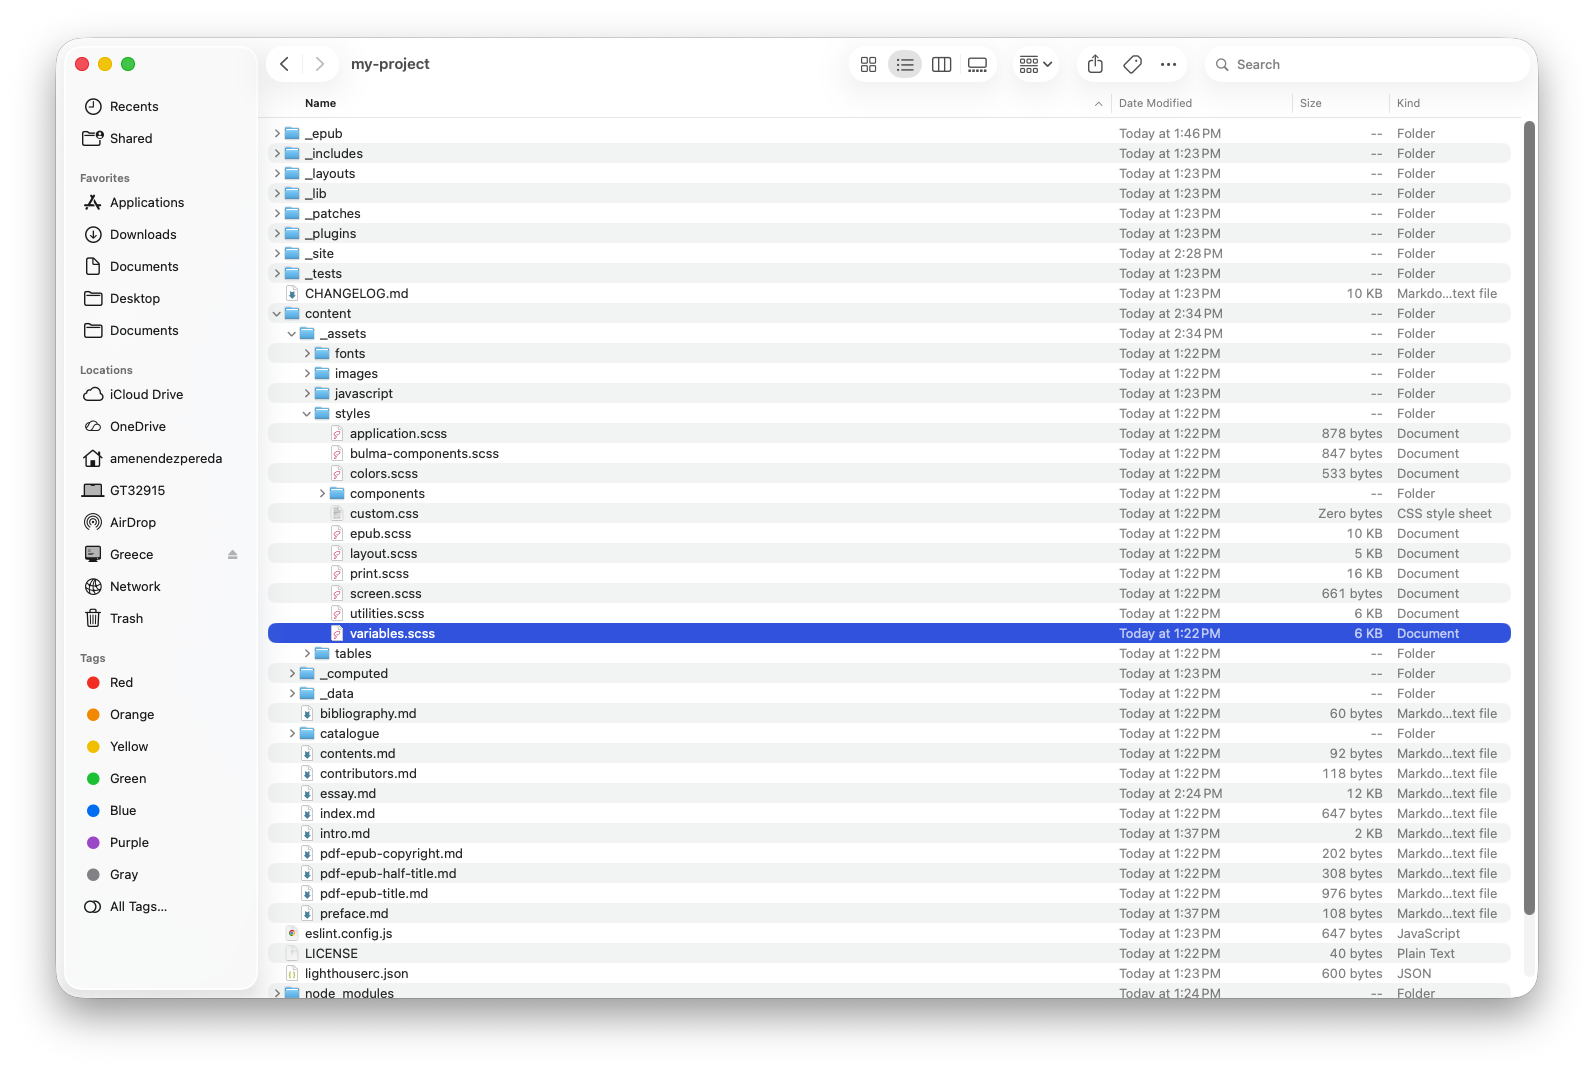
variables.scss file in the in the Z_assets/styles/ directory.The variables are prefixed with a dollar sign and are descriptive of what they control. For instance $quire-navbar-background-color is the background color of the navigation bar at the top of every page. To make it red, you could enter:
$quire-navbar-background-color: red;
Colors are expressed a number of different ways, none of which are better or more supported than the others, so you can use your preference. Most common are:
- The standard 140 such as
red,royalblue, andhoneydew - The many possible like
#FF0000,#4169E1, and#F0FFF0 - like
rgb(255, 0, 0),rgb(65, 105, 225), andrgb(240, 255, 240)
- You must have the
quire previewcommand running in your command-line interface to see changes you make to thevariables.scssfile. You may also need to refresh your browser page or clear the browser cache to get the style changes to fully load.
Add Custom Styles
In your project’s static directory, there is a css directory with a blank custom.css file.
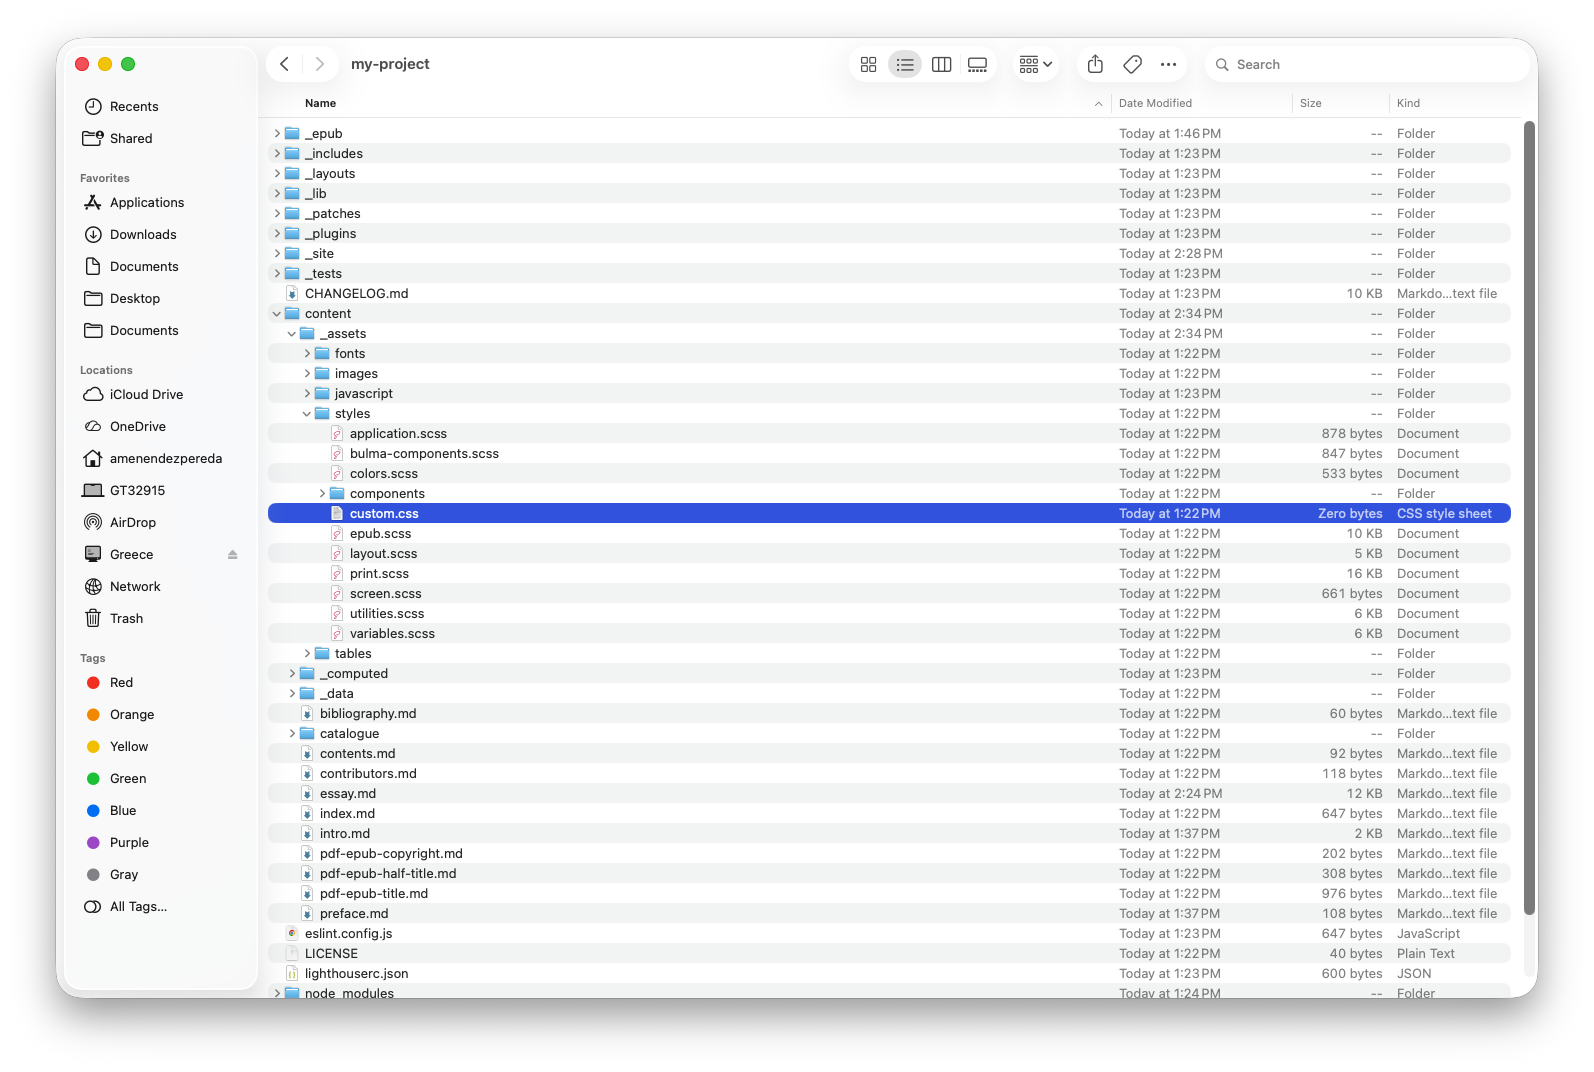
_assets/styles/ directory.Any you add here, will be added to your site’s styles. For example, let’s say you’d like a particular line of text in one of your files to be red. You could wrap that text in <span> HTML tags and give it a class.
<span class="red-text">This text should be red</span>
And then in your custom.css file, add a style rule for that class:
.red-text {
  color: red;
}
Custom like this can also be used in conjunction with the q-class shortcode. While you can add <span> HTML tags within lines and paragraphs of text, in Markdown you can’t do the same with <div> or <section> tags across multiple paragraphs. Instead, you can use the q-class shortcode to assign any class to all the Markdown within the opening and closing shortcode tags.
{{< q-class "red-text" >}}

This entire paragraph should be red.

As should the paragraph after it.

{{< /q-class >}}
Styles added to the custom.css file will also override any existing styles already in use in your . For example, the following option would apply the style to any element with a of "title" anywhere in your publication.
.title {
  color: red;
}
To determine the selectors for any in your browser of choice with your publication previewing, control-click (Mac) or right click (PC) on the element and select “Inspect element”. This will show you the HTML markup for your site, along with all the names and elements, and even the styles that are currently being applied to that .
The more specific you can be with your , the more likely the style will only be applied to the specific element you want. For example, if you wanted the page title on a specific page to be a different color than the titles on the rest of the pages, you could determine the for that element on that page and apply a style rule to it without changing the styles on any other element or page. This example limits the style to the title in the page header of that one page:
#chapter-one .quire-page__header .title {
  color: red;
}
In the above example, we are selecting the element with a of "title" that is inside an element with the class of "quire-page__header" (both of which start with a period . to indicate ), that is inside an (in this case an element representing the page itself) with an of "#chapter-one" (which starts with a hashmark to indicate id).
- In Quire, page ids are unique, and can be found on the
<div>element that has the"quire-primary". By using the in your custom , you are targeting only that page, not all"quire-primary"s throughout your publication.
- Exceptionally, if somewhere there is a more specific that’s applying a style to an element, it will override the less specific one — even if it’s in your
custom.cssfile. If you are trying to apply a more global style change like this and you find it’s not working, it may be because your is too generic and there is a more specific rule elsewhere in your theme’s styles that is overriding your more general one. The “Inspect element” tool will point to what combination of CSS selectors are actually applying the final style as it’s seen in the browser window.
Override Theme Templates
changes like those mentioned above are best for restyling existing elements. If you’d like to make a more structural change, say, to rearrange elements on the page, or add new elements altogether, you’ll need to alter the files that come in the . That said, other than changing the in variables.scss file, as described above, it’s usually best not to make other changes directly in the theme itself. By not doing so, it’s easier to update your theme or switch out other themes later, not to mention easier to undo changes you’ve made.
For modest changes to the theme , we recommend creating new override files. Much like the custom.css file can be used to override styles in the project theme, you can also have files to override templates. There are none in the default starting project, so you’ll need to start creating a new layouts directory folder in the main directory of your project. Any files you put in this layouts directory will override the corresponding files in the layouts directory of your theme. This includes page templates, partial templates, and shortcodes.
For example, let’s say you want to customize the layout of all the pages in your project with the type of "essay". In the theme layouts directory you’ll find that there’s a sub-directory called essay with a file in it called single.html. This is the template that controls the "essay" pages. You can see there’s a page header, an abstract, the main content (.Content) of the , and a page bibliography.
{{ define "main" }}
<article class="quire-page" id="main" role="main">

  {{ partial "page-header.html" . }}

  {{ if .Params.abstract }}
  {{ partial "page-abstract.html" . }}
  {{ end }}

  <section id="content" class="section quire-page__content">
    <div class="container">
      <div class="content">
        {{ .Content }}
        {{ partial "page-bibliography.html" . }}
      </div>
    </div>
  </section>

</article>
{{ end }}
If you copy the essay subdirectory and its single.html file into the new layouts directory in your project’s main directory, this copy will override anything in the . So, if you delete the bibliography and rearrange the header and abstract in the copied file, that’s what Quire will use when building the site. It only changes the style of the header and abstract of your pages while the bibliography style remains intact.
{{ define "main" }}
<article class="quire-page" id="main" role="main">

  {{ if .Params.abstract }}
  {{ partial "page-abstract.html" . }}
  {{ end }}

  {{ partial "page-header.html" . }}

  <section id="content" class="section quire-page__content">
    <div class="container">
      <div class="content">
        {{ .Content }}
      </div>
    </div>
  </section>

</article>
{{ end }}
By default, Quire has a number of pre-defined page types like "essay", "entry", and "cover". To create a new page type, you would follow the model of the "essay" page type above, and create a directory with the name of the type and in that, have a file called single.html with the .
Whether in the or in your project directory, all shortcodes go in the layouts directory and shortcodes sub-directory. The name of the shortcode file corresponds to the way the shortcode is called in the files. So q-figure.html is the shortcode {{< q-figure >}}.
And if you make a mistake or change your mind later, you can simply delete the copy of the file and Quire will go back to using the original template as provided in the theme. This method can also be used to add completely new templates and even new shortcodes.