Quire Basics Tutorial
Get started with a walkthrough of Quire fundamentals
As you get started with Quire, it is important to familiarize yourself with the three core components that you will use to create, edit, and output your Quire project: a , a , and a . You will use the text editor to edit your publication files, the command-line shell to tell Quire what to do (like quire new to start a new project and quire pdf to build the PDF version), and the web browser to preview your work in real-time.
In the following sections, we’ll learn more about these interconnected components, and get you up and running in a demo Quire project.
1. Work in a Command-Line Shell
The first thing you’ll need is a command-line shell. Along with using it to run Quire, we’ll also use it to install some of Quire’s dependencies (the other programs required for Quire to function, such as Pandoc to create the e-book files and Node.js to run javascript).
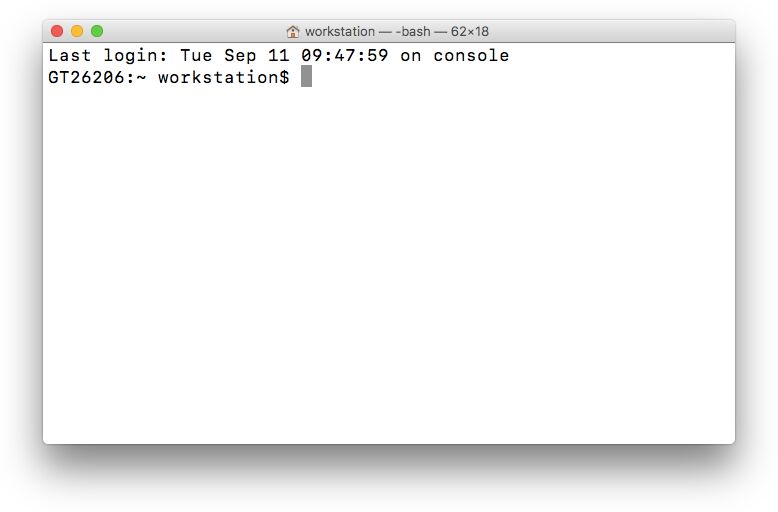
Macs already have a good shell installed. It’s called Terminal and it can be found in the Applications/Utilities folder (or press Command–Space Bar and type “Terminal” to search for it). For PCs, we recommend installing Git for Windows, which comes with a shell called Git BASH.
The shell is a text-based view of the contents of your computer, and a space where you can run program commands. It’s the equivalent of opening a Finder or File Explorer window on your computer that shows the contents of a particular folder (also known as a directory). When you open your shell, you will be in your by default. When installing Quire, all the relevant files will automatically be saved in this location.
With the shell open, you can type ls (list) to list the folders and files in your current location. Or type cd (change directory) and the name of one of those other folders (like cd Downloads), and the shell will take you into it.
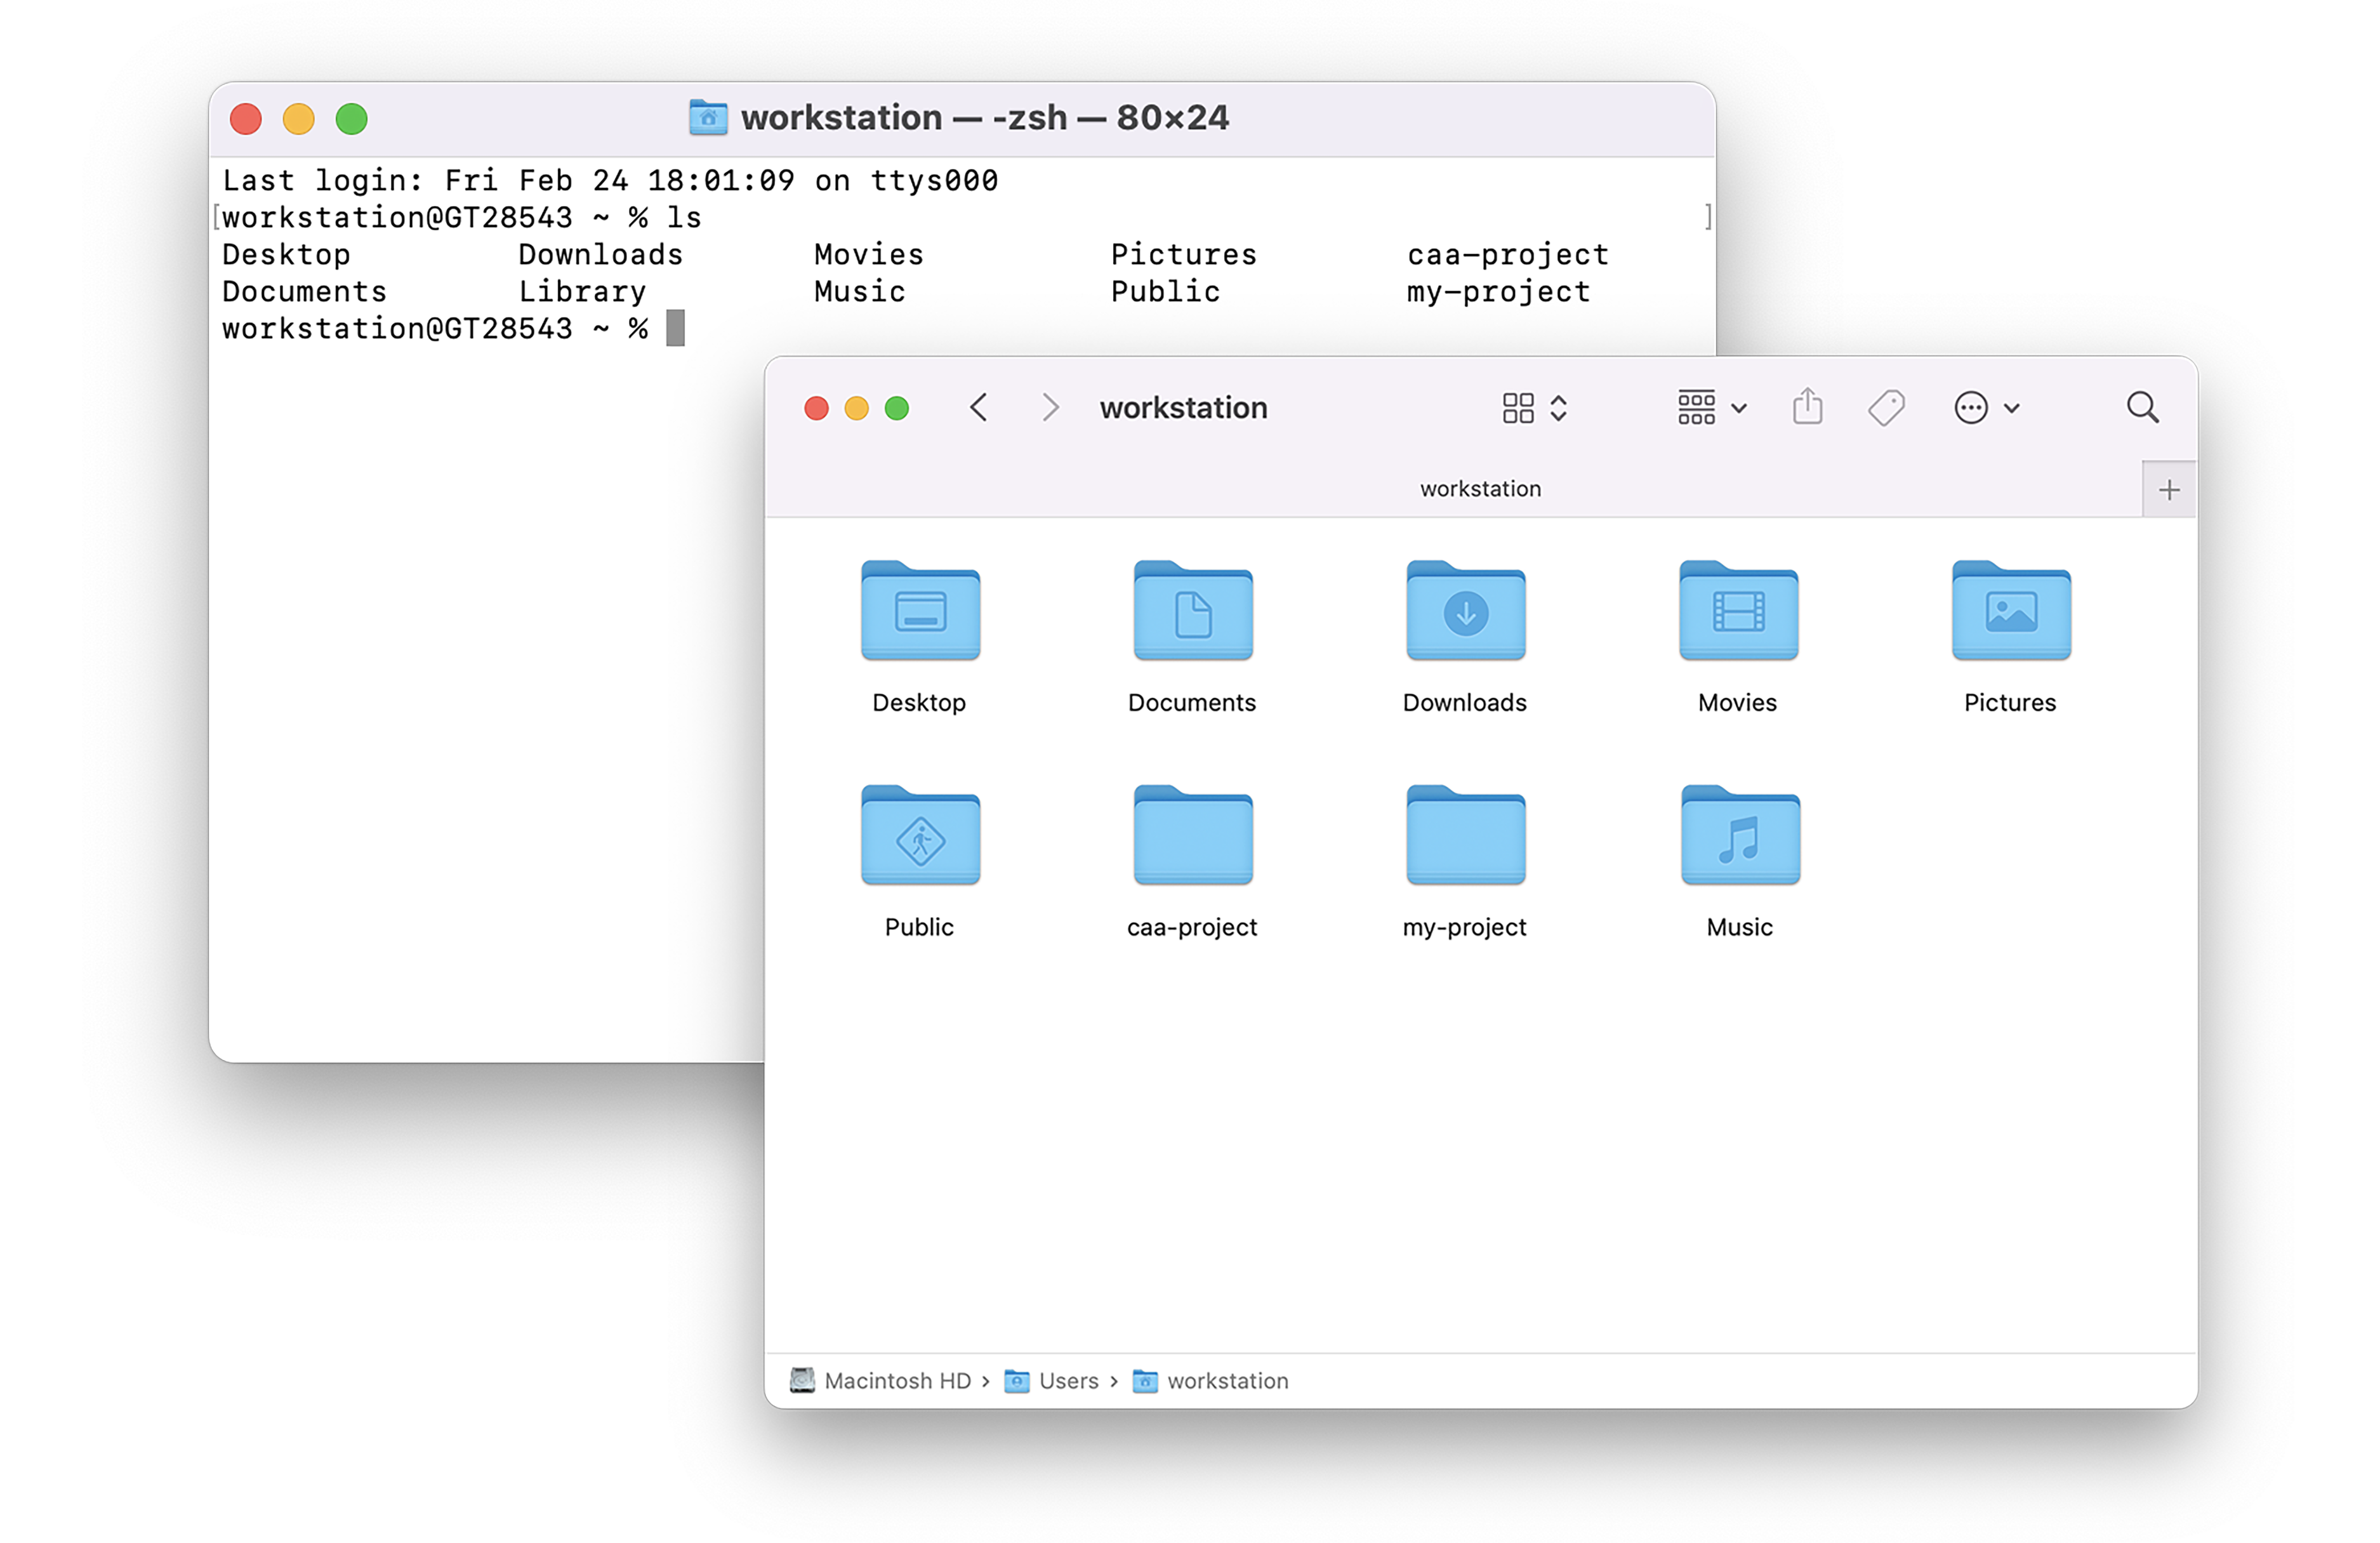
lslists all the files in the directory you’re incdfollowed by a space and a directory name, will move you into that directory:cd my-project.cdby itself will return you to your home directory!!will re-run the last command you entered- Pressing Control–C will stop any process running
- Typing
cdand then dragging and dropping the Quire directory icon into your shell will copy the full file path.
For a deeper dive into the command-line, check out a “Really Friendly Command Line Intro”, or the Programming Historian’s “Introduction to the Bash Command Line”.
2. Install Quire
Follow the links below to install Quire:
3. Create a New Project
To start a new Quire project, open your command-line shell and type quire new my-project. Quire will download a new starter project (a sample publication including content, images, and relevant metadata that you can build off of) into a folder named my-project in your home directory.
- You can call your project anything you want, it doesn’t have to be
my-project, but don’t use spaces, and we recommend lowercase.
Once the process is complete, still in your shell, type cd my-project and press enter (which means change directory into the folder called “my-project”, which was just created). Next type quire preview and press enter again.
cd my-project
quire preview
To see the preview of your new starter, open your browser and go to http://localhost:1313.
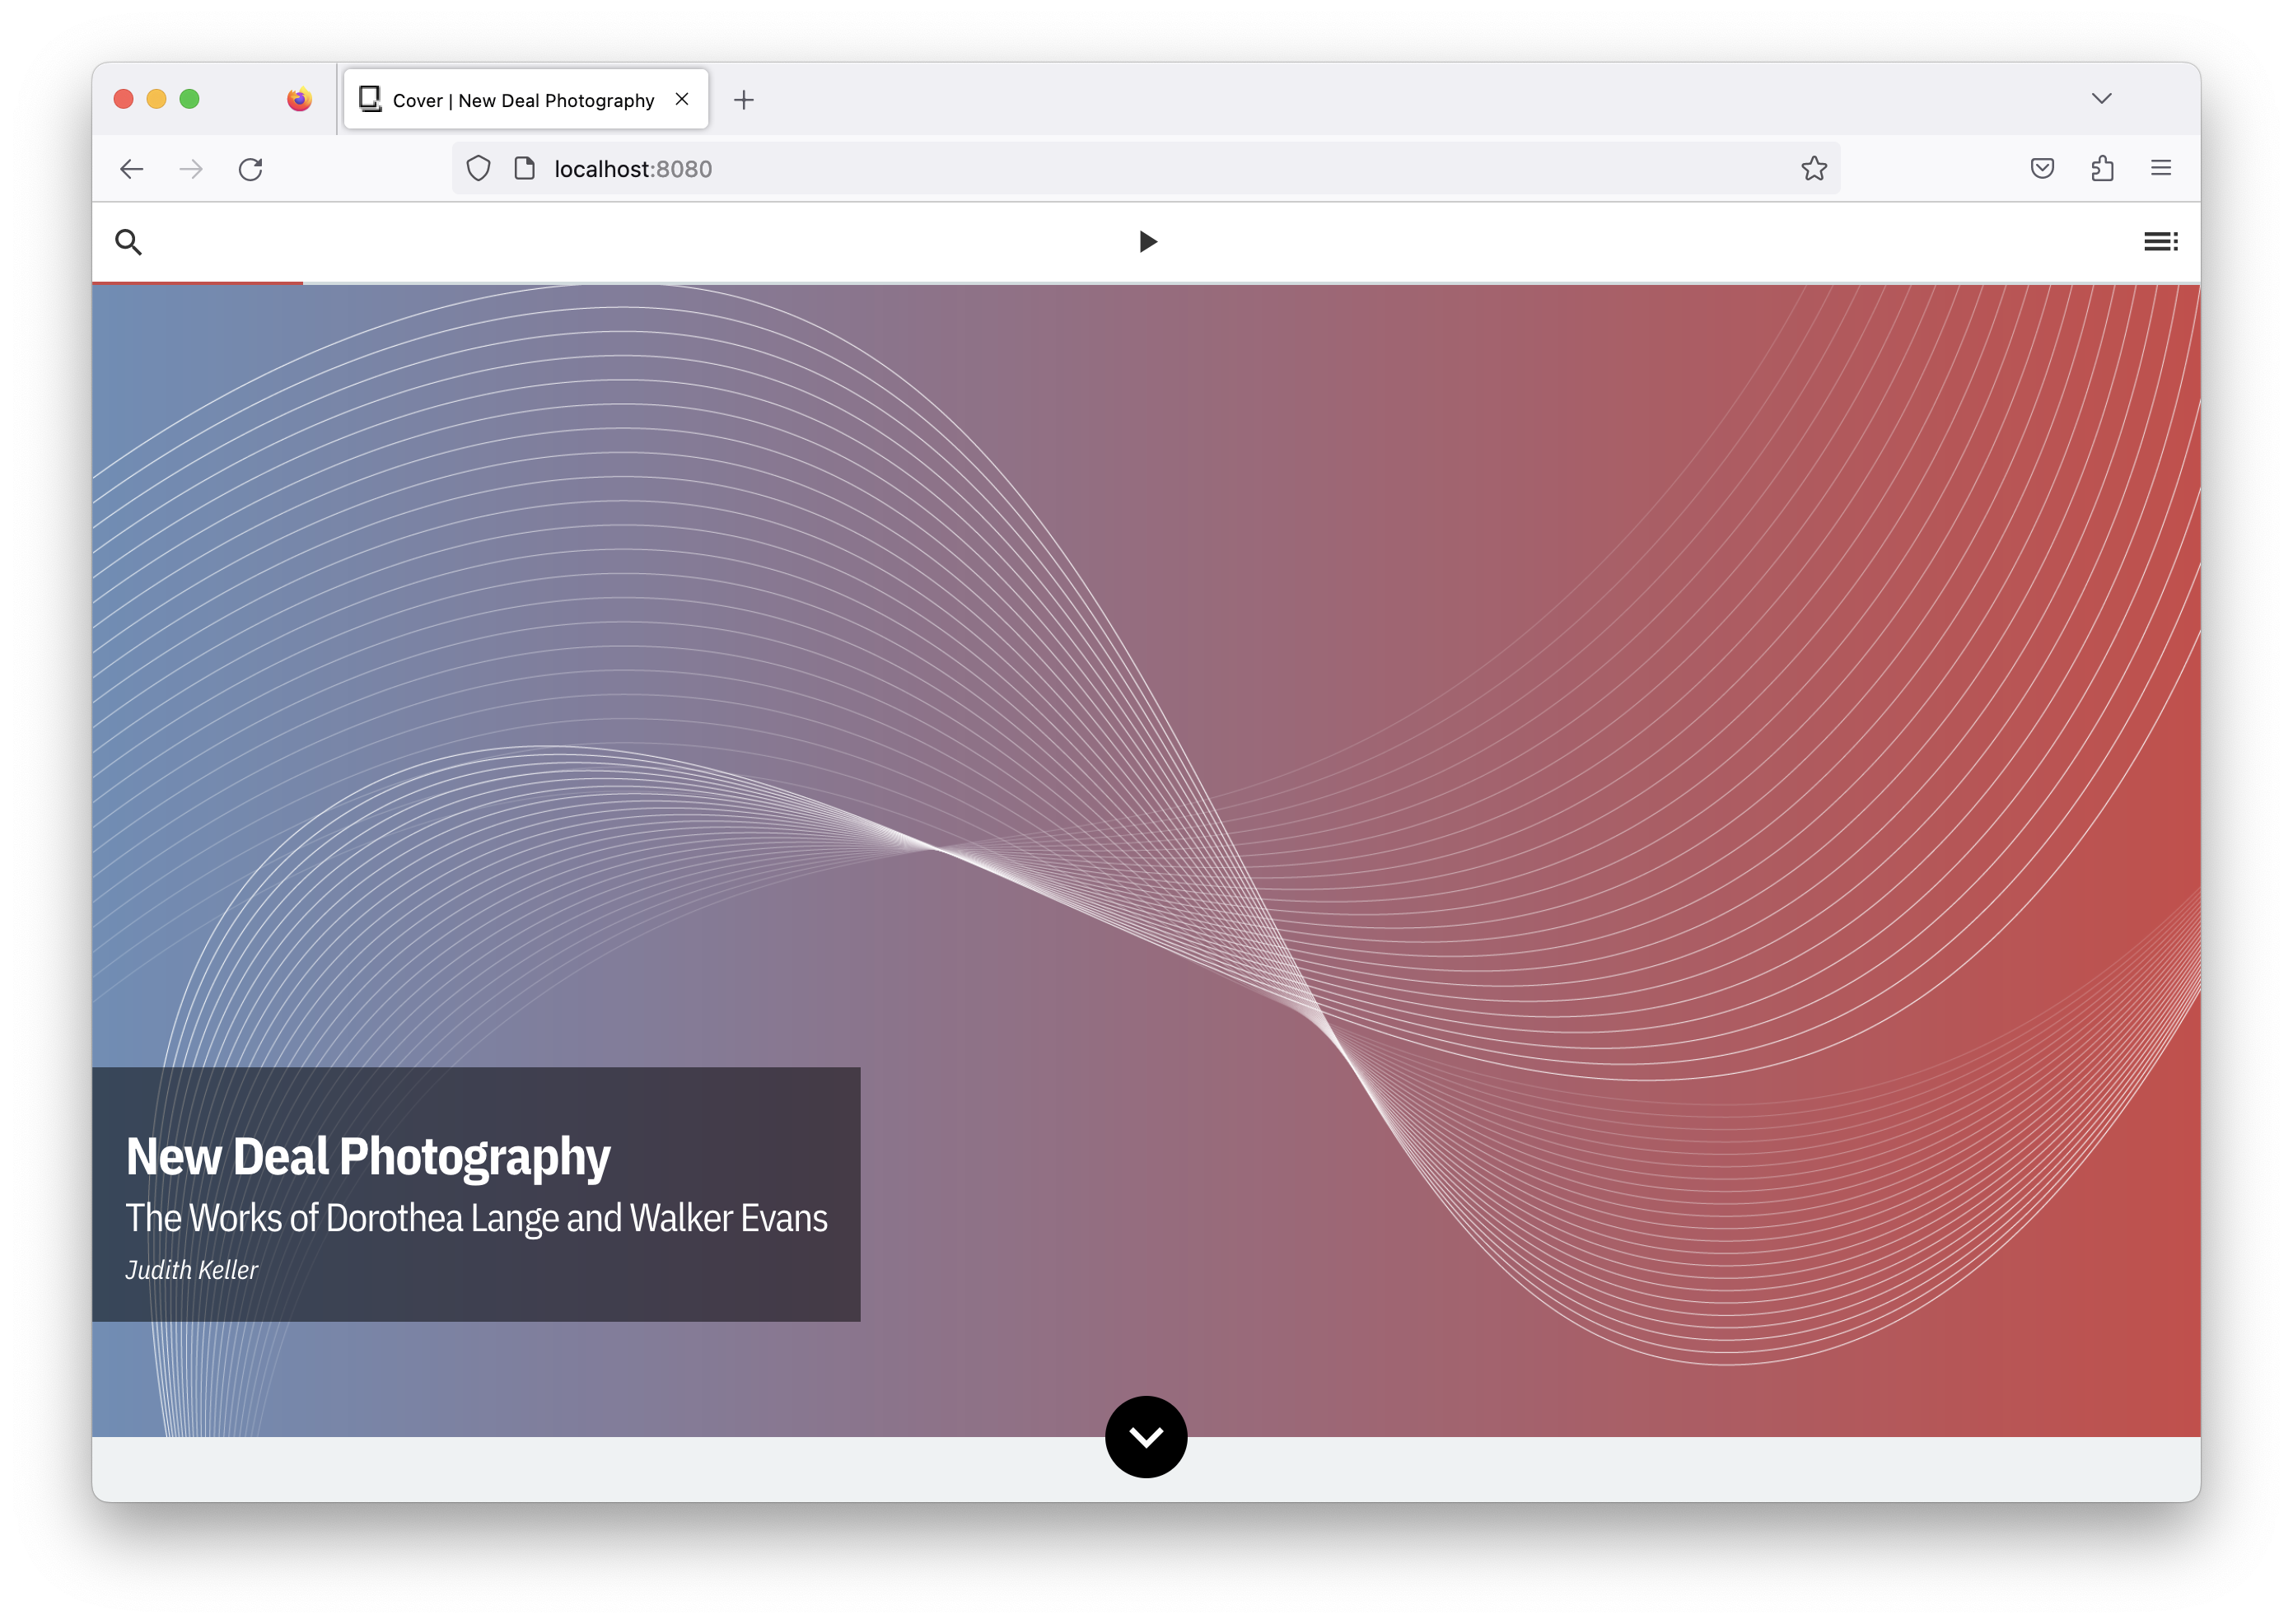
quire preview. Your new project comes loaded with demo content called “New Deal Photography.”4. Work in a Text Editor
Some placeholder content comes with each new Quire project. To start customizing it, you’ll need a text editor. This goes with the command-line shell you have for installing and entering Quire commands, and the browser you use for previewing.
Like its name implies, a text editor is simply a program to edit text. It’s like Microsoft Word, but instead of dealing with text formatted for print, text editors specialize in text formatted for code and markup. You can use a text editor to edit all the different kinds of files in your Quire project.
Macs and PCs come with some simple text editors built in, but we recommend using one that offers more in terms of autoformatting as well as being able to see and work in multiple text files at a time. Download and install one of these good, free text editors:
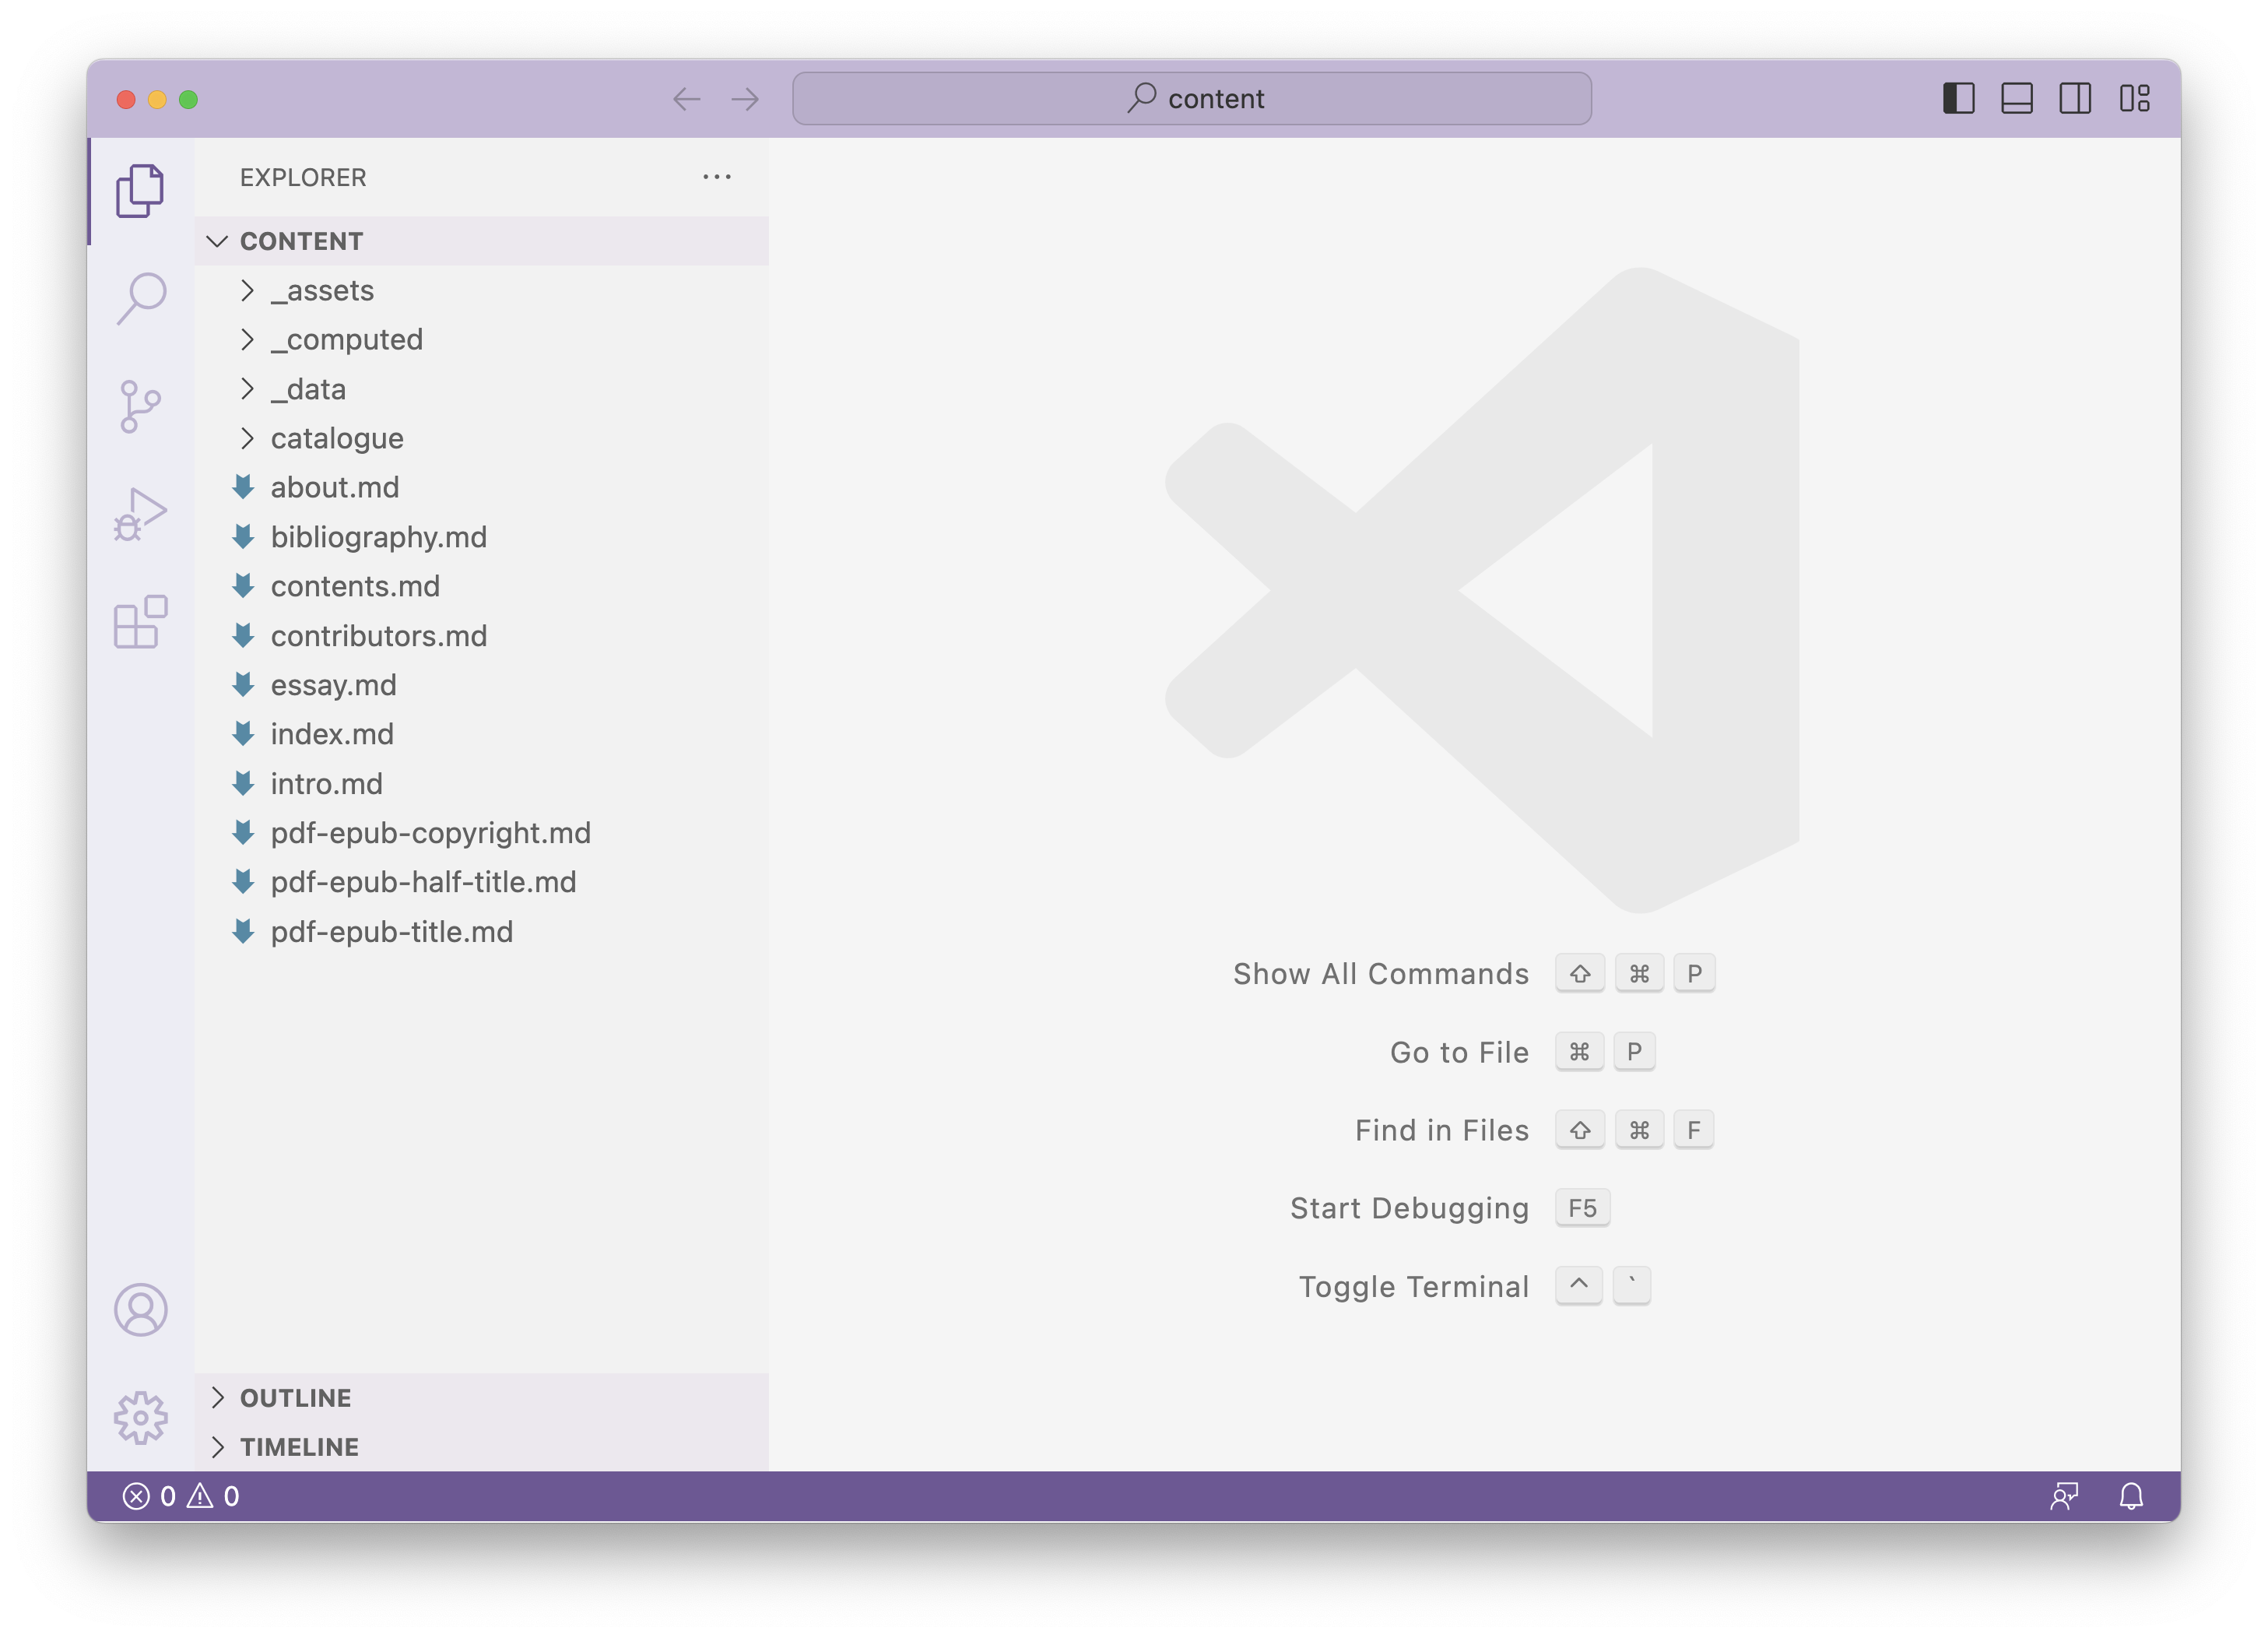
Once installed, open your text editor, navigate to File, and open the my-project directory you created in Step 3 above. The my-project directory also lives in your . You should see all of the directory’s contents listed.
5. Enter Publication Metadata
The metadata for your publication (its title, subtitle, contributors, publication date, etc.) is used in various areas of your site. It’s used under the hood for (SEO), as well as on the site itself in headings, navigation labels, and on your About or Copyright page.
All publication metadata is in the publication.yml file for your project, which you’ll find in the data directory.
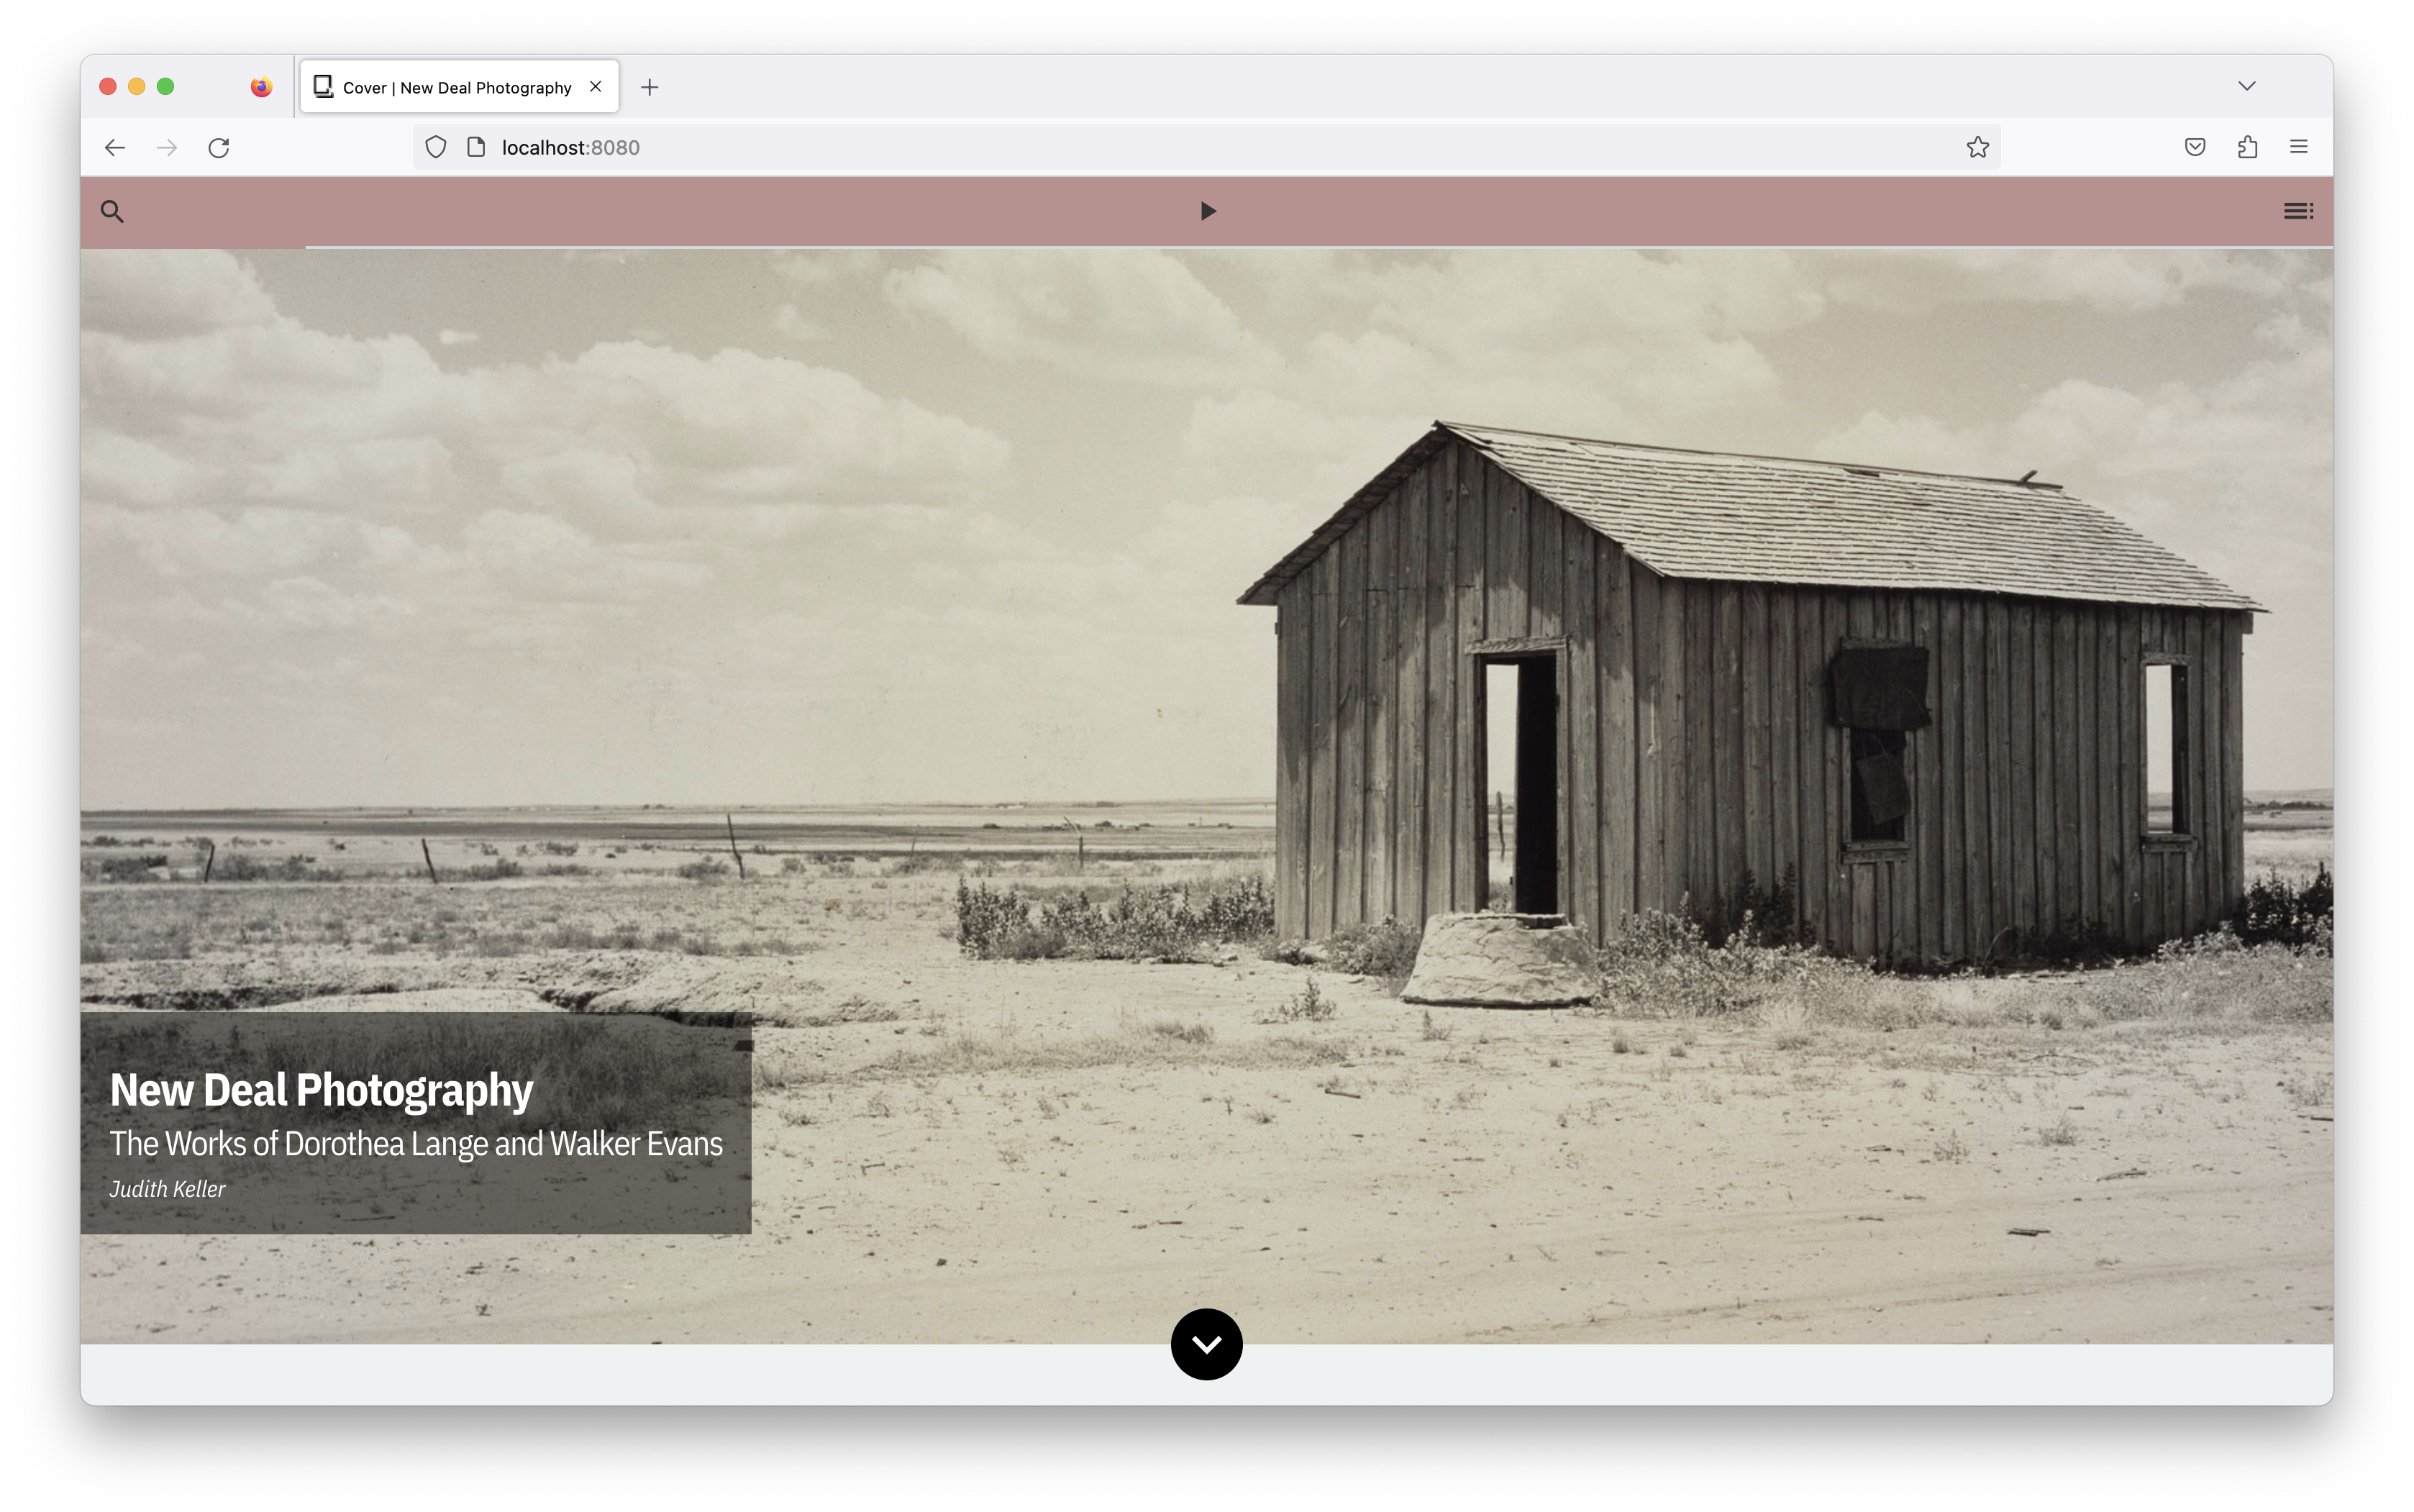
Open the publication.yml file and try changing the title and subtitle, saving the changes, and then looking at the preview running in your browser. You’ll see that the cover is updated with your new title. It’s also updated in the top navigation bar and in the expandable menu on the site. As much as possible, Quire works on the principle of having content exist only in one place in your files and using code to display it in multiple places in the publication as needed. This means when you make a change to something you only do it once and it changes everywhere.
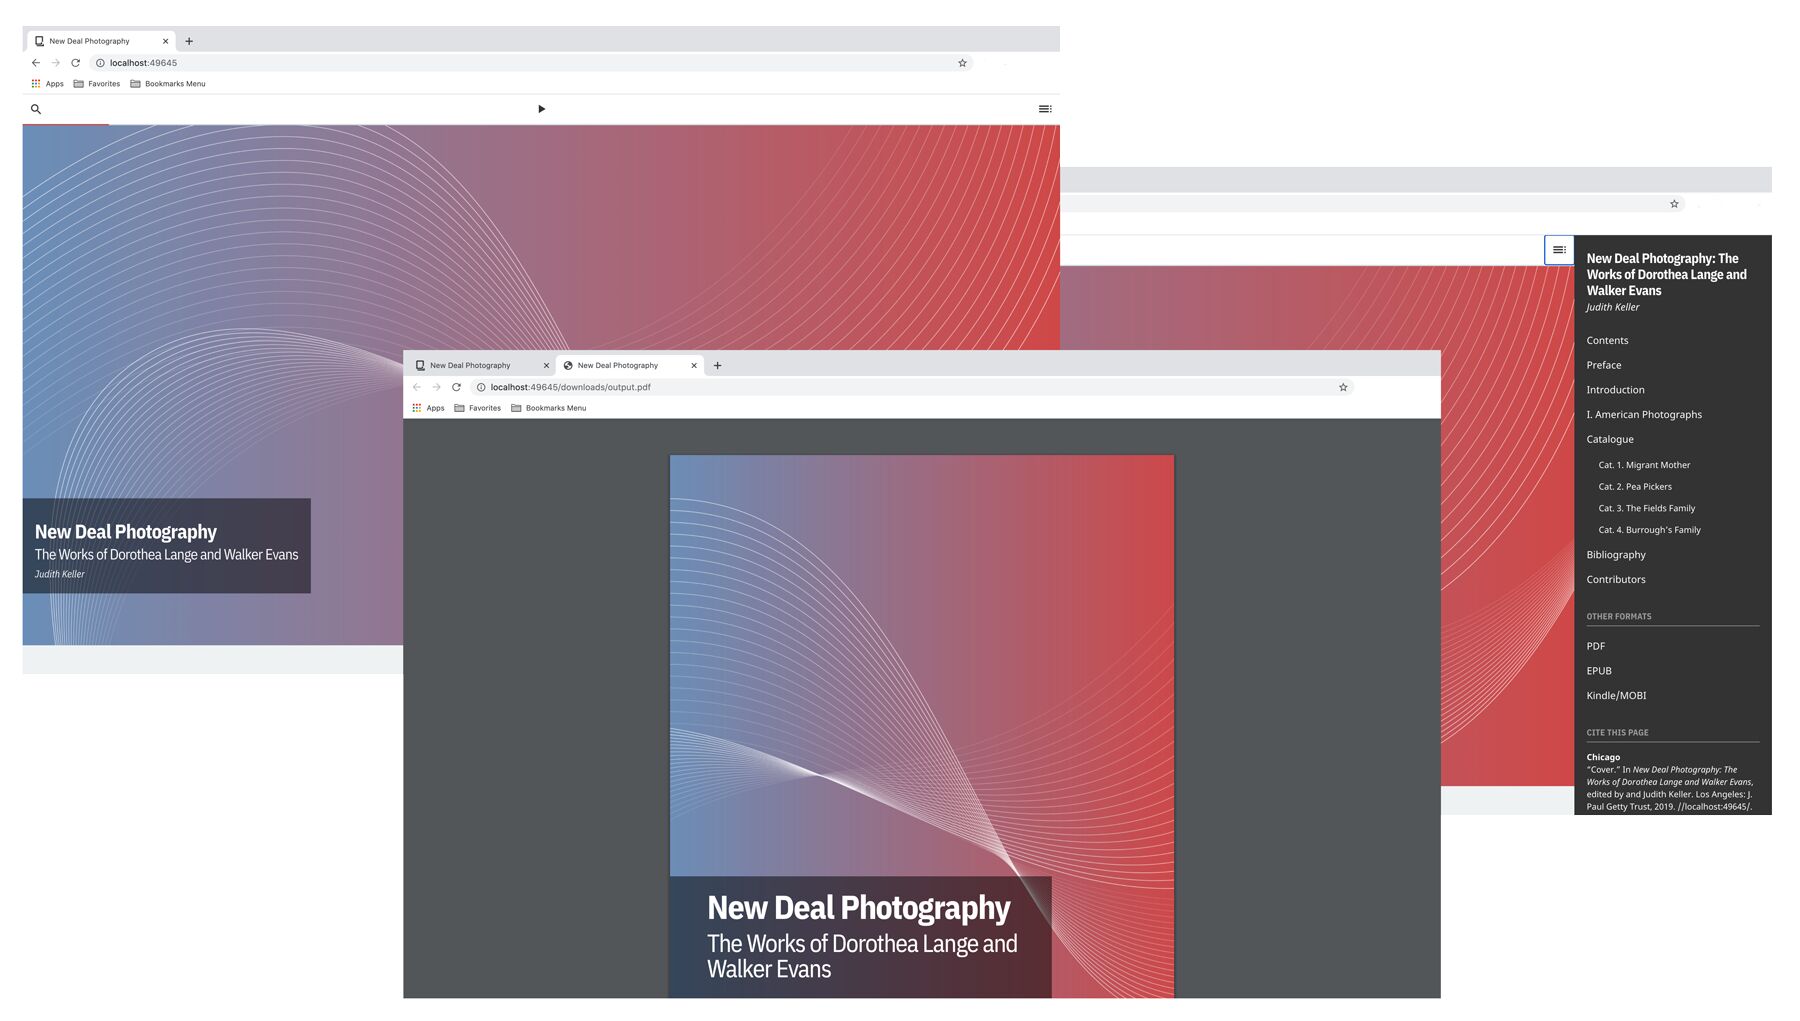
publication.yaml file, and is used throughout the site. Here we see the title being used on the cover, in the PDF version of the publication, and in the side navigation.The format of this metadata is called (yam-ul). It’s designed to be a plain-text way of capturing data. The general principal is to have the name of a data item, followed by a colon, a space, and then the data item’s value. A key-value pair.
title: "New Deal Photography"
subtitle: "The Works of Dorothea Lange and Walker Evans"
While not always necessary, it’s usually a good idea to wrap any information you’re entering in straight quotes as in the example above. Certain character combinations can otherwise cause issues with the way the YAML data is processed and may cause your site preview to fail.
- Changes made to YAML files sometimes don’t preview right away in the browser. If refreshing the browser doesn’t work, stop and restart the
quire previewprocess in your command-line shell. - For continuing issues, or if you just want to double check it, copy and paste your YAML text into an online YAML validator, which will alert you to any formatting errors.
The three other metadata files in the data directory—figures.yml, references.yml, and objects.yml—are data for figure images, bibliographic references, and catalogue/artwork objects. If your publication won’t have figures, a bibliography, or a catalogue section you can remove these. The publication.yml file, however, is always required and the more complete you can make it, the better.
Read more in the “Metadata & Configuration” chapter of this guide and our “Developers” reference.
6. Edit Content
Next let’s look at the content directory of your publication. In this directory are a series of files (.md) that hold the content of the publication. Each one represents a page of your website. The filename becomes part of the URL for that page in your final publication, so it’s always lowercase and includes no spaces or special characters.
Open the about.md file. At the top you’ll see a small block of YAML surrounded in two sets of three dashes ---. Just like the overall publication has metadata, each page has metadata as well. Page metadata appears at the top of every Markdown file. The three most basic types of page YAML that you’ll want to always include are the title, type, and weight.
Let’s make some changes to the about.md file to make it the Preface in our demo book:
- Change the
titleto"Preface". - Add a line that introduces the data item
typeas"page". The format should duplicate the other lines of YAML. Other page types available are"essay","entry","cover", and"contents". Each displays the page content and data differently. The default is"page". - Open the
intro.mdfile and change theweightof this page to"4". Return toabout.mdand change theweightof this page to"3", which will order it after thecontents.mdpage, which has aweightof"2", and before theintro.mdpage, which now has aweightof"4". Theweightvalues create the ordering of pages in your book. Withoutweightvalues, Quire will automatically put the pages in alphabetical order based on their filenames. - Change the name of the file from
about.mdtopreface.md. Do this by right clicking (or control clicking on a Mac) on the file in your text editor and selecting “Rename”. Note that this will also change the URL of the page. - Page content goes below the YAML block. Delete the text that is there and copy-and-paste the following text as a test: The quick brown fox jumps over the lazy dog.
- Save your changes and you should see the page update at http://localhost:1313/preface/.
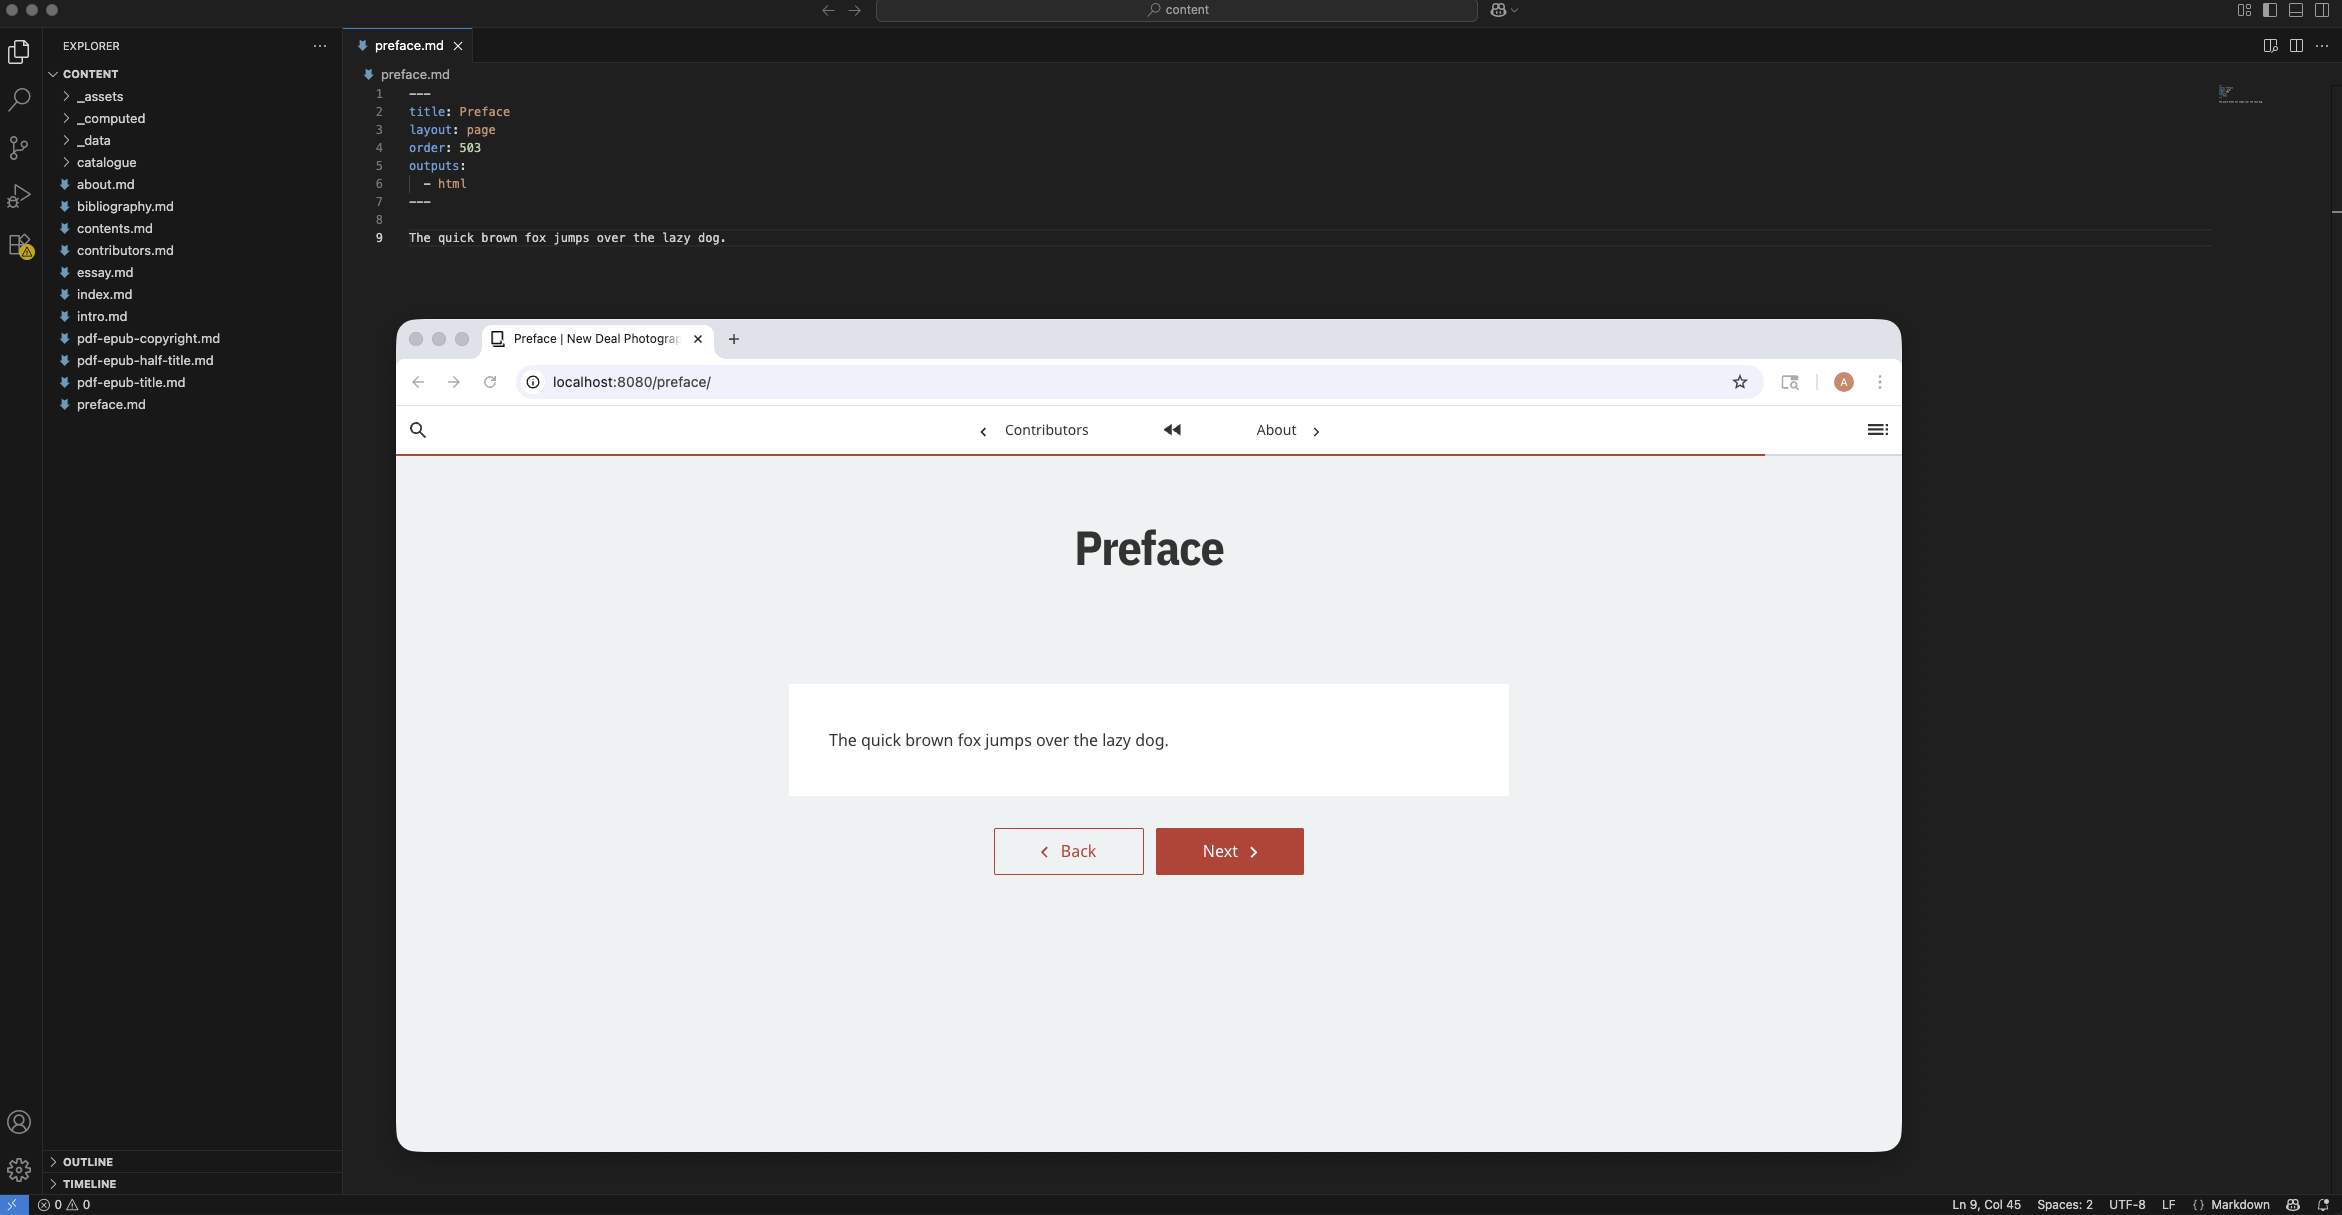
title, order and filename of a Markdown file in your text editor (left), will change the page title, its ordering in the book, and its URL in the website (right).Quire content is written in Markdown. Markdown allows you to express content structure as minimally as possible, using simple text indicators. For longer texts and publications, you’ll want to use a Microsoft Word to Markdown conversion process, but you can also write Markdown directly in the text editor.
Markdown is used to add style and elements to your text. Here are some examples of what you can do with Markdown:
- Add some italics to a phrase by surrounding it with asterisks:
*a phrase in italics*. - Add a second-level heading by putting the text on it’s own line, preceded by two hashmarks:
## Heading 2. - Add a link by putting the link text in square brackets followed by the URL in parentheses:
[click here](http://www.myurl.com).
Let’s try it out:
- Delete the current text and cut-and-paste the text below into your text editor.
## A Riotous Energy

There are many canvases the subjects of which are more
pathologic than artistic, subjects only fit for the
confessional or the privacy of the clinic. But, apart
from these *disagreeable episodes*, the main note of the
[Salon](https://en.wikipedia.org/wiki/Salon_(Paris))
is a riotous energy, the noisy ebullition of a gang
of students let loose in the halls of art.
- Save the change, and check the preview in your browser. You will notice the text has been formatted for you.
- A complete Markdown reference is available in the YAML & Markdown chapter of this guide, but for quick rules and tips, check out this Markdown Cheatsheet.
For more specialized features (especially images, multimedia, and citations), Quire extends Markdown’s capabilities with a set of .
- Type the following figure image shortcode on a new line in your
preface.mdfile.
{{< q-figure id="fig-1" >}}
- Save the change, and check the preview in your browser.
You’ll see this added a figure and caption, the text for which is stored in the project’s figures.yml file under the id of “fig-1”. If you update the information stored in figures.yml, it will update on your page as well as anywhere else that figure is used.
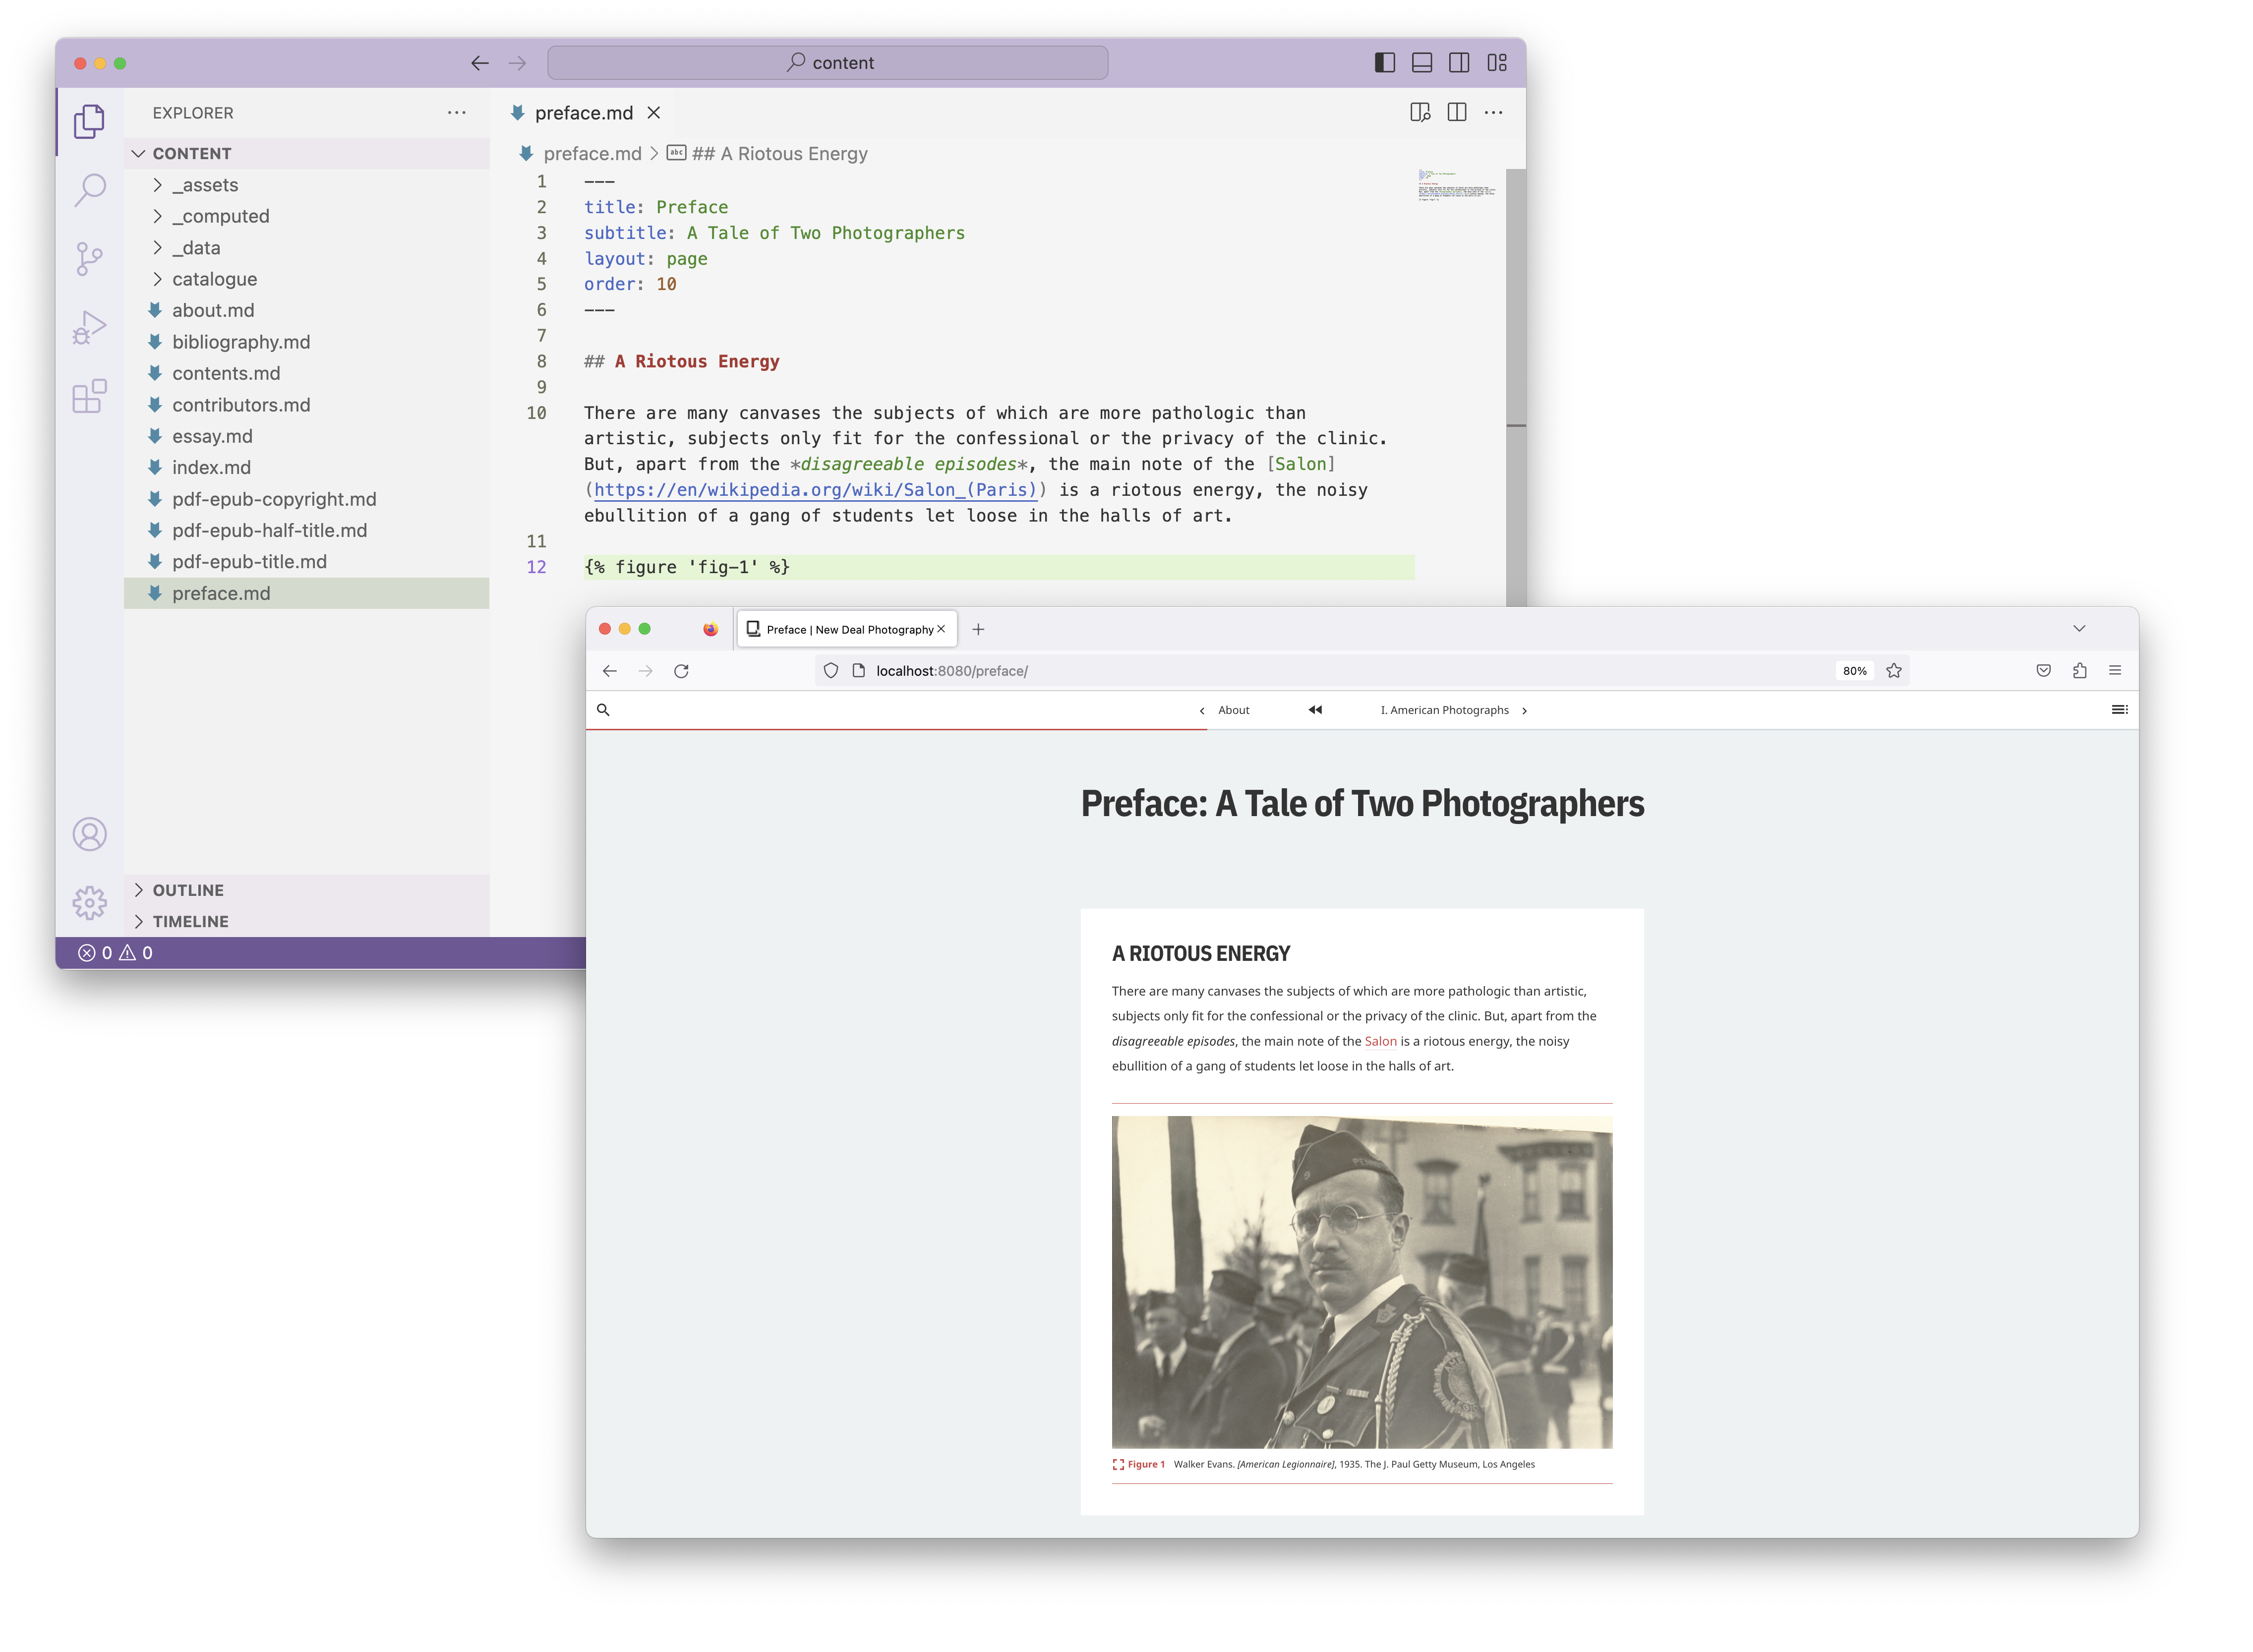
{% figure %} shortcode referencing an id. The id is listed in your project’s figures.yaml file along with a caption and other YAML values.Read more about Page YAML, Markdown, and Quire shortcodes in the “Pages” chapter of this guide, and more about figure shortcodes in “Figure Images”.
7. Customize Styles
There are number of different ways to customize the look of your publication. Some of the easiest are to add your own background images to your cover and page banners, and to change the colors and other styles of different interface elements (like the menu, navigation bar, and links) with variables.
A background image can be added to most pages by indicating the image in the page YAML of that page.
- Open the
cover.mdfile. - Remove “pattern-spiral-overlay.png” and update the YAML content to read:
image: figures/lange-house.jpg
- Save the file, and preview the results in the browser.
The image itself is stored in the static/img directory of your project, put any image file you’d like in there to use it as a background image. You’ll see that this is also where images are stored for use with the q-figure shortcode demonstrated above.
You can also change the colors used in various elements of the site design. Let’s try it out.
- Look inside the
themesdirectory for thedefault/source/csssubdirectory and inside that, thevariables.scssfile. Here you’ll find a number of variables, prefixed with a dollar sign, that are descriptive of what they control. For instance$quire-navbar-coloris the background color of the navigation bar at the top of every page. - You can choose from a variety of hex color values that can be found here, or from one of the standard 140 color names found here. Like with changes to YAML files, changes to theme styles may require you to refresh the browser, or even to stop and restart the
quire previewprocess in your command-line shell. - While in the
variables.scssfile, go to the section “Declare the navbar color style: normal/accent” and switch the value to accent.
$navbar: accent;
- Scroll down a little further to the section called “Declare navbar colors” and change the color value to rosybrown.
$quire-navbar-color: rosybrown;
- Now, save the changes in your text editor and preview it in your browser.
Make sure there’s always a space between the colon and the value you enter, and that the value is immediately proceeded by a semicolon. And as in the example above, your color choice won’t be preceded by a dollar sign, even though some of them in variables.scss are. Hex color values are preceded by a hashmark (like #ff00ff) and the 140 standard color keywords don’t need anything.
variables.scss file in your project’s content/_assets/styles file.Read more about applying your own custom CSS styles, altering page templates, and creating a new theme in the “Customizing Styles” chapter of this guide.
8. Output Your Project
In your Terminal, stop the quire preview process by typing Control-C. To create the PDF version of your publication type quire pdf and press enter. For the EPUB, type quire epub and press enter. Both files will be created and saved into your project’s static/downloads directory. View them by right clicking (or control clicking on a Mac) on the file name in the lefthand sidebar of your text editor and selecting “Show in Finder” or “Show in File Explorer”.
- You can run the output commands anytime, and re-run them to update as you make changes to your project files.
For the online edition, type quire site and press enter. A site directory will be created in your project, with all the website files inside. The files in site can then be copied onto virtually any web server or hosting service. They include all the page content, images, and styles for the site and are all you need for the site to look and run just as it does when running quire preview on your own computer.
Read more about outputting your publication files and deploying your project in the “Output Your Project”and “Deploy Your Project” sections of this guide.
Congratulations! Now What?
Congratulations on completing the tutorial! We’ve touched on Quire’s core concepts and functionality, but of course there’s more to learn and do.
- Watch a 90-minute webinar recording that walks through many of the steps in this tutorial.
- Sign up for access, if you haven’t already, to work with Quire on your own.
- Continue reading the docs.
- Start working on your own Quire project.