Quire Basics Tutorial
Get started with a walkthrough of Quire fundamentals
As an open-source tool, Quire is available for anyone to use for free. This tutorial will take you through the fundamentals of working in Quire, from starting a new project to editing that project and ultimately outputting it. Quire is a different way of working; this tutorial aims to give you hands-on experience with the tool.
Getting Started
There is no graphical user interface in Quire. This is an intentional decision. The transparency of Quire’s backend provides more flexibility and opportunity for customization. For that reason, as you get started with Quire, it is important to familiarize yourself with the three core components that you will use to create, edit, and output your project:
- - Use your computer’s built-in command-line shell to tell Quire what to do (like
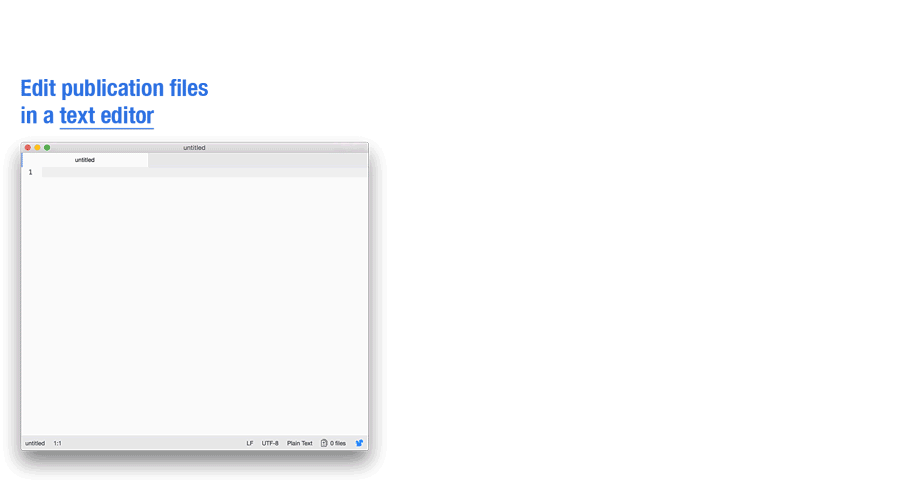
quire previewto preview your project) - - Use a freely available text editor to edit your publication files
- - Use a web browser to preview your work in real-time
In the following sections, you’ll learn more about these interconnected components and get some hands-on experience working on a Quire project.
1. Understand the Command-Line Shell
The first thing you’ll need is a command-line shell, an interface that allows you to control your computer through text. Macs and PCs already have good shells installed. On macOS, it’s called Terminal, and on Windows, it’s called PowerShell.
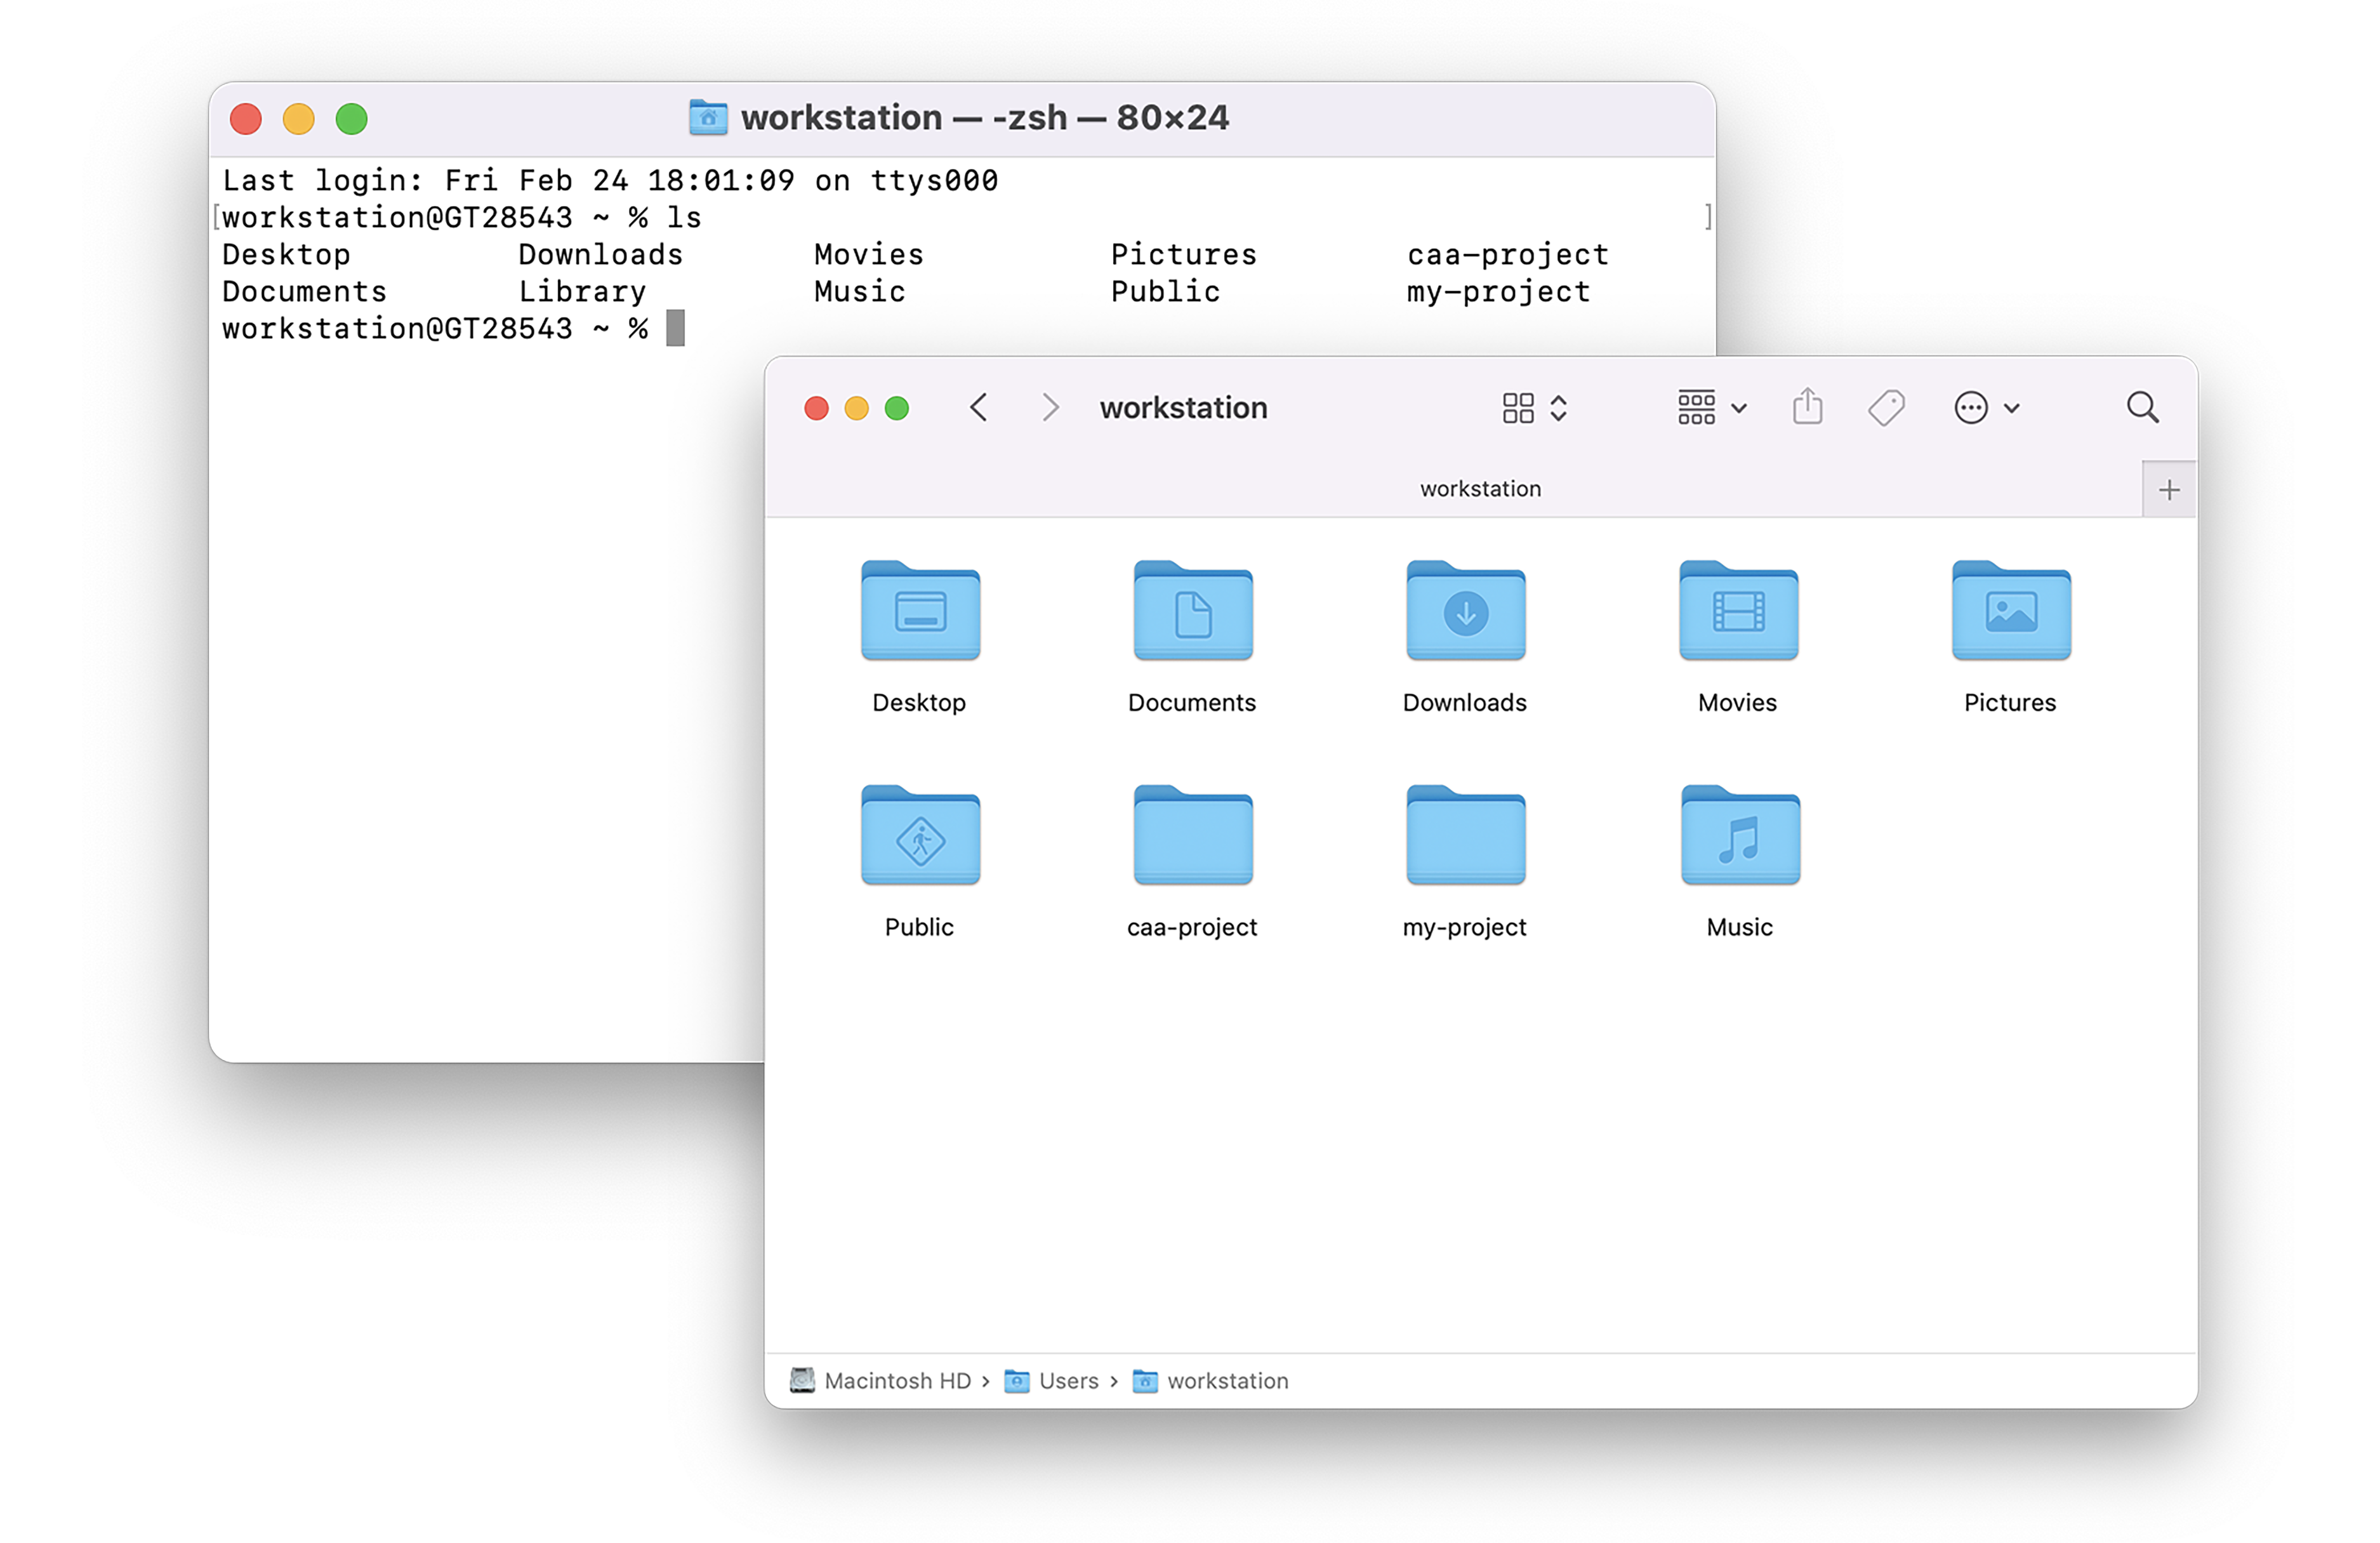
In addition to telling Quire what to do, the command-line shell is an effective text-based way of viewing and navigating your computer’s files. You can use the command-line shell to move between different directories (or folders) and list the contents of a particular directory in the same way you would use Finder or File Explorer. When you open your shell, by default, you will be in your .
We will go into Quire-specific commands shortly, but here are a few general shell commands you may find helpful:
| Command | Action |
|---|---|
ls | “List”: Lists all the files in the directory you’re in |
cd | “Change directory”: cd followed by a space and a directory name will move you into that directory. Typing cd and then dragging and dropping a directory icon into your shell will copy the full file path. |
~ | Return you to your home directory |
!! | Run the last command you entered |
| Control+C (macOS) / Command+C (windows) | Stop any command-line shell process from running |
For a deeper dive into the command-line, check out a “Really Friendly Command Line Intro”, or the Programming Historian’s “Introduction to the Bash Command Line”.
Try it for Yourself
- Open your computer’s command-line shell. On Macs, go into your Applications/Utilities folder and find the Terminal. On PCs, right-click Start and select Windows PowerShell.
- Type
lsto list the folders and files in your home directory. - Type
cdfollowed by the name of a directory you want to navigate to. For example,cd Downloadswill take you into the Downloads directory. - Run
lsagain to view the contents of that folder. - Pull up your Finder or File Explorer to compare the listed files.
- Type
cd ~again to go back to your home directory.
2. Install Quire
Now that you understand how to use the command-line shell, follow the steps in the documentation links below and use it to install Quire:
On both operating systems, you will first install Node.js which allows you to run JavaScript programs on your computer. Quire is written in JavaScript.
3. Create a New Project
Once you’ve successfully installed Quire, it’s time to create a new project to work on. When you run the command quire new [project-name] in the command-line shell, Quire will create a new folder in your home directory. This folder includes a starter publication with demo content (text, images, and relevant metadata) that you can use as a template for your own project.
In the example below, we use the name my-project, but you can call your project anything you want as long as you use hyphens rather than spaces and no special characters. We also recommend all lowercase text.
Try it for Yourself
- Open your command-line shell.
- Run the following command:
quire new my-project
- When your starter project has finished installing, you will see your computer username appear with a cursor. This means you are ready to preview your project.
- If you’re a Mac user and receive an error message that references “Developer/CommandLineTools” that means you need to install Apple Xcode, a set of developer tools for your Mac. Run the command
xcode-select --installin your command-line shell. It may take a few minutes to install. Once install is complete, return to step #2.
4. Preview Your Project
Quire lets you preview your publication in your browser as you work on it. Your project will not be visible to anyone other than you. The preview lives locally on your computer and can be viewed even if you are not connected to the Internet.
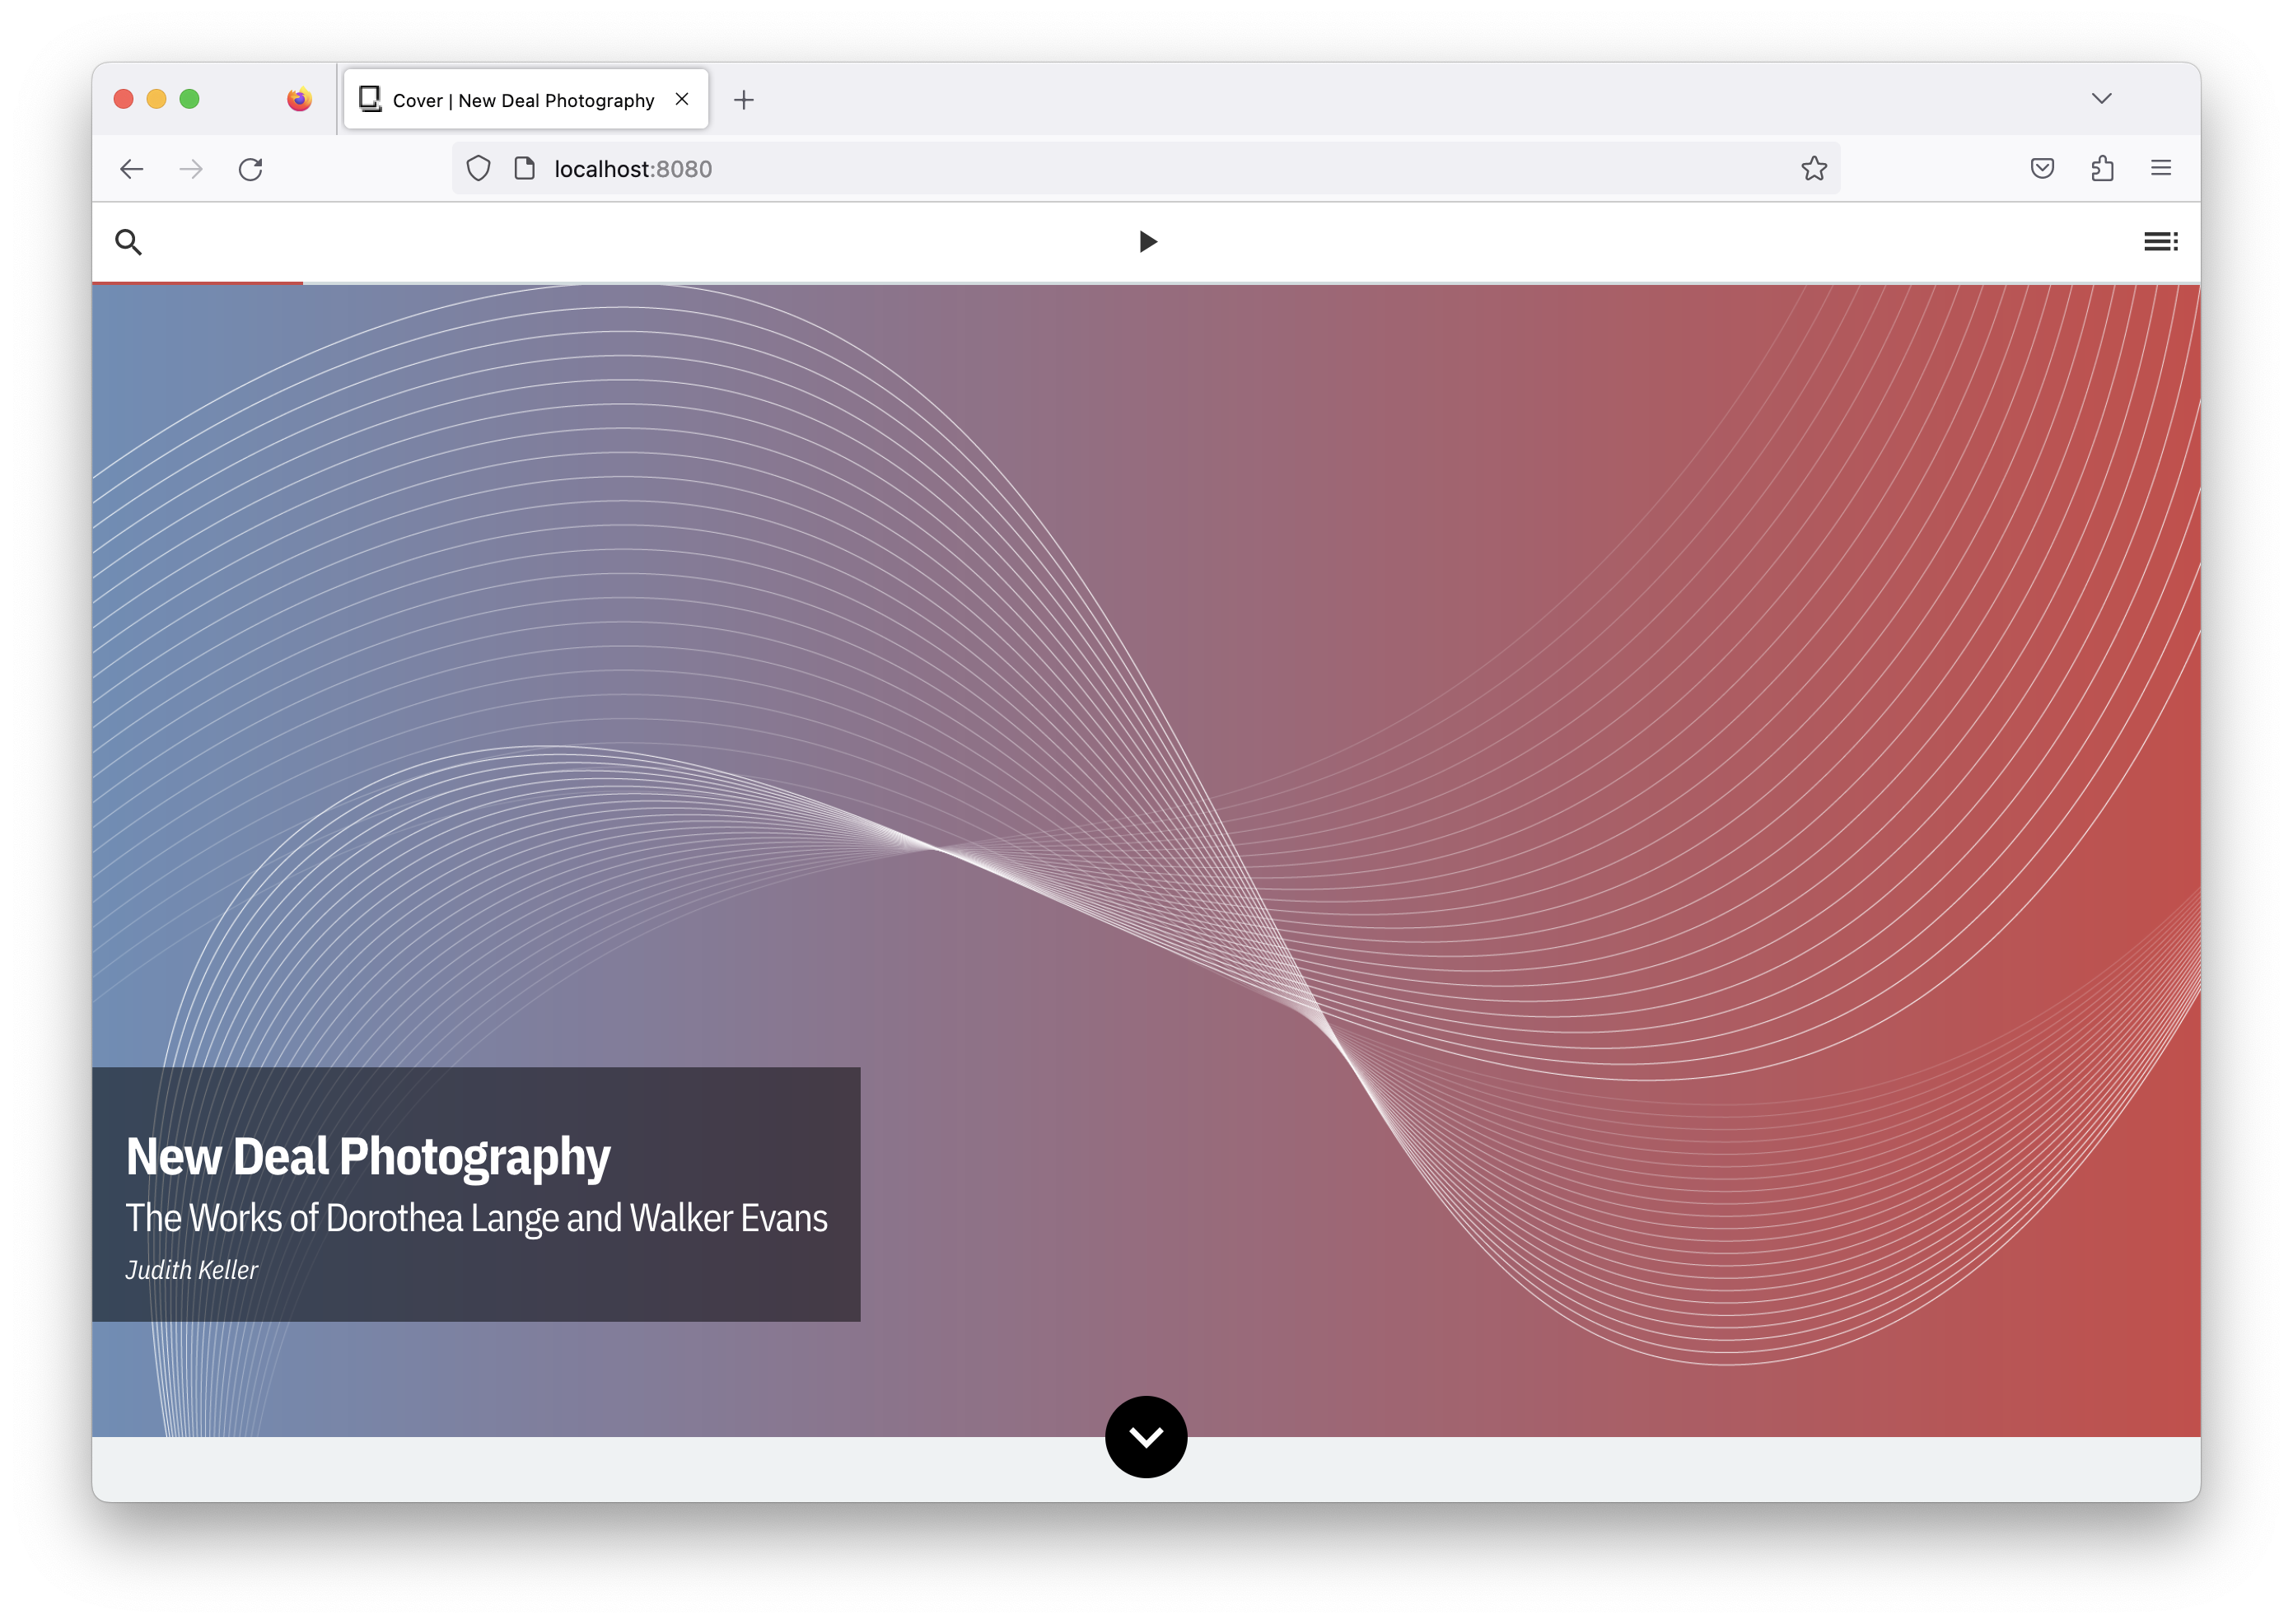
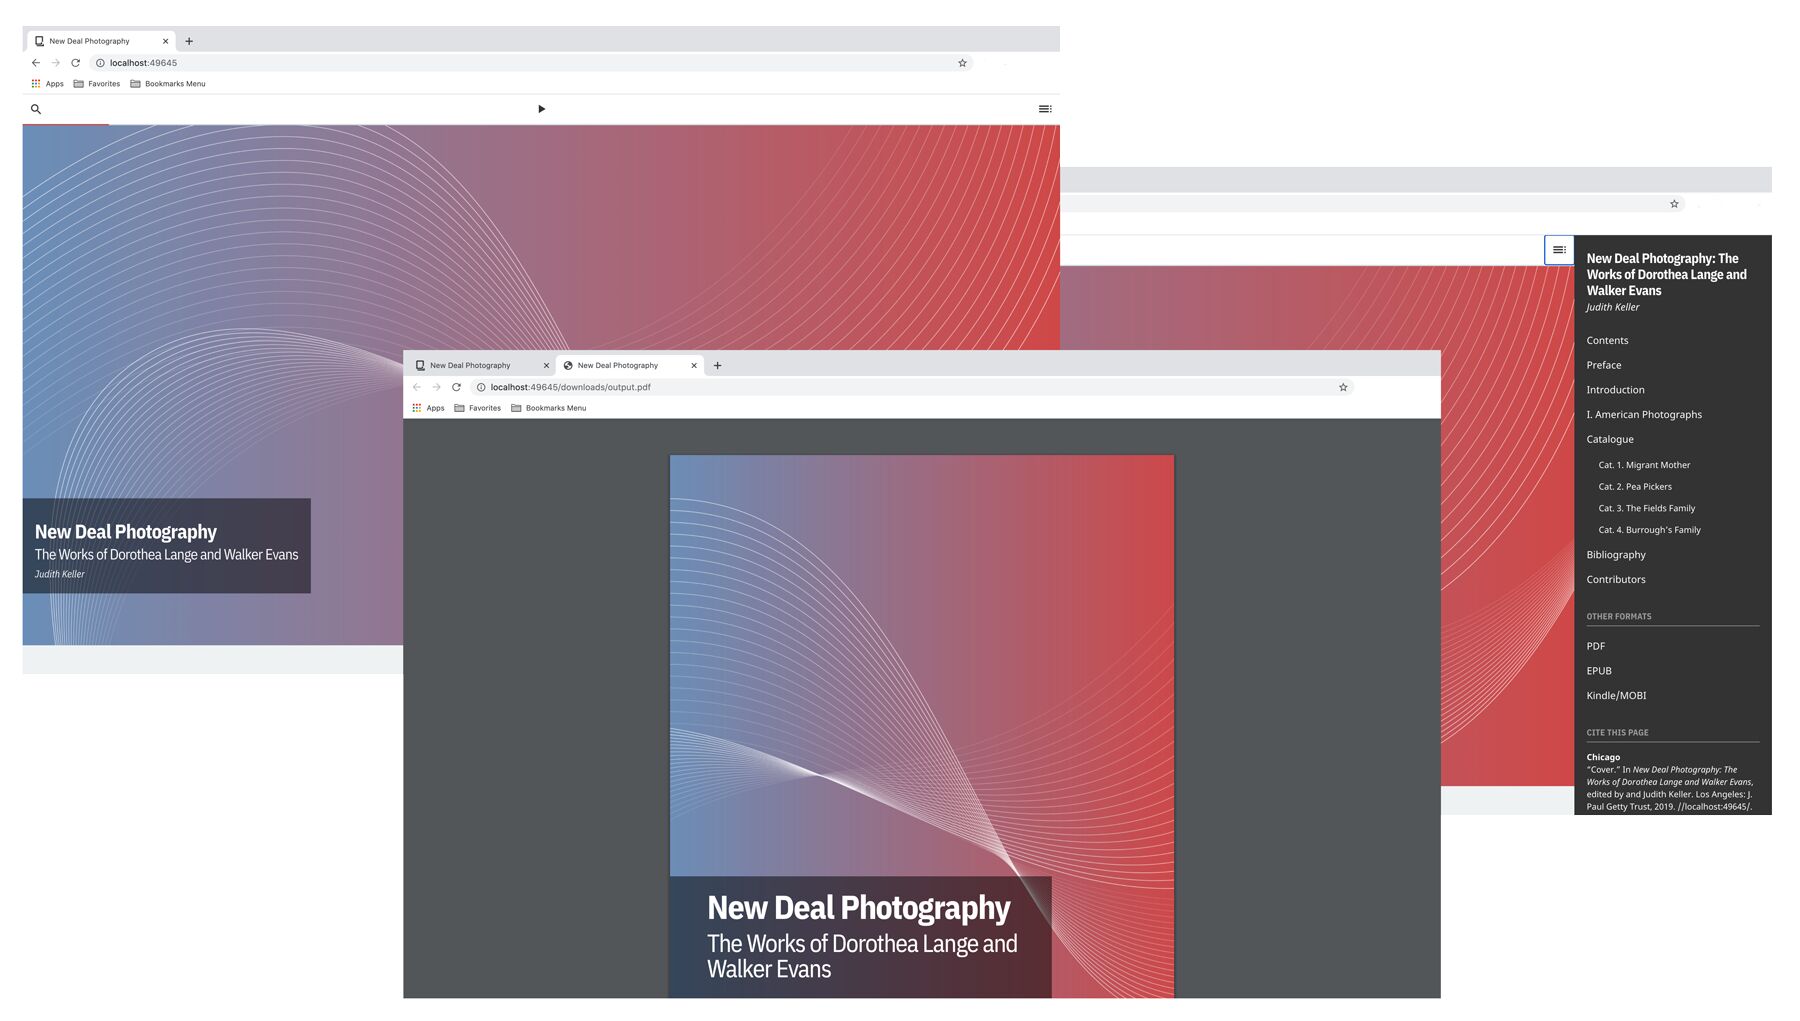
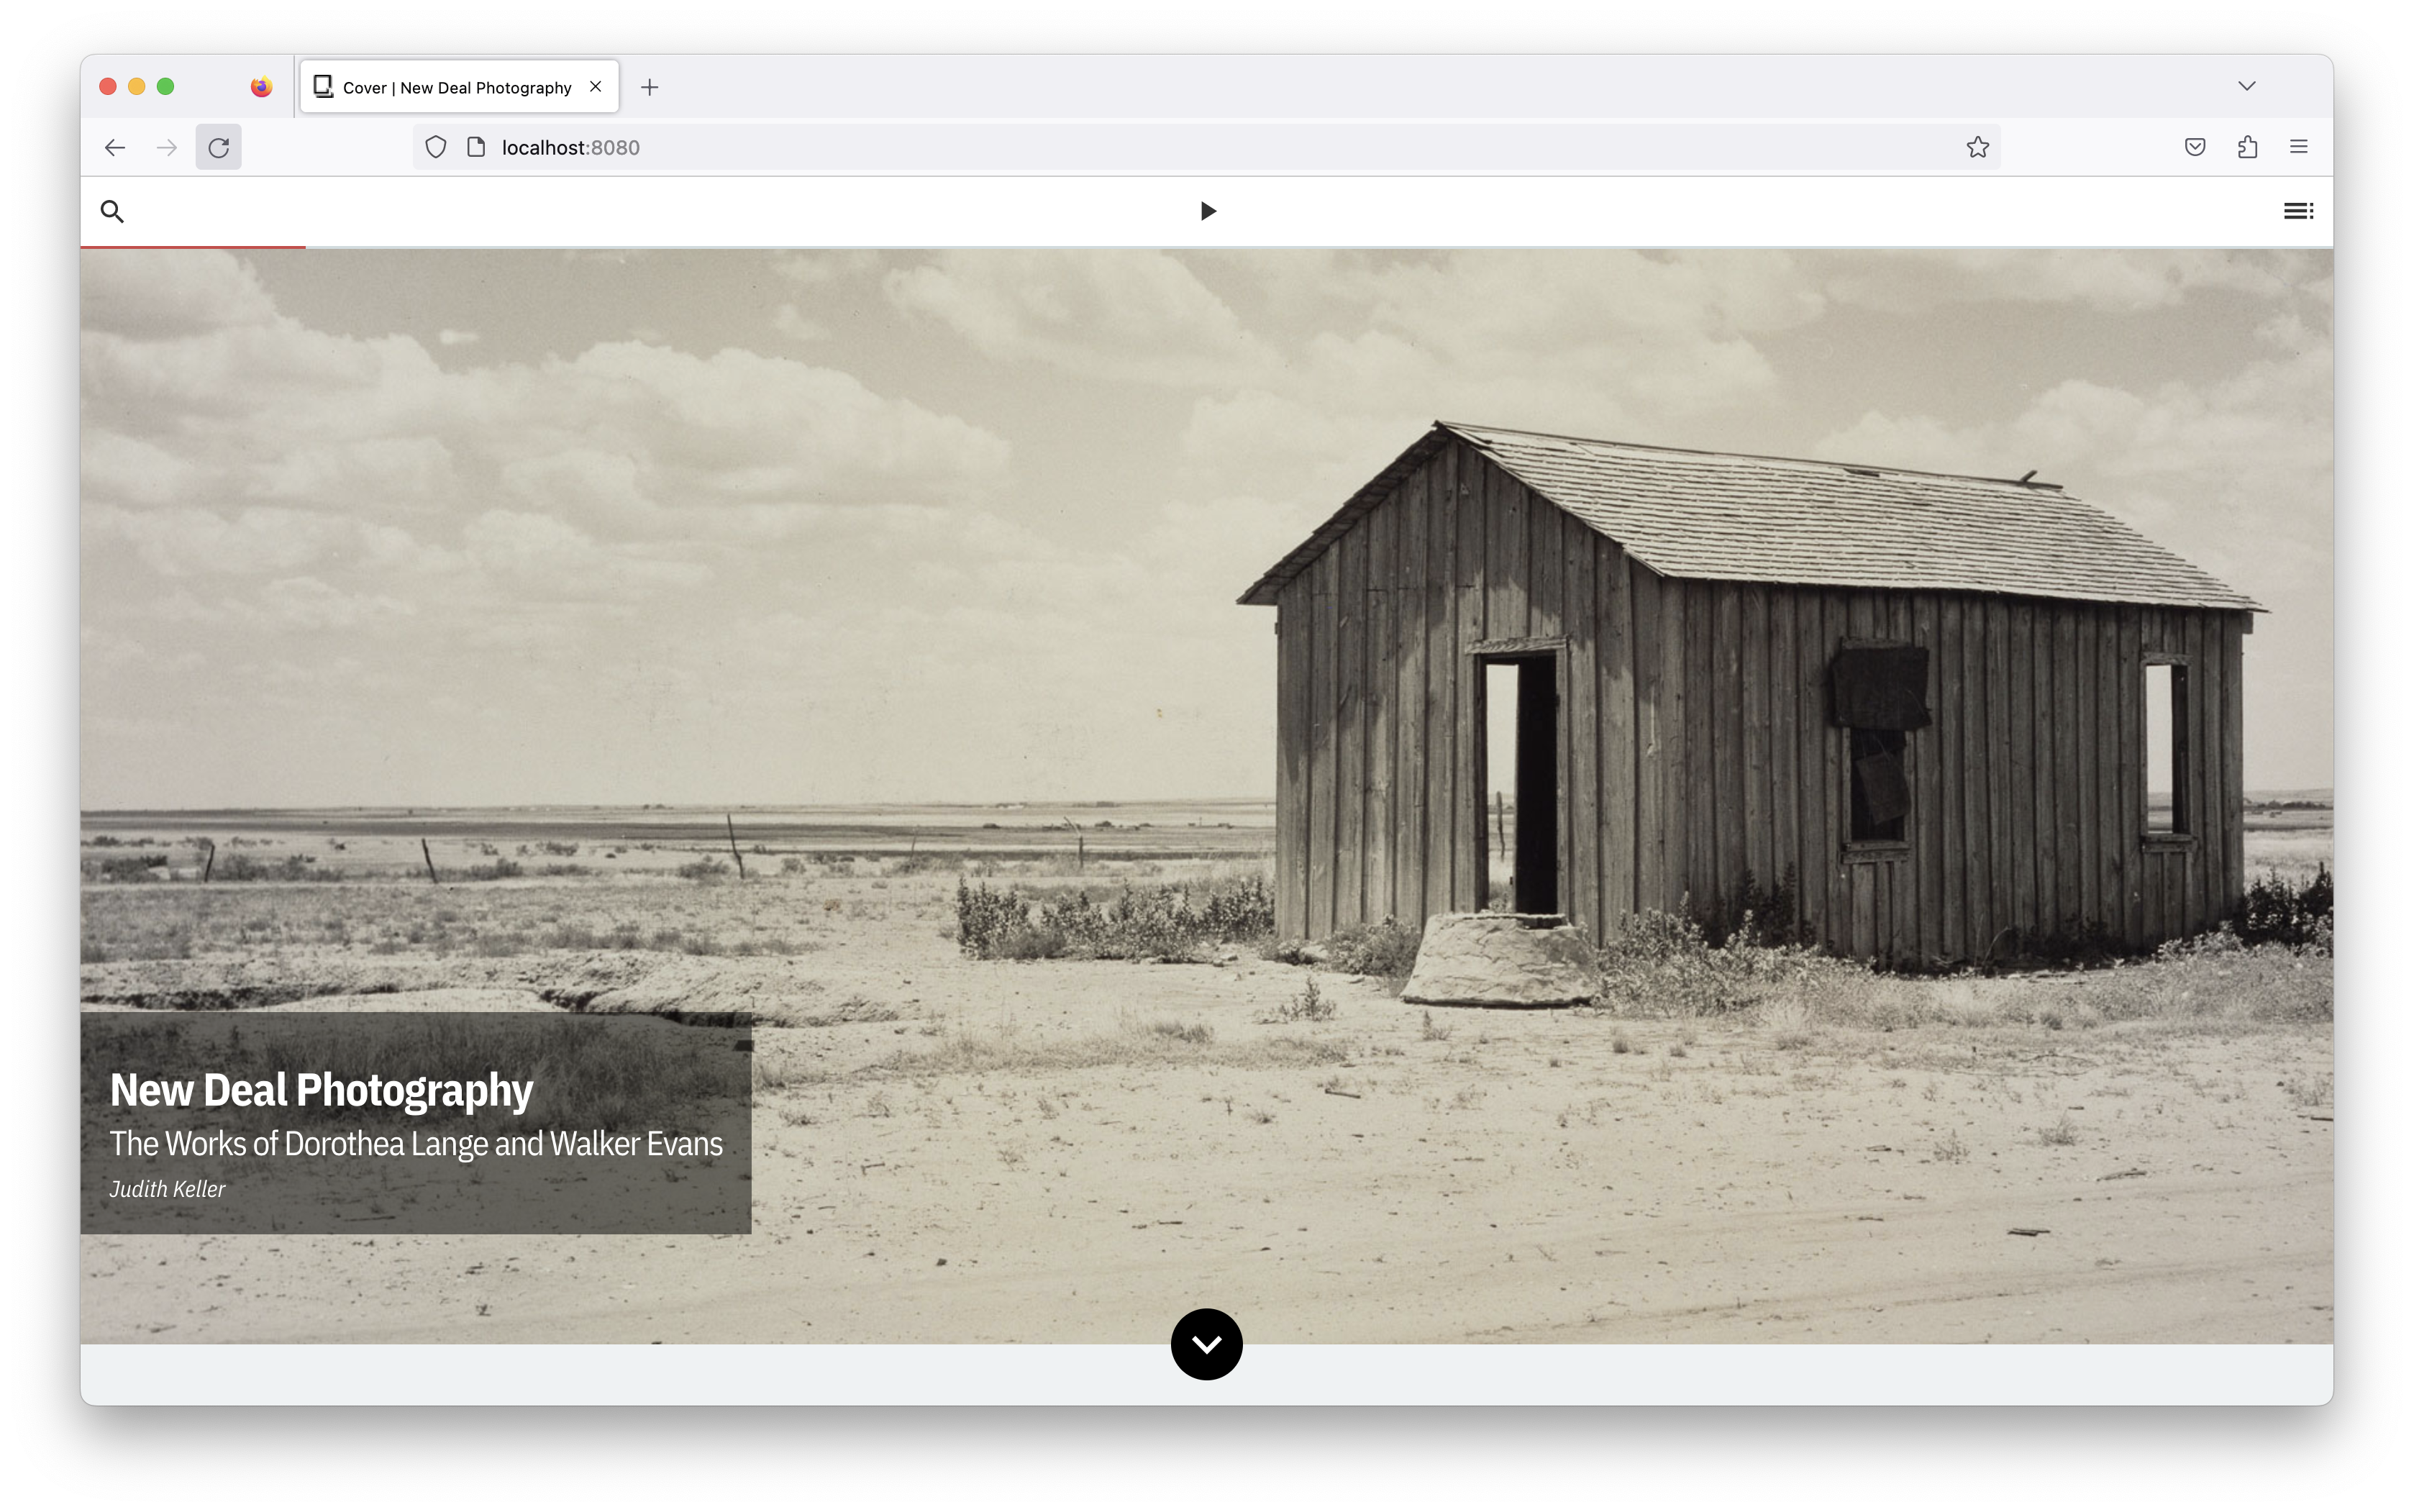
quire preview. Your new project comes loaded with demo content called “New Deal Photography.”Try it for Yourself
- Type
cd my-projectin your command-line shell and press enter. This will move you from your home directory into your new “my-project” folder. - Once you are in the
my-projectfolder, typequire previewand press enter. - You will know your project is ready to be viewed when you see the URL http://localhost:8080. Cut and paste that link into your browser to see a realtime preview of your project.
5. Work in a Text Editor
To edit the demo content created by running quire new, you’ll need a text editor. As its name implies, a text editor is simply a program used to edit text. It’s like Microsoft Word, but instead of dealing with text formatted for print, text editors use human-readable code and markup to format the text for conversion to HTML.
Macs and PCs come with some simple text editors built in, but we recommend using one that offers more in terms of auto-formatting as well as being able to see and work in multiple text files at a time. Visual Studio Code, Brackets, and Sublime Text are good options.
Try it for Yourself
- If you haven’t already, download and install the text editor of your choosing.
- Open your text editor.
- Click “File” at the top of your screen and navigate to your home directory.
- Click your
my-projectfolder. - Select the
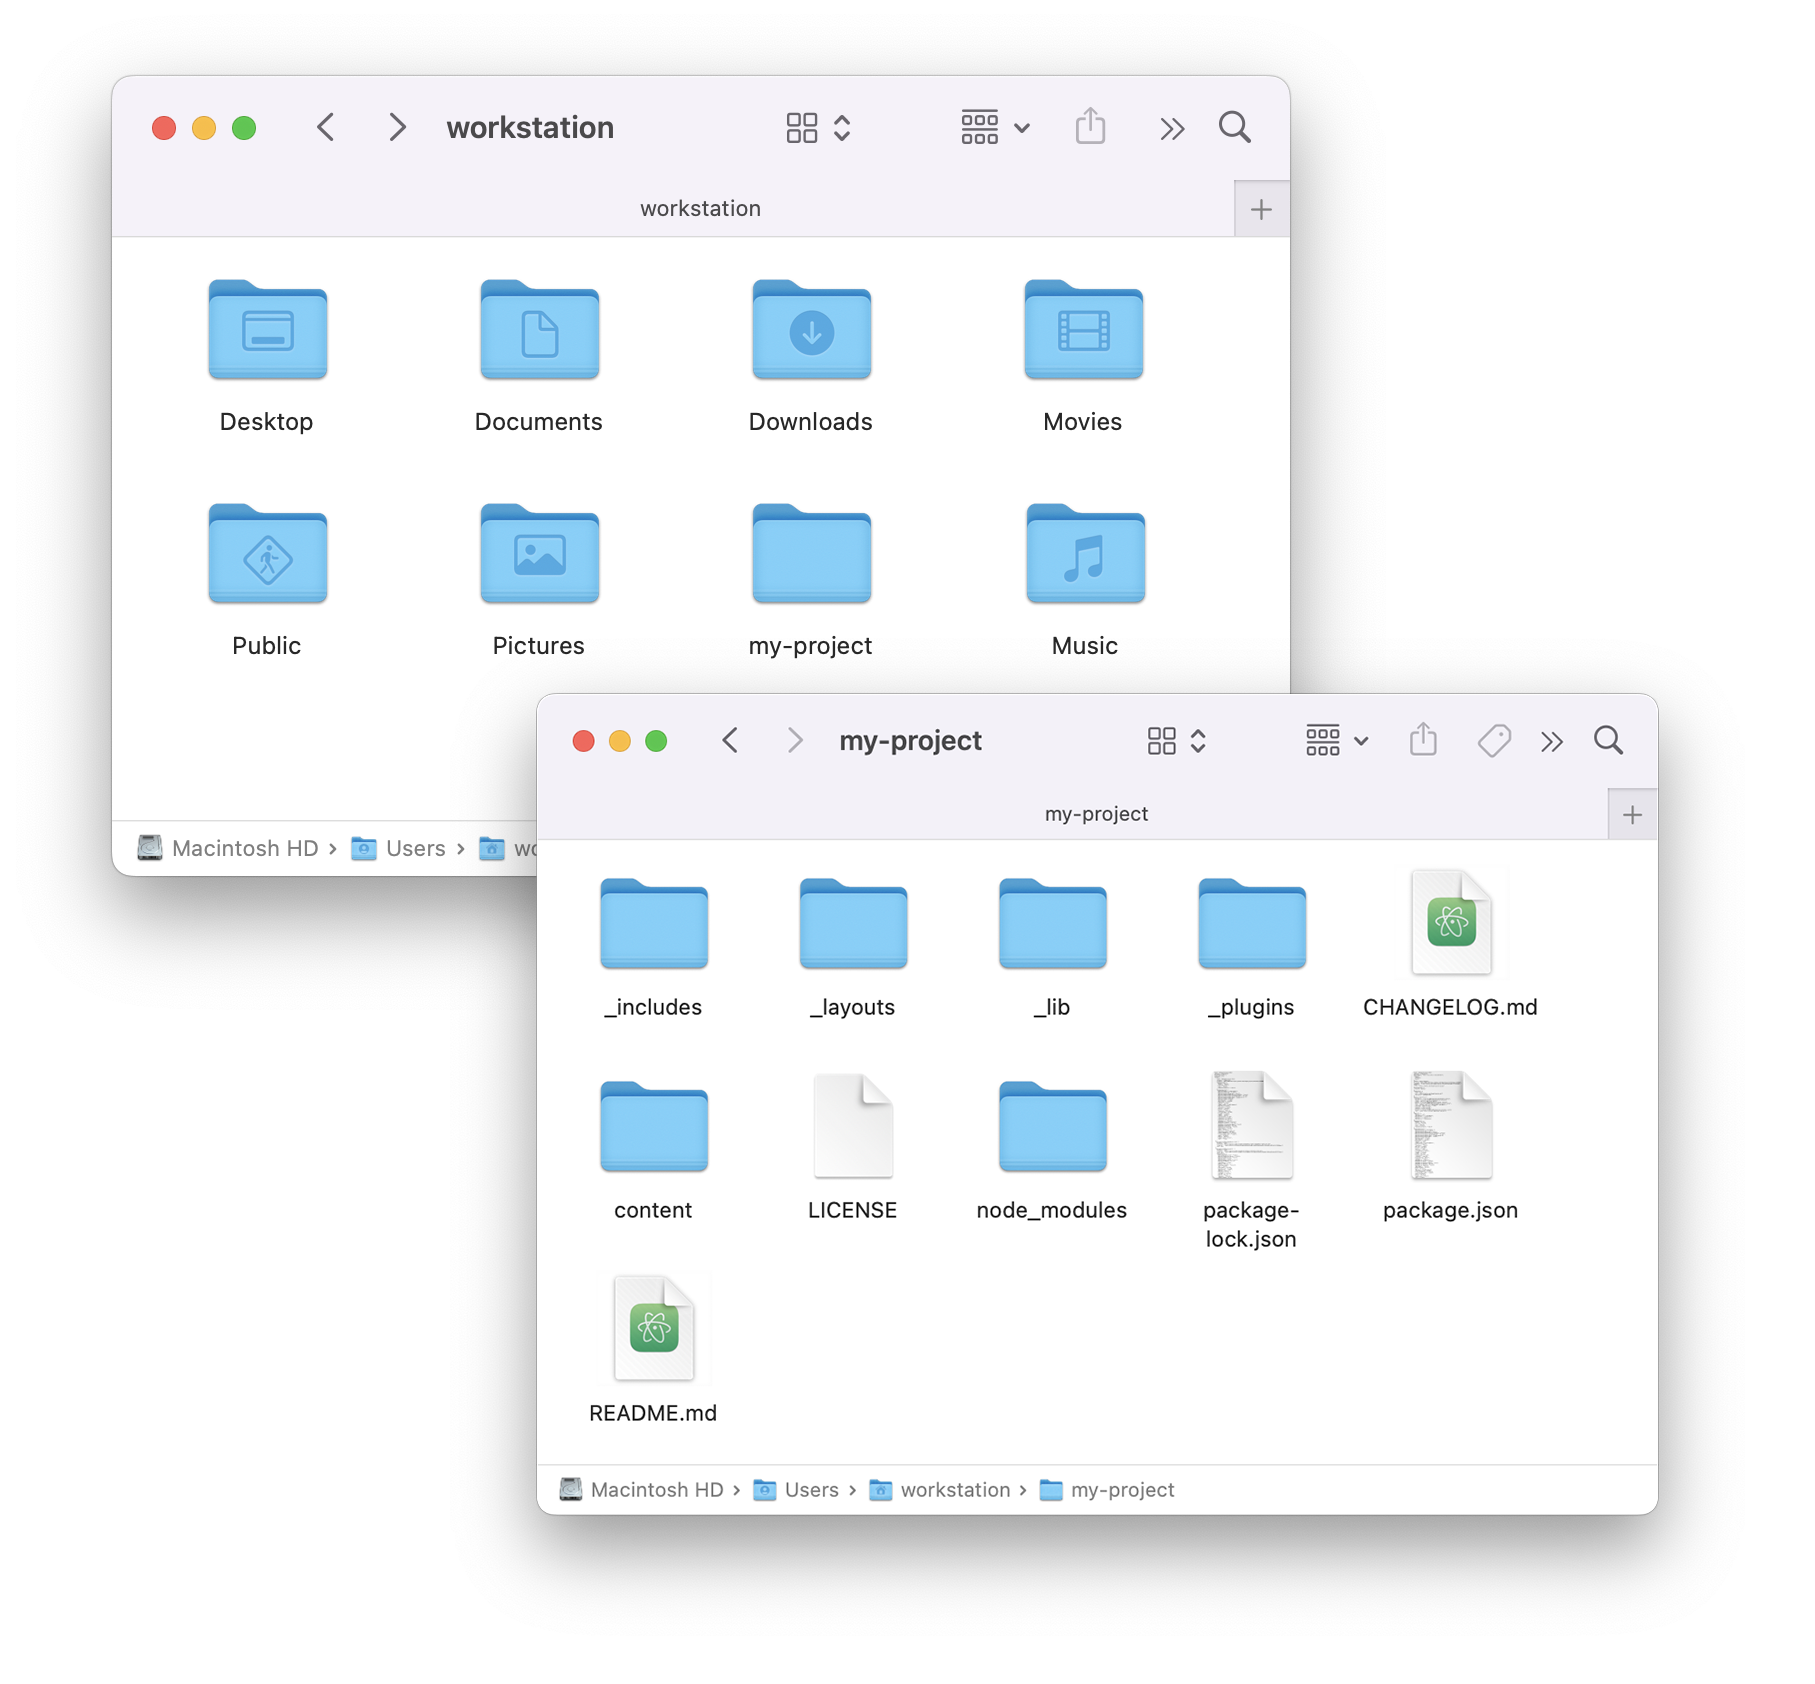
contentfolder and open it in your text editor.
6. Enter Publication Metadata
The metadata for your publication (its title, subtitle, contributors, publication date, etc.) is used under the hood for (SEO). It is also used in various areas of your site including headings, navigation labels, and on your About or Copyright page. All publication metadata is in the publication.yaml file of your project. You can find this file in the _data folder of your content directory. The format of how the metadata is stored is called (yam-ul). It’s designed to be a plain-text way of capturing information that appears in multiple places throughout your project and is therefore treated as data. As much as possible, Quire works on the principle of having information exist in only one place and using code to display it elsewhere.
publication.yaml file, and is used throughout the site. Here we see the title being used on the cover, in the PDF version of the publication, and in the side navigation.The general format of YAML is the name of a data item followed by a colon, a space, and then the data item’s value. For example:
title: "New Deal Photography"
subtitle: "The Works of Dorothea Lange and Walker Evans"
- Certain character combinations can cause issues with how the YAML data is processed and may cause your site preview to fail. It is recommended always to wrap YAML information in straight quotes to prevent these types of errors.
- Changes made to YAML files sometimes don’t preview immediately in the browser. If refreshing the browser doesn’t work, stop and restart the
quire previewprocess in your command-line shell. - If you can’t pinpoint what’s causing an error, copy and paste your YAML text into an online YAML validator like Code Beautify, which will alert you to any formatting issues.
To learn more about the way metadata is used in Quire, visit the Metadata & Configuration section of this guide.
Try it for Yourself
- Open the
content/_data/publication.yamlfile. - Change the
titleandsubtitle. - Save the changes.
- Preview the work in your browser and notice the changes to the navigation bar and expandable side-bar menu.
- If you do not see the changes immediately, use Control-C to stop the preview and rerun
quire preview.
7. Edit Content
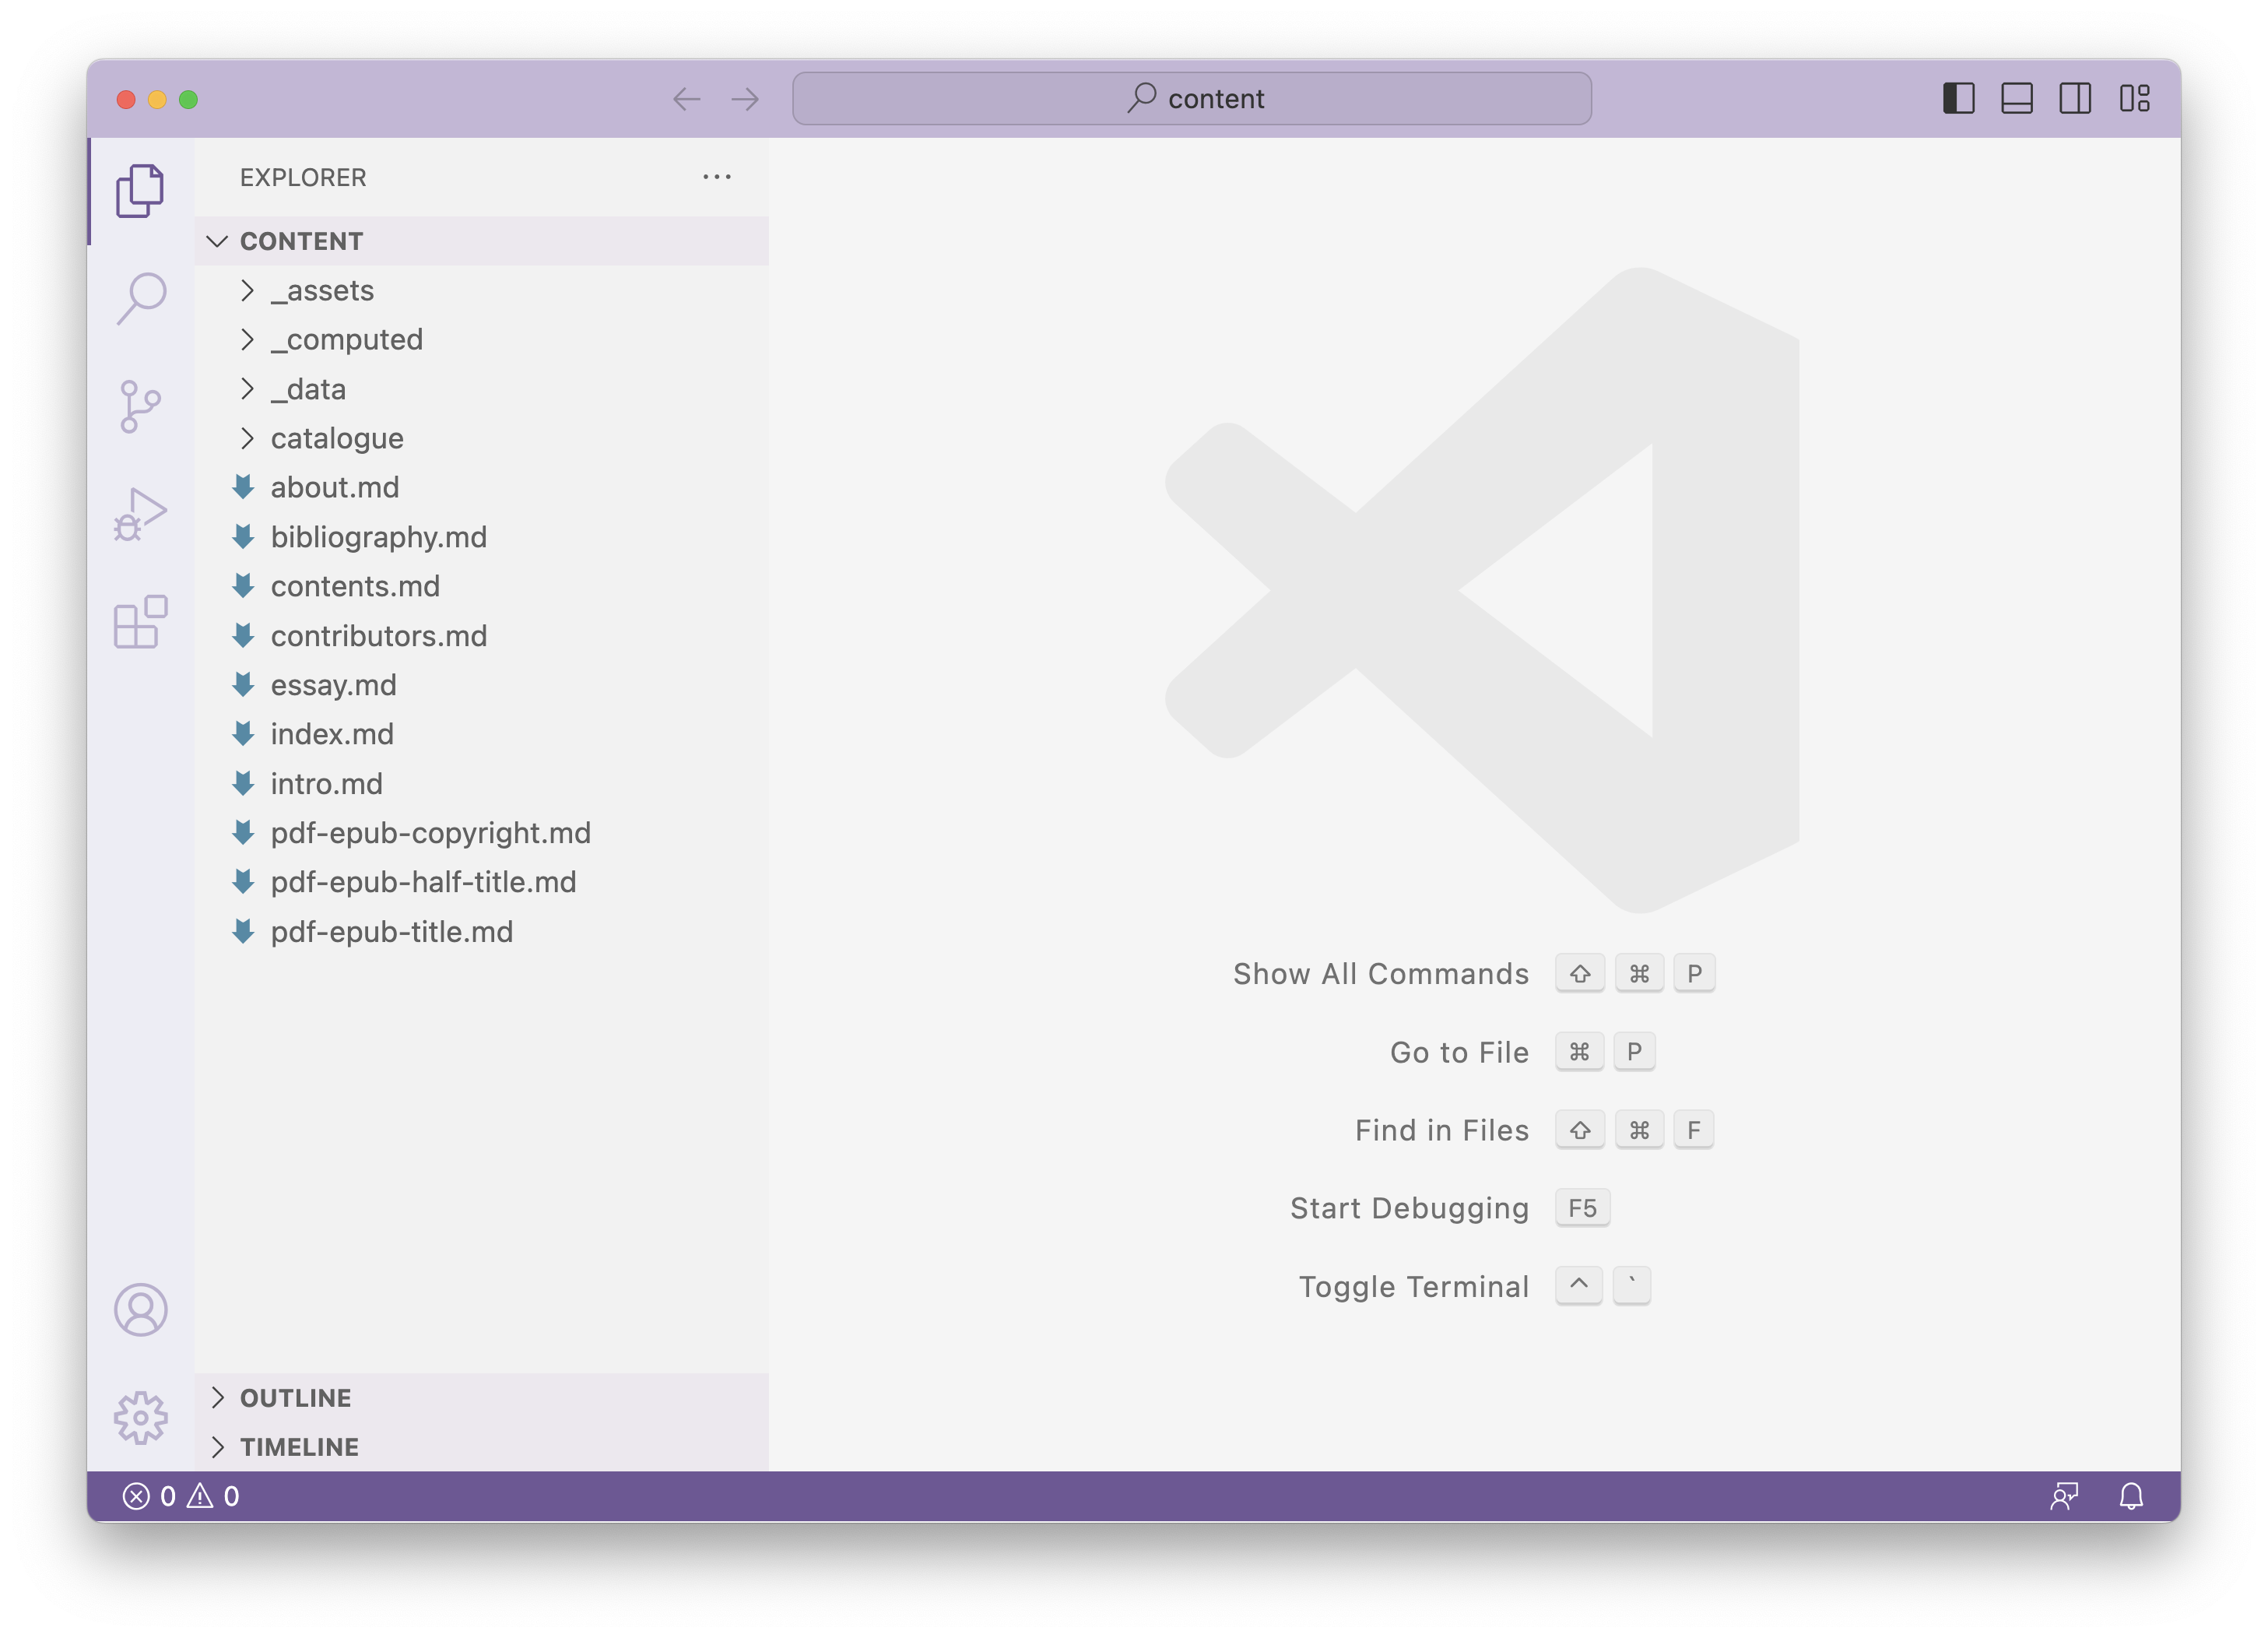
One of the most important directories in your Quire project, and where you will spend most of your time, is the aptly named content directory. In addition to the _data, _assets, and _computed folders, the content directory contains the editable (.md) files that comprise the bulk of your publication’s content. Each .md file represents a page of your website/book. These files are populated with page YAML and Markdown.
Page YAML
Just as the overall publication has metadata, each page has metadata that is also stored in YAML. You will notice the page YAML, surrounded by three dashes (—) at the top of each .md file. The three most basic types of page YAML that you’ll always want to include are the title, layout, and order. The layout determines how the page will be structured, and order determines the overall page order of your publication. Without order, the pages will default to being displayed alphabetically.
---
title: Introduction
subtitle: A Tale of Two Photographers
layout: splash
order: 10
image: figures/lange-house.jpg
---
Learn more in the Pages Types & Structures section of this guide.
Try it For Yourself
- Open the project’s
intro.mdfile. - Change the
.mdfile name topreface.md. Do this by right-clicking the file in your text editor and selecting “Rename.” Notice that this will also change the URL of the page. - In the page YAML, change the
titlefromIntroductiontoPreface. - Change the
layouttype fromsplashtopage. This change will eliminate the image that appears across the top of the Preface. (You can also delete the YAMLimage: figures/lange-house.jpgas it is no longer necessary.) - Open the
about.mdfile. - Change the order in the
about.mdfile to7. If you look at the sidebar menu, you will see this places About directly after the Table of Contents which has an order of 6, and before Preface which has an order of 10. - If you do not see the changes immediately, use Control-C to stop the preview and rerun
quire preview.
Markdown
In addition to the page YAML, .md files also contain Markdown. Markdown is a simple, plain-text markup language that uses basic symbols, such as hash marks, asterisks, and brackets, to format content for easy conversion into HTML.

Here are some of the things you can do with Markdown:
- Add italics to a word or phrase by surrounding it with single asterisks:
*a phrase in italics*. - Add bold to a word or phrase by surrounding it with double asterisks:
**a phrase in bold**. - Add a second-level heading by putting the text on it’s own line, preceded by two hashmarks:
## Heading 2. - Add a link by putting the link text in square brackets followed by the URL in parentheses:
[click here](http://www.myurl.com).
Learn more in the YAML & Markdown section of this guide.
Try it for Yourself
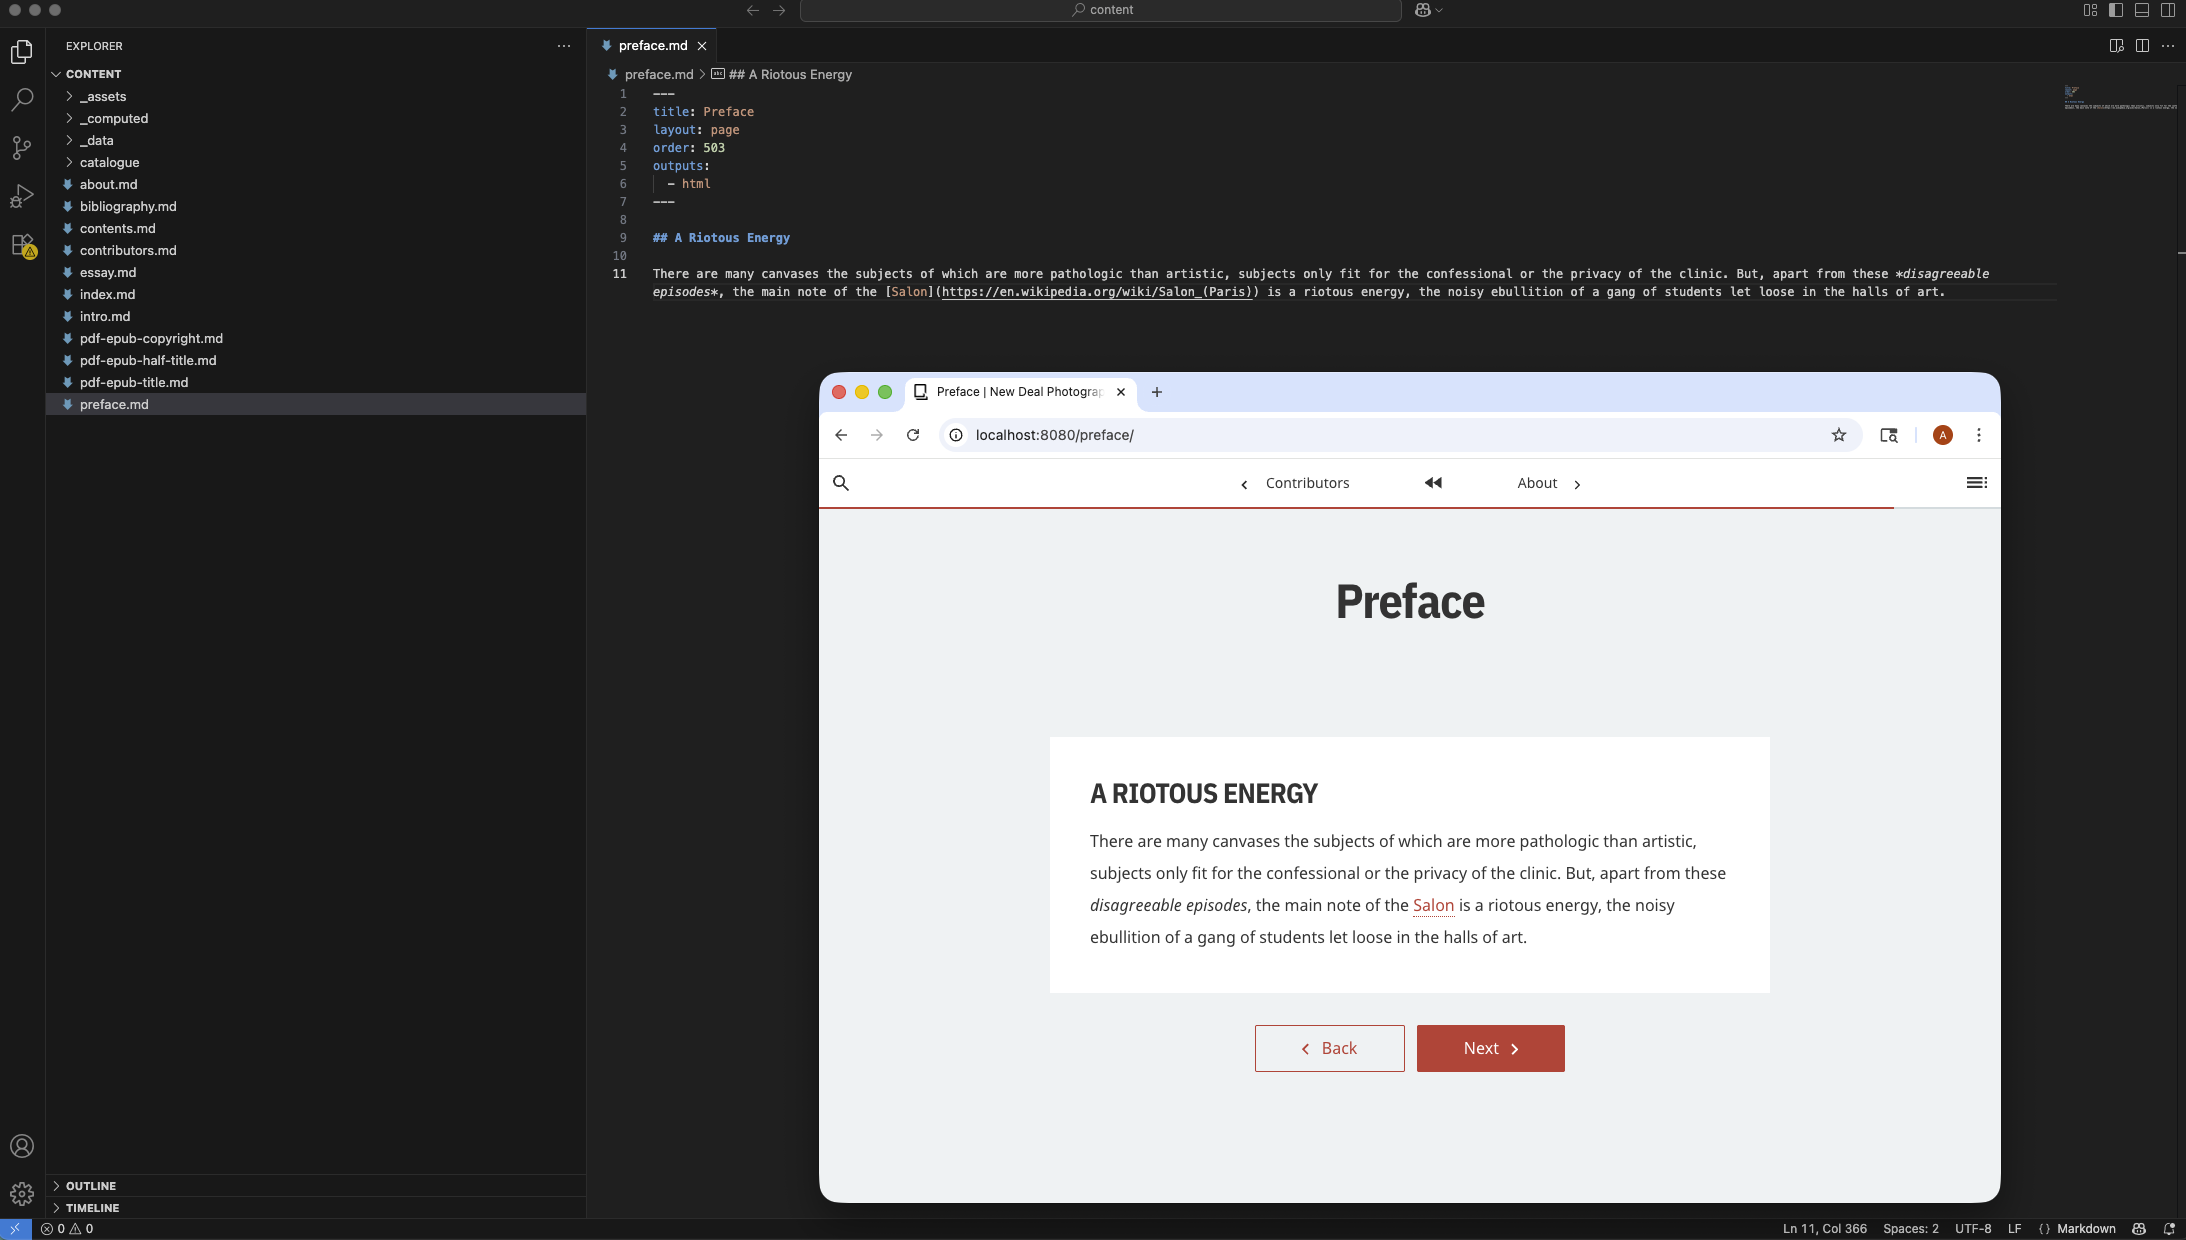
- In the
preface.mdfile, delete all the text that falls below the page YAML, starting with “Dorothea Lange had an extraordinary life…”. - With your page now empty, aside from the page YAML, copy-and-paste the following text that has been formatted with Markdown:
## A Riotous Energy

There are many canvases the subjects of which are more
pathologic than artistic, subjects only fit for the
confessional or the privacy of the clinic. But, apart
from these *disagreeable episodes*, the main note of the
[Salon](https://en.wikipedia.org/wiki/Salon_(Paris))
is a riotous energy, the noisy ebullition of a gang
of students let loose in the halls of art.
- View the changes in your browser preview.
8. Add Images
To add more specialized features to your publication, such as images, multimedia, or citations, Quire extends Markdown’s capabilities with . Shortcodes are small snippets of code that pull data from the YAML files found in the _data folder and insert them into your .md files. The figures.yaml file contains YAML values for things like caption, src, and id, among others as in the example below.
- id: “fig-1”
  label: “Figure 1”
  src: figures/evans-legionnaire.jpg
  caption: “Walker Evans. *[American Legionnaire]*, 1935.”
  credit: “The J. Paul Getty Museum, Los Angeles”
The id is critical and is used in the shortcode as an identifier. It pulls the image and any additional information in the relevant figures.yaml entry into the .md file that includes the shortcode. Keep in mind if you update the information stored in figures.yaml, it will update on all pages where that id is referenced.
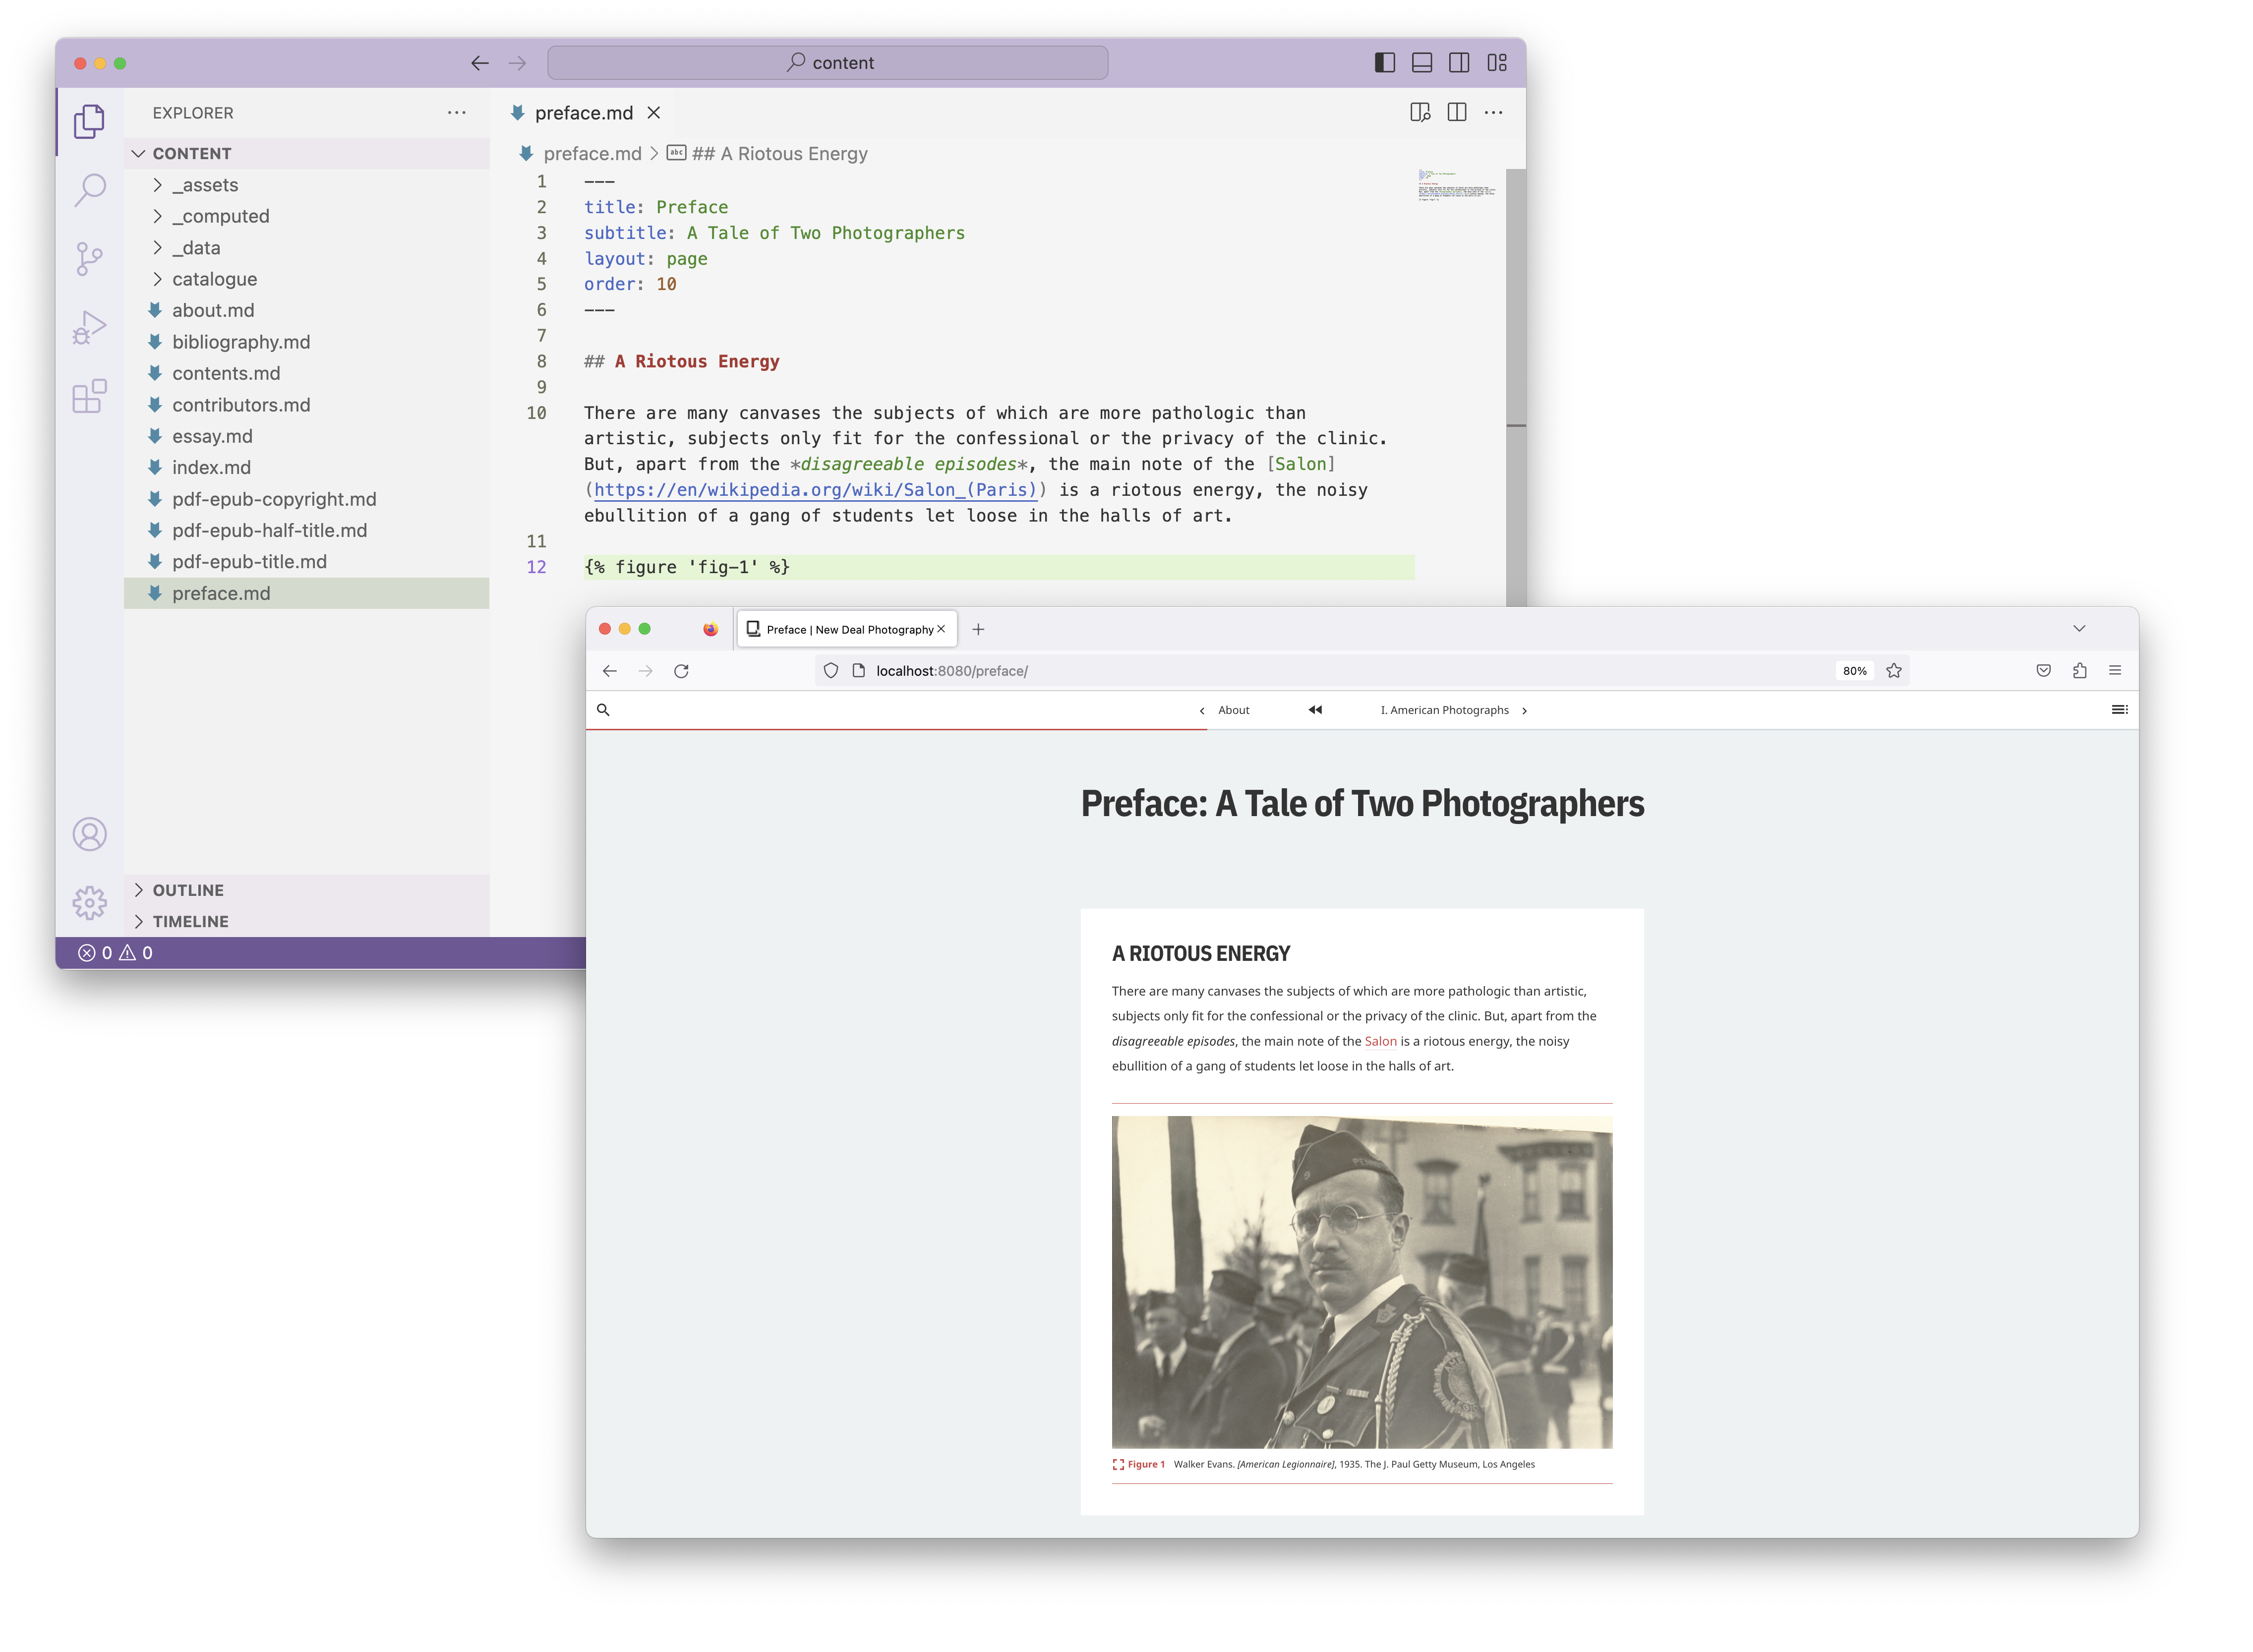
{% figure %} shortcode referencing an id. The id is listed in your project’s figures.yaml file along with a caption and other YAML values.Learn more in the Figure Images section of this guide.
Try it for Yourself
- Type the following figure image shortcode on a new line in your
preface.mdfile.
{% figure 'fig-1' %}
- Save the change and check the preview in your browser. A new image should appear on the Preface page.
- Navigate to your project’s
figures.yamlfile and look for theidvalue offig-1. - Make edits to the caption value for
fig-1and preview your changes. - If you do not see the changes immediately, use Control-C to stop the preview and rerun
quire preview.
9. Customize Styles
There are several ways to customize the look and feel of your Quire publication without digging deep into the code. These “out of the box” customizations include updating the cover image or altering the colors and styles of different interface elements (like the menu, navigation bar, and links).
Cover Image
A background image can be added to pages with a layout type of either splash or cover by indicating the image path in the page YAML. The image itself is stored as a .jpg or .png file in the content/_assets/images/figures/ directory of your project. This is also where images are stored for use with the {% figure %} shortcode.
Try it for Yourself
- Open the
index.mdfile found in the maincontentdirectory. This is your cover page. - Delete
spiral-overlay.pngand replace it with the text below:
figures/lange-house.jpg
- Save the file and preview the results in the browser.
- If you do not see the changes immediately, use Control-C to stop the preview and rerun
quire preview.
CSS Variables
variables that control the appearance and format of your project are stored inside the content/_assets/styles folder in a file called variables.scss. Here you’ll find variables, prefixed with a dollar sign $, that are descriptive of what they control.
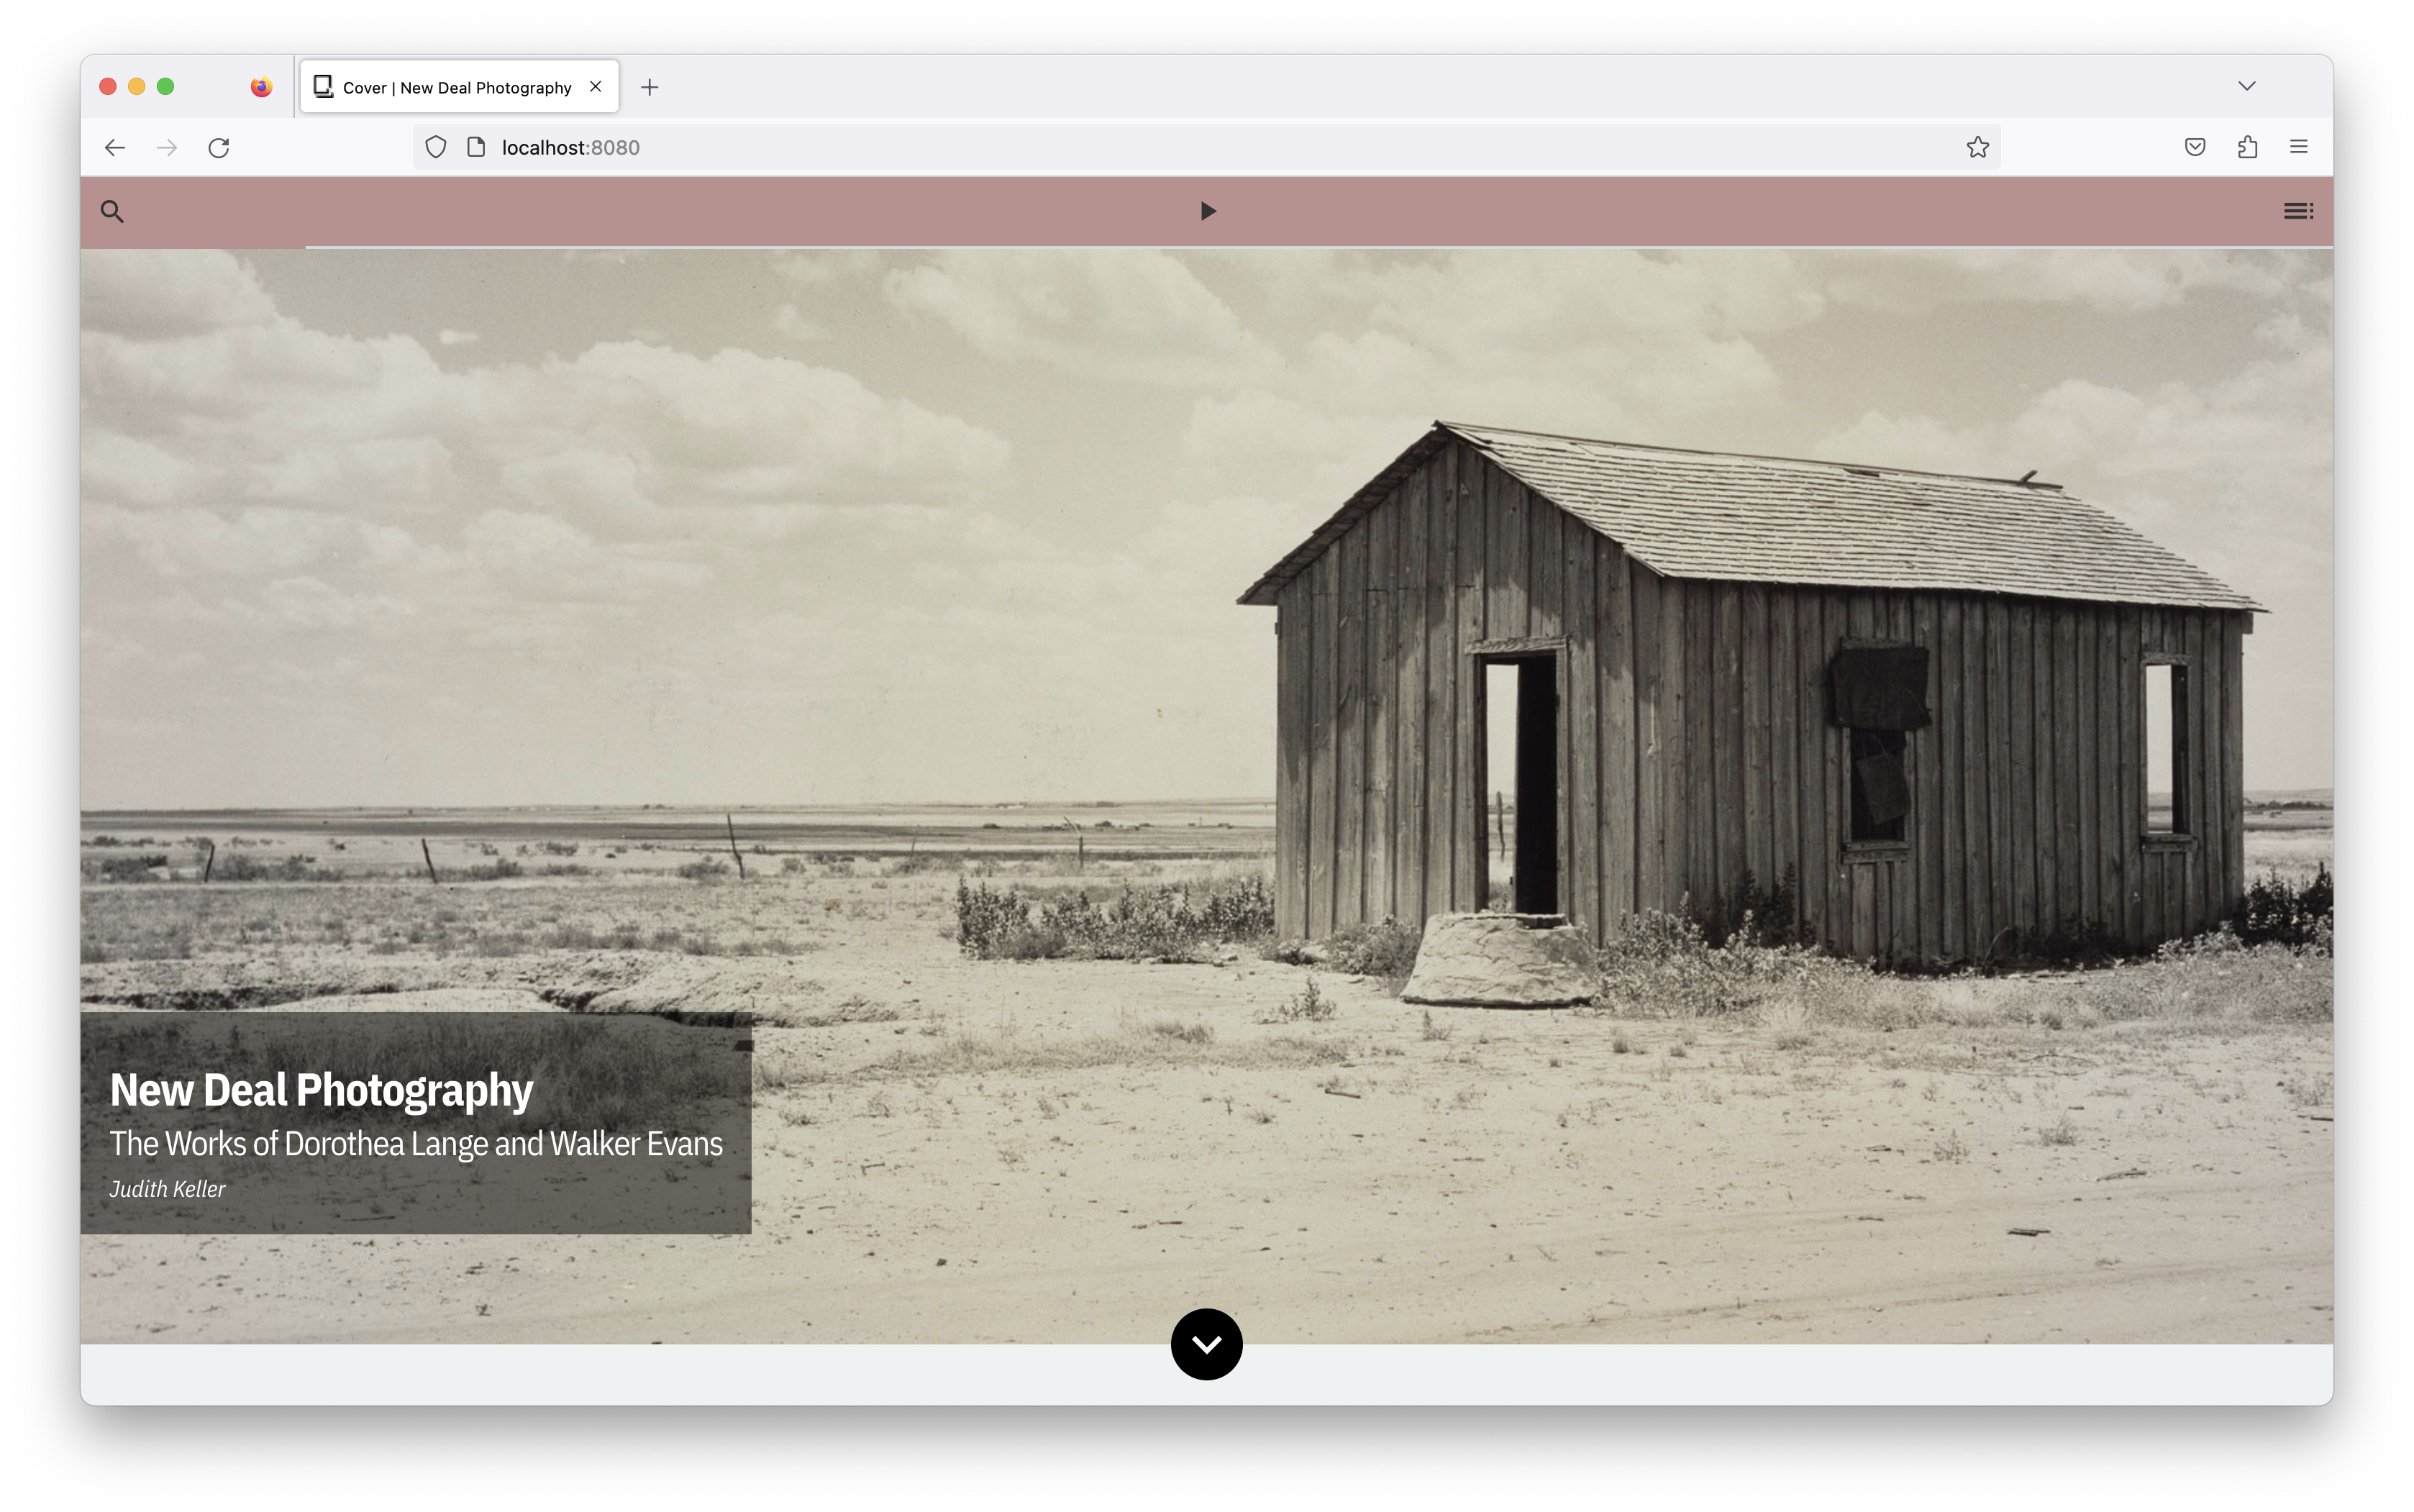
variables.scss file in your project’s content/_assets/styles file.Read more about applying your own custom CSS styles, altering page templates, and creating a new theme in the “Customizing Styles” section of this guide.
Try it for Yourself
- Navigate to the
variables.scssfile in your text editor. - Find the variable called
$accent-colorand change the color fromnulltorosybrown. This will update the color of links, navigation buttons, the progress bar, and other project areas. - Then scroll down to the section labeled
// Declare navbar colors. - Now change the
$quire-navbar-colorvalue torosybrown. This will update the navigation bar color at the top of the project screen. - Save the changes in your text editor and preview them in your browser.
- If you do not see the changes immediately, use Control-C to stop the preview and rerun
quire preview.
10. Output Your Project
Once you’ve played around with adding content and customizing your project, it’s time to output it. One of the most significant differences between Quire and other digital publishing tools is the ability to produce your project in multiple formats, including website, e-book, and print. You can create these different versions of your project by running the command quire build which will create the site files used to build the PDF and EPUB. Those formats are then generated with the commands quire pdf or quire epub.
Read more about outputting your publication files and deploying your project in the “PDF Output”, “EPUB Output”, and “Deploy Your Project” sections of this guide.
Try it For Yourself
- Use Control-C to stop the preview of your project.
- While you are still in the project folder, run the command
quire build. - Once that process is done, run the command
quire pdf. - Open your Finder and go into your “my-project” folder, you should see the PDF for your project there as
pagedjs.pdf!
Congratulations! Now What?
Congratulations on completing the tutorial! We’ve touched on Quire’s core concepts and functionality, but of course there’s more to learn and do.
Next Steps:
- Continue reading the Quire documentation.
- Explore the Resources section of our website for guidance and resources.
- Check out the community forum on GitHub Discussions.
- Browse our community showcase.
- Sign up for our newsletter.
- Contact us if you are interested in a one-on-one consultation to determine if Quire is right for you.
- Watch a 17-minute Quire demo