Hands-On Workshop
The content of our in-person/virtual workshops
About Quire
Quire is an open-source publishing tool developed by Getty and used to create long-lasting and discoverable publications. It is not a publishing service or a platform for hosting publications. Instead, Quire provides its users (students, researchers, professors, curators, editors, and more) with the ability to produce multimedia-rich scholarship for the web. The same set of files used to create the website can also be used to create a PDF, e-book, and print book. Quire is an excellent option for long-form book-like projects, especially those that rely on visual illustrations and scholarly elements like citations, bibliographies, and footnotes. Quire is freely available for anyone who wants to use it. You can learn more at http://quire.getty.edu.
Examples of Quire Publications
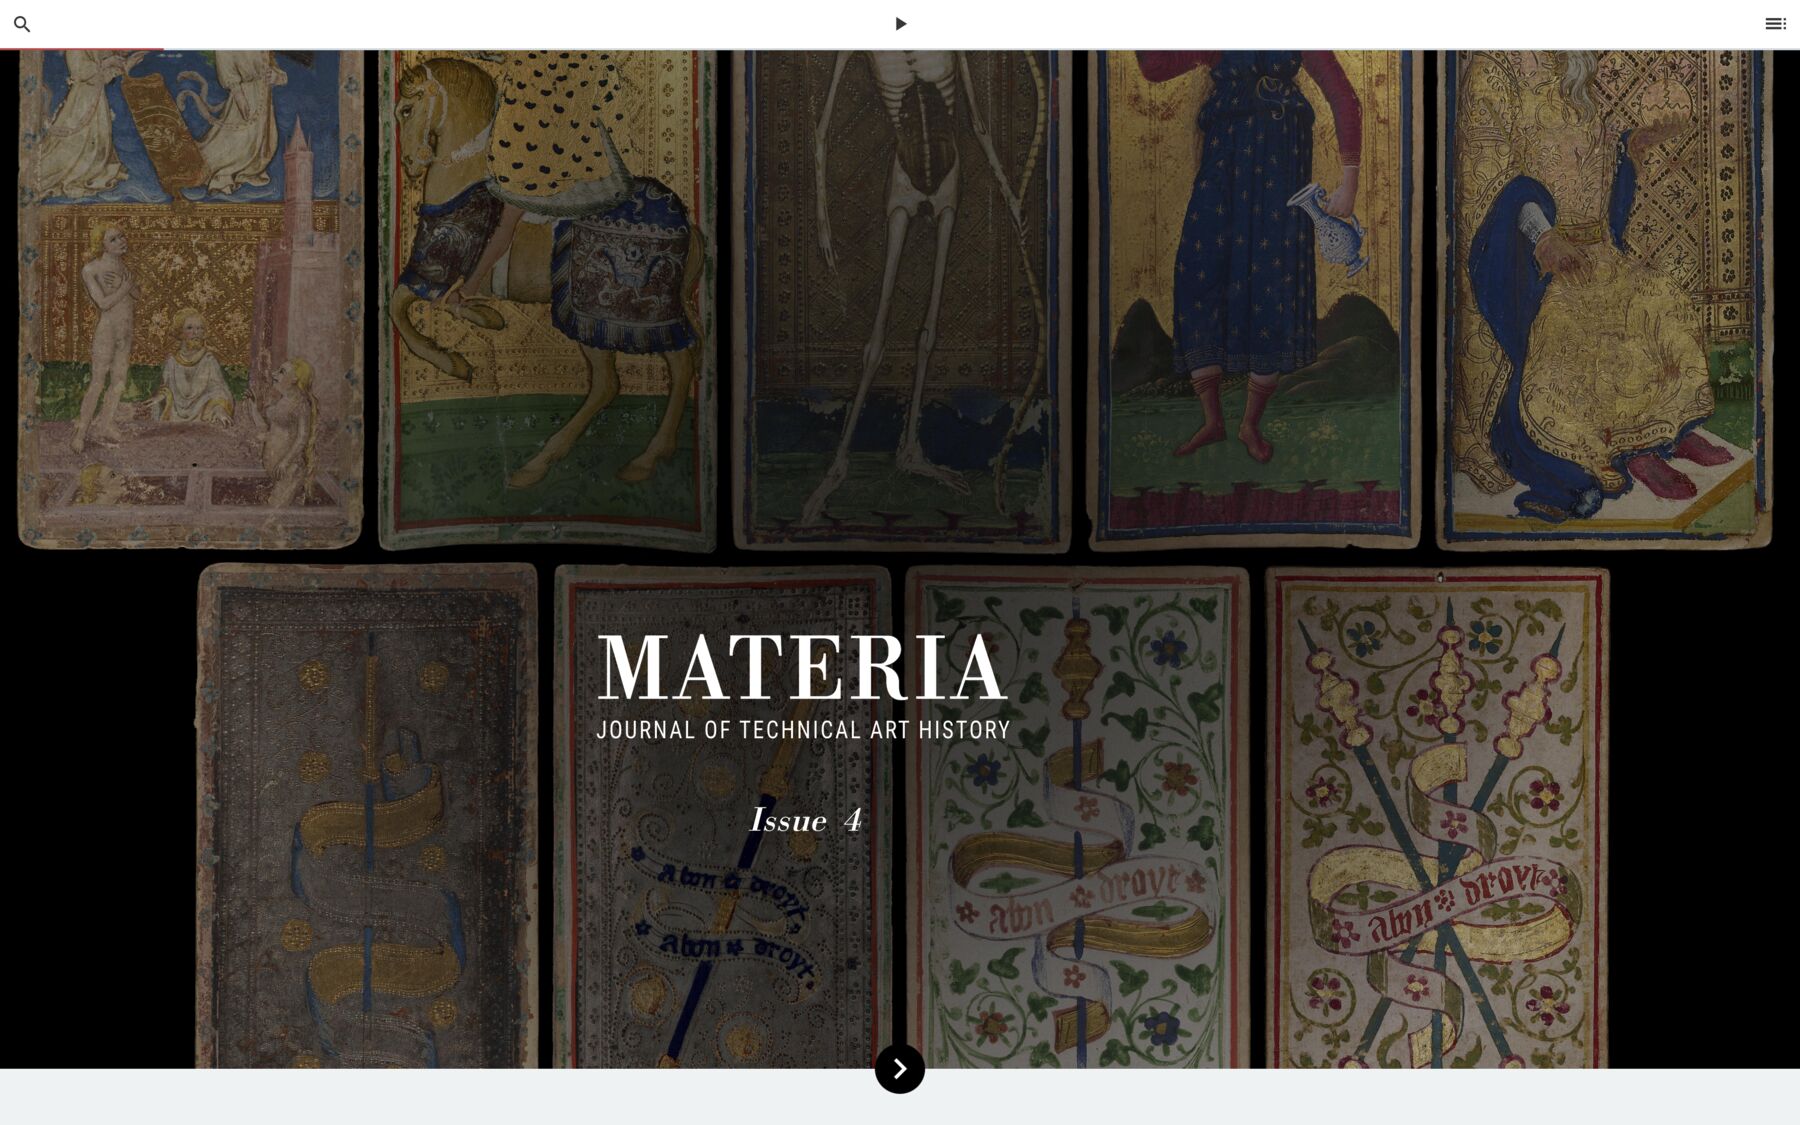
Materia: Journal of Technical Art History
Journal | 2024
Quire user: @materiajournal
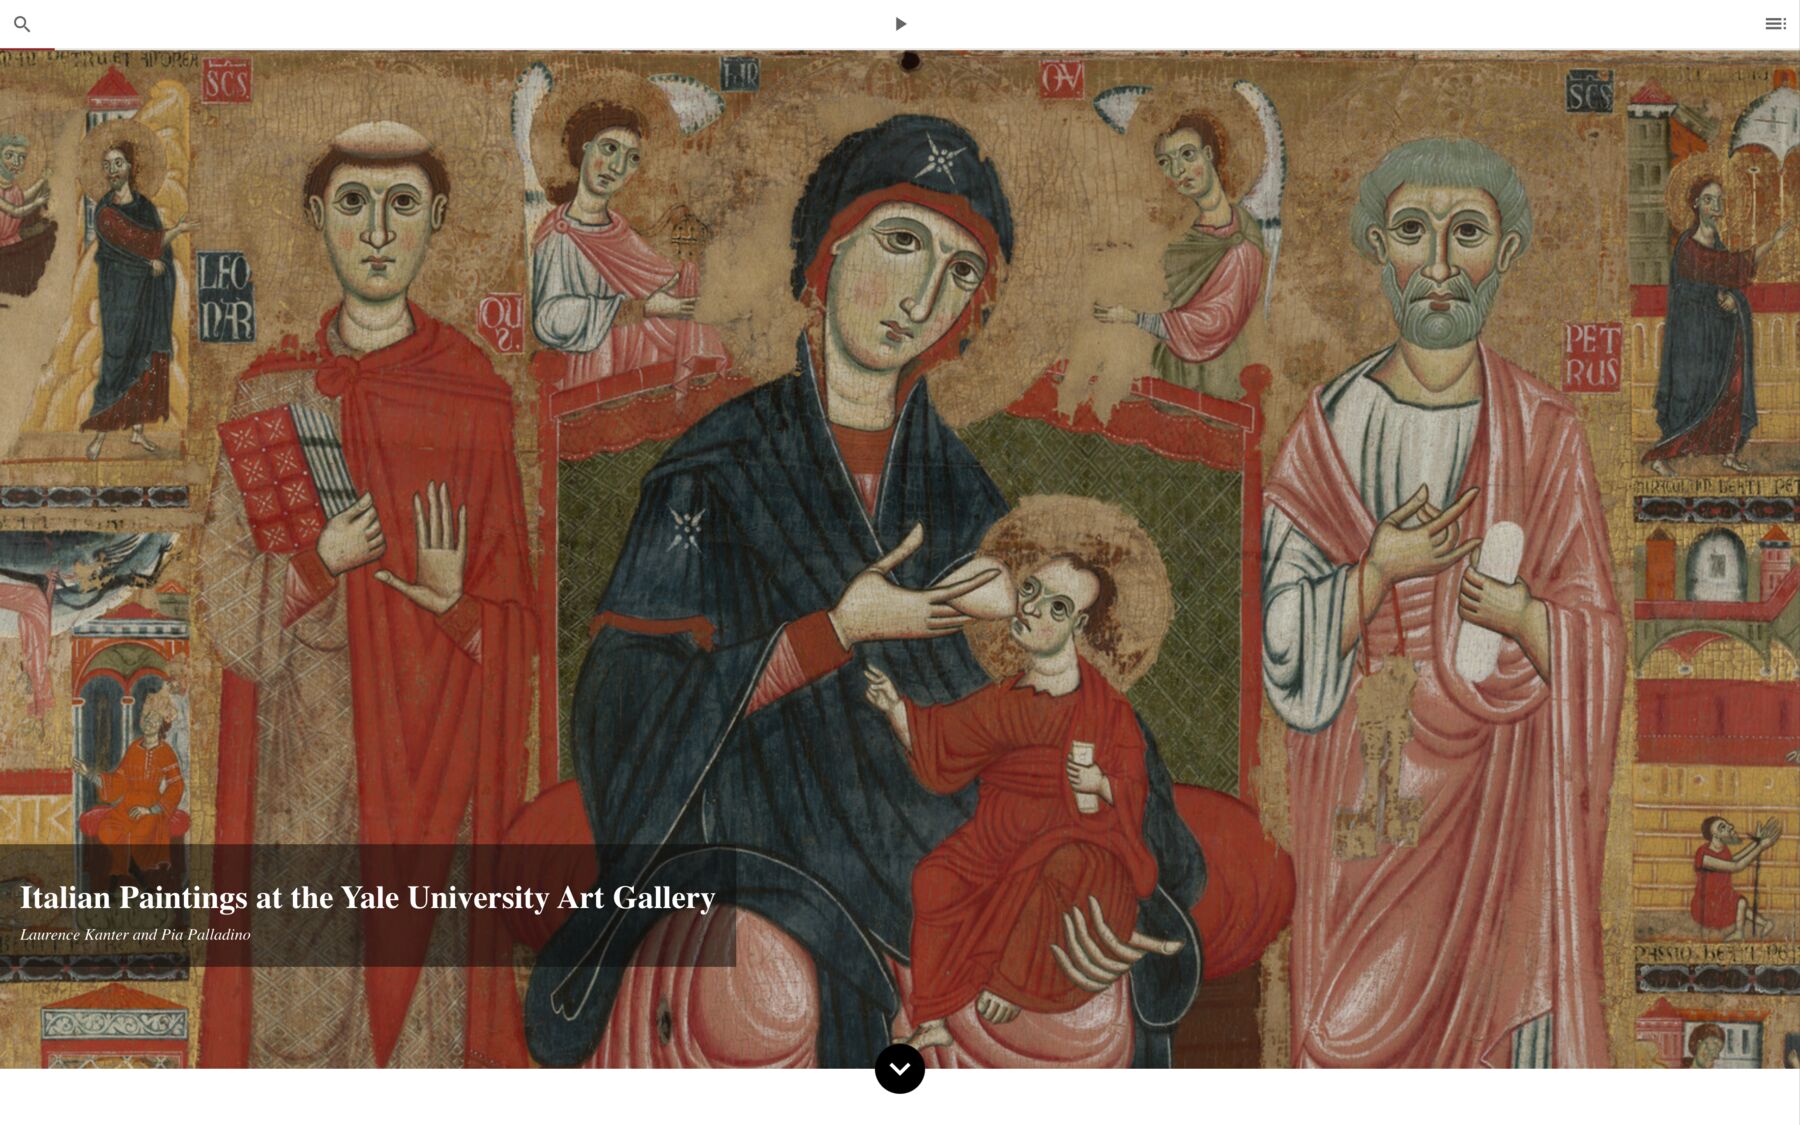
Yale University Art Gallery
Collection Catalogue | 2023
Quire users: @tiffanysprague @zsofiaj
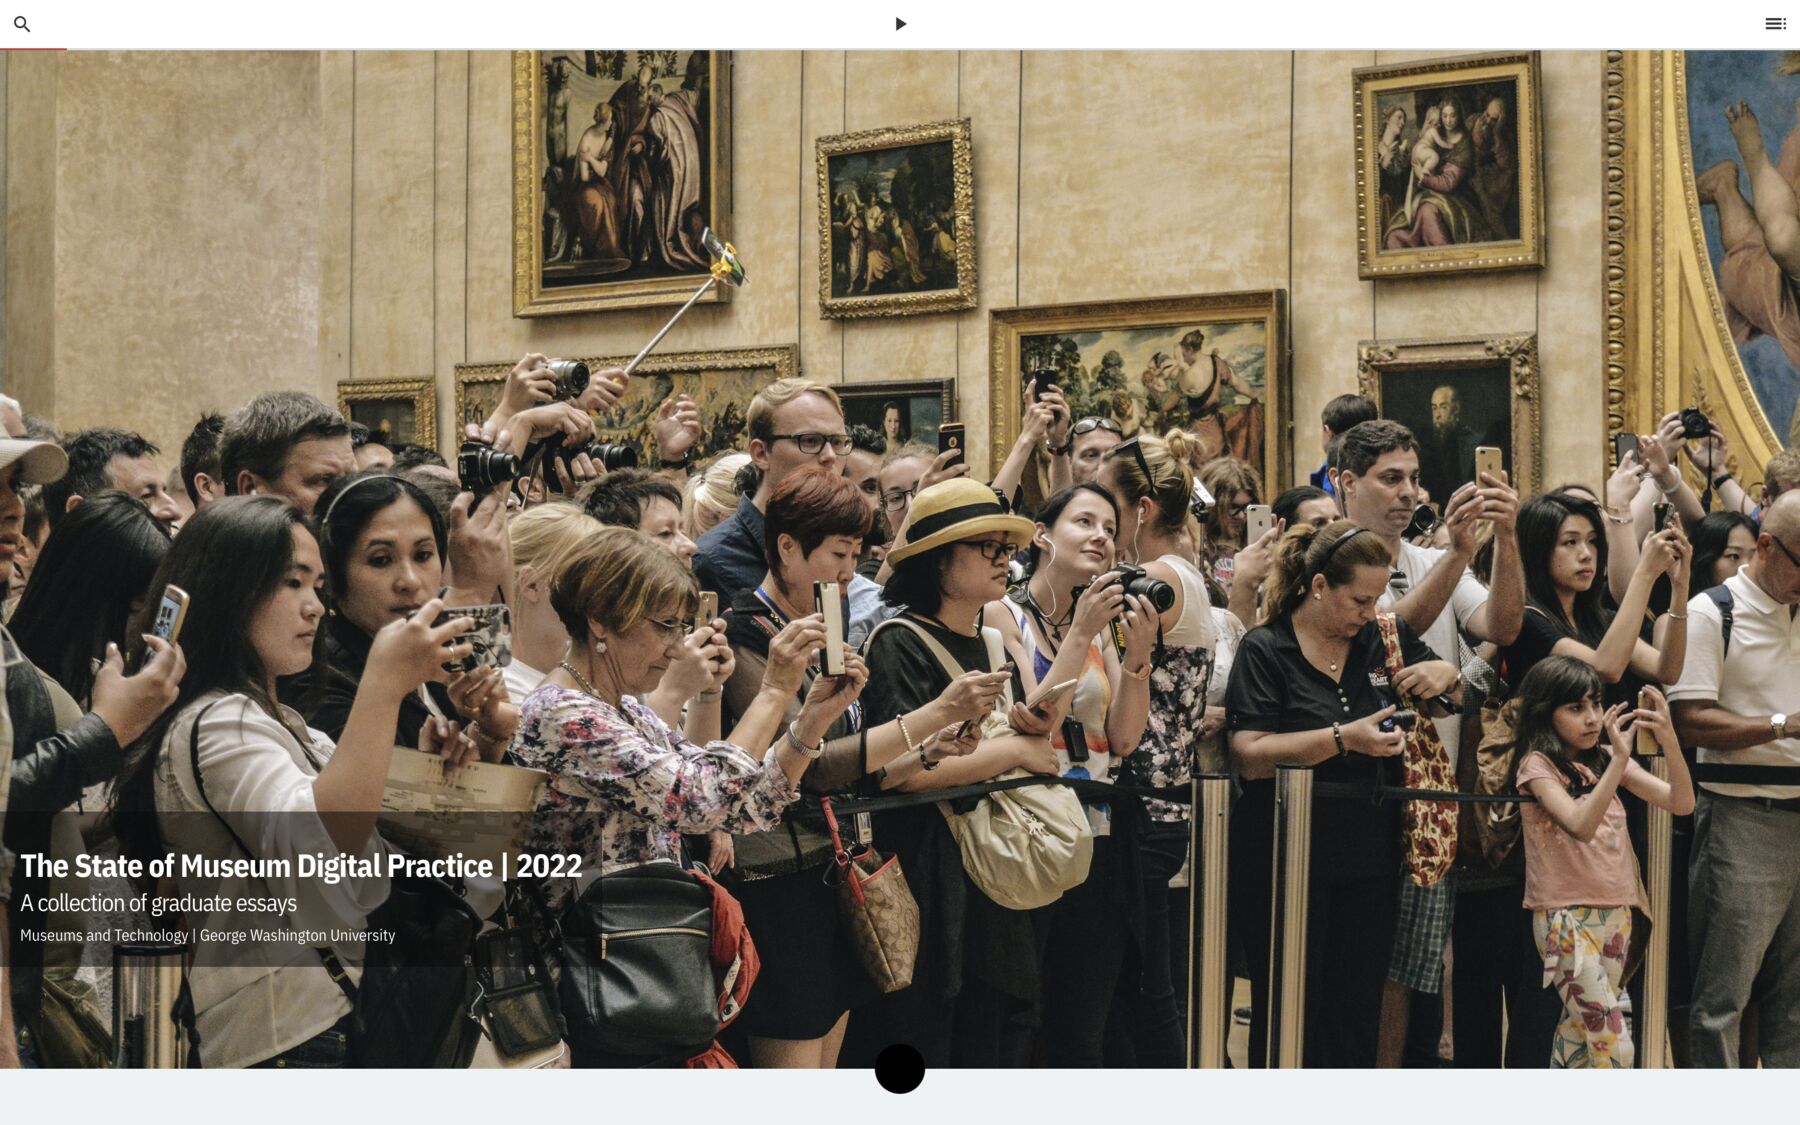
Museum Studies at the George Washington University
Essay Collection | 2022
Quire users: @shineslike @gealbers
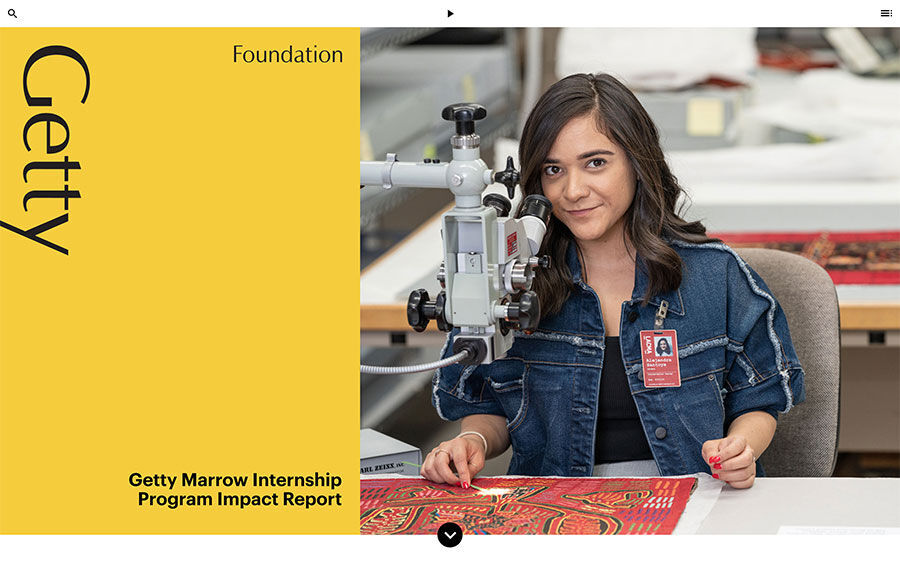
Getty Foundation
Report | 2020
Quire user: @geealbers
Quire Benefits & Challenges
| Benefits | Challenges |
|---|---|
| Developed, tested, and used by Getty | There is no graphical user interface (GUI) |
| No proprietary software or ongoing maintenance | You are working with potentially unfamiliar tools like the command line and a text editor |
| One set of files can produce multiple formats (PDF, e-book, print) | You are working with potentially unfamiliar content formats like Markdown and YAML |
| Pre-existing technical skills are not necessary | There is a learning curve |
| Vibrant international community of individuals and institutions available to provide assistance and inspiration |
About this Workshop
The workshop seeks to break down the various tools, formats, and processes necessary for using Quire into approachable and easy-to-understand concepts. We additionally provide step-by-step exercises to help partcipants gain confidence in navigating and using the tool. We aim for individuals who take this workshop to leave feeling excited and empowered to continue experimenting with Quire on their own.
Part 1: Basic Concepts: Command-Line Interface & Text Editor
Part 2: Basic Concepts in Action
Part 3: Going Deeper: YAML
Part 4: Going Deeper: Images
Part 5: Going Deeper: Shortcodes
Part 6: Going Deeper: References
Part 7: Going Deeper: Customization
If you are interested in having a hands-on Quire workshop led by a Quire representative either in person or virtually, please contact quire@getty.edu.
Before Getting Started
- Install Quire: https://quire.getty.edu/docs-v1/install-uninstall/
- Install Visual Studio Code, a free text-editor: https://code.visualstudio.com/
Part 1. Basic Concepts
In this section, you will learn about and get hands-on experience with the two main tools that are required to use Quire: the command-line interface (CLI), which is used to navigate your project and tell Quire what processes to perform, and the text editor, which is the tool used to organize, write, and edit your project files.
Learning to Love the Command-Line Interface
What is the command-line interface?
A command-line interface (CLI) is a text-based interface used to run program tasks. It is operated through a which is referred to as “Terminal” on a Mac and “Powershell” on a PC. The CLI enables the user to type commands as strings of text into the shell. This is opposed to a graphical user interface (GUI), in which the user controls the program through visualized buttons, toggles, and menus.
When you install Quire, what you are actually installing is the Quire CLI.
This is what the command-line shell looks like when it is first opened on a Mac computer: 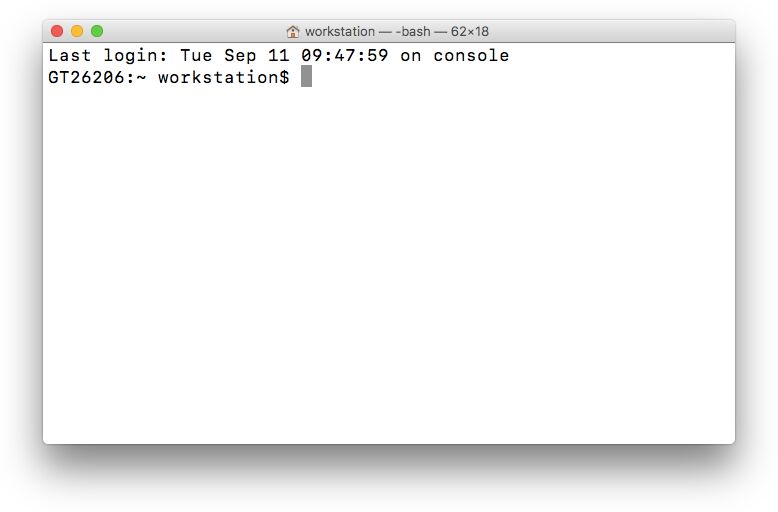
What are the benefits of using the command-line interface?
The main benefit of the CLI is efficiency. Instead of spending time finding and clicking on individual files, you can use the CLI to perform actions on several files with simple text commands. Additionally, CLI applications often consume fewer network resources compared to graphical applications. It’s worth noting that the CLI is a powerful tool; however, it is used in a very basic, straightforward way when working on Quire projects, so don’t be intimidated!
Navigating with the CLI
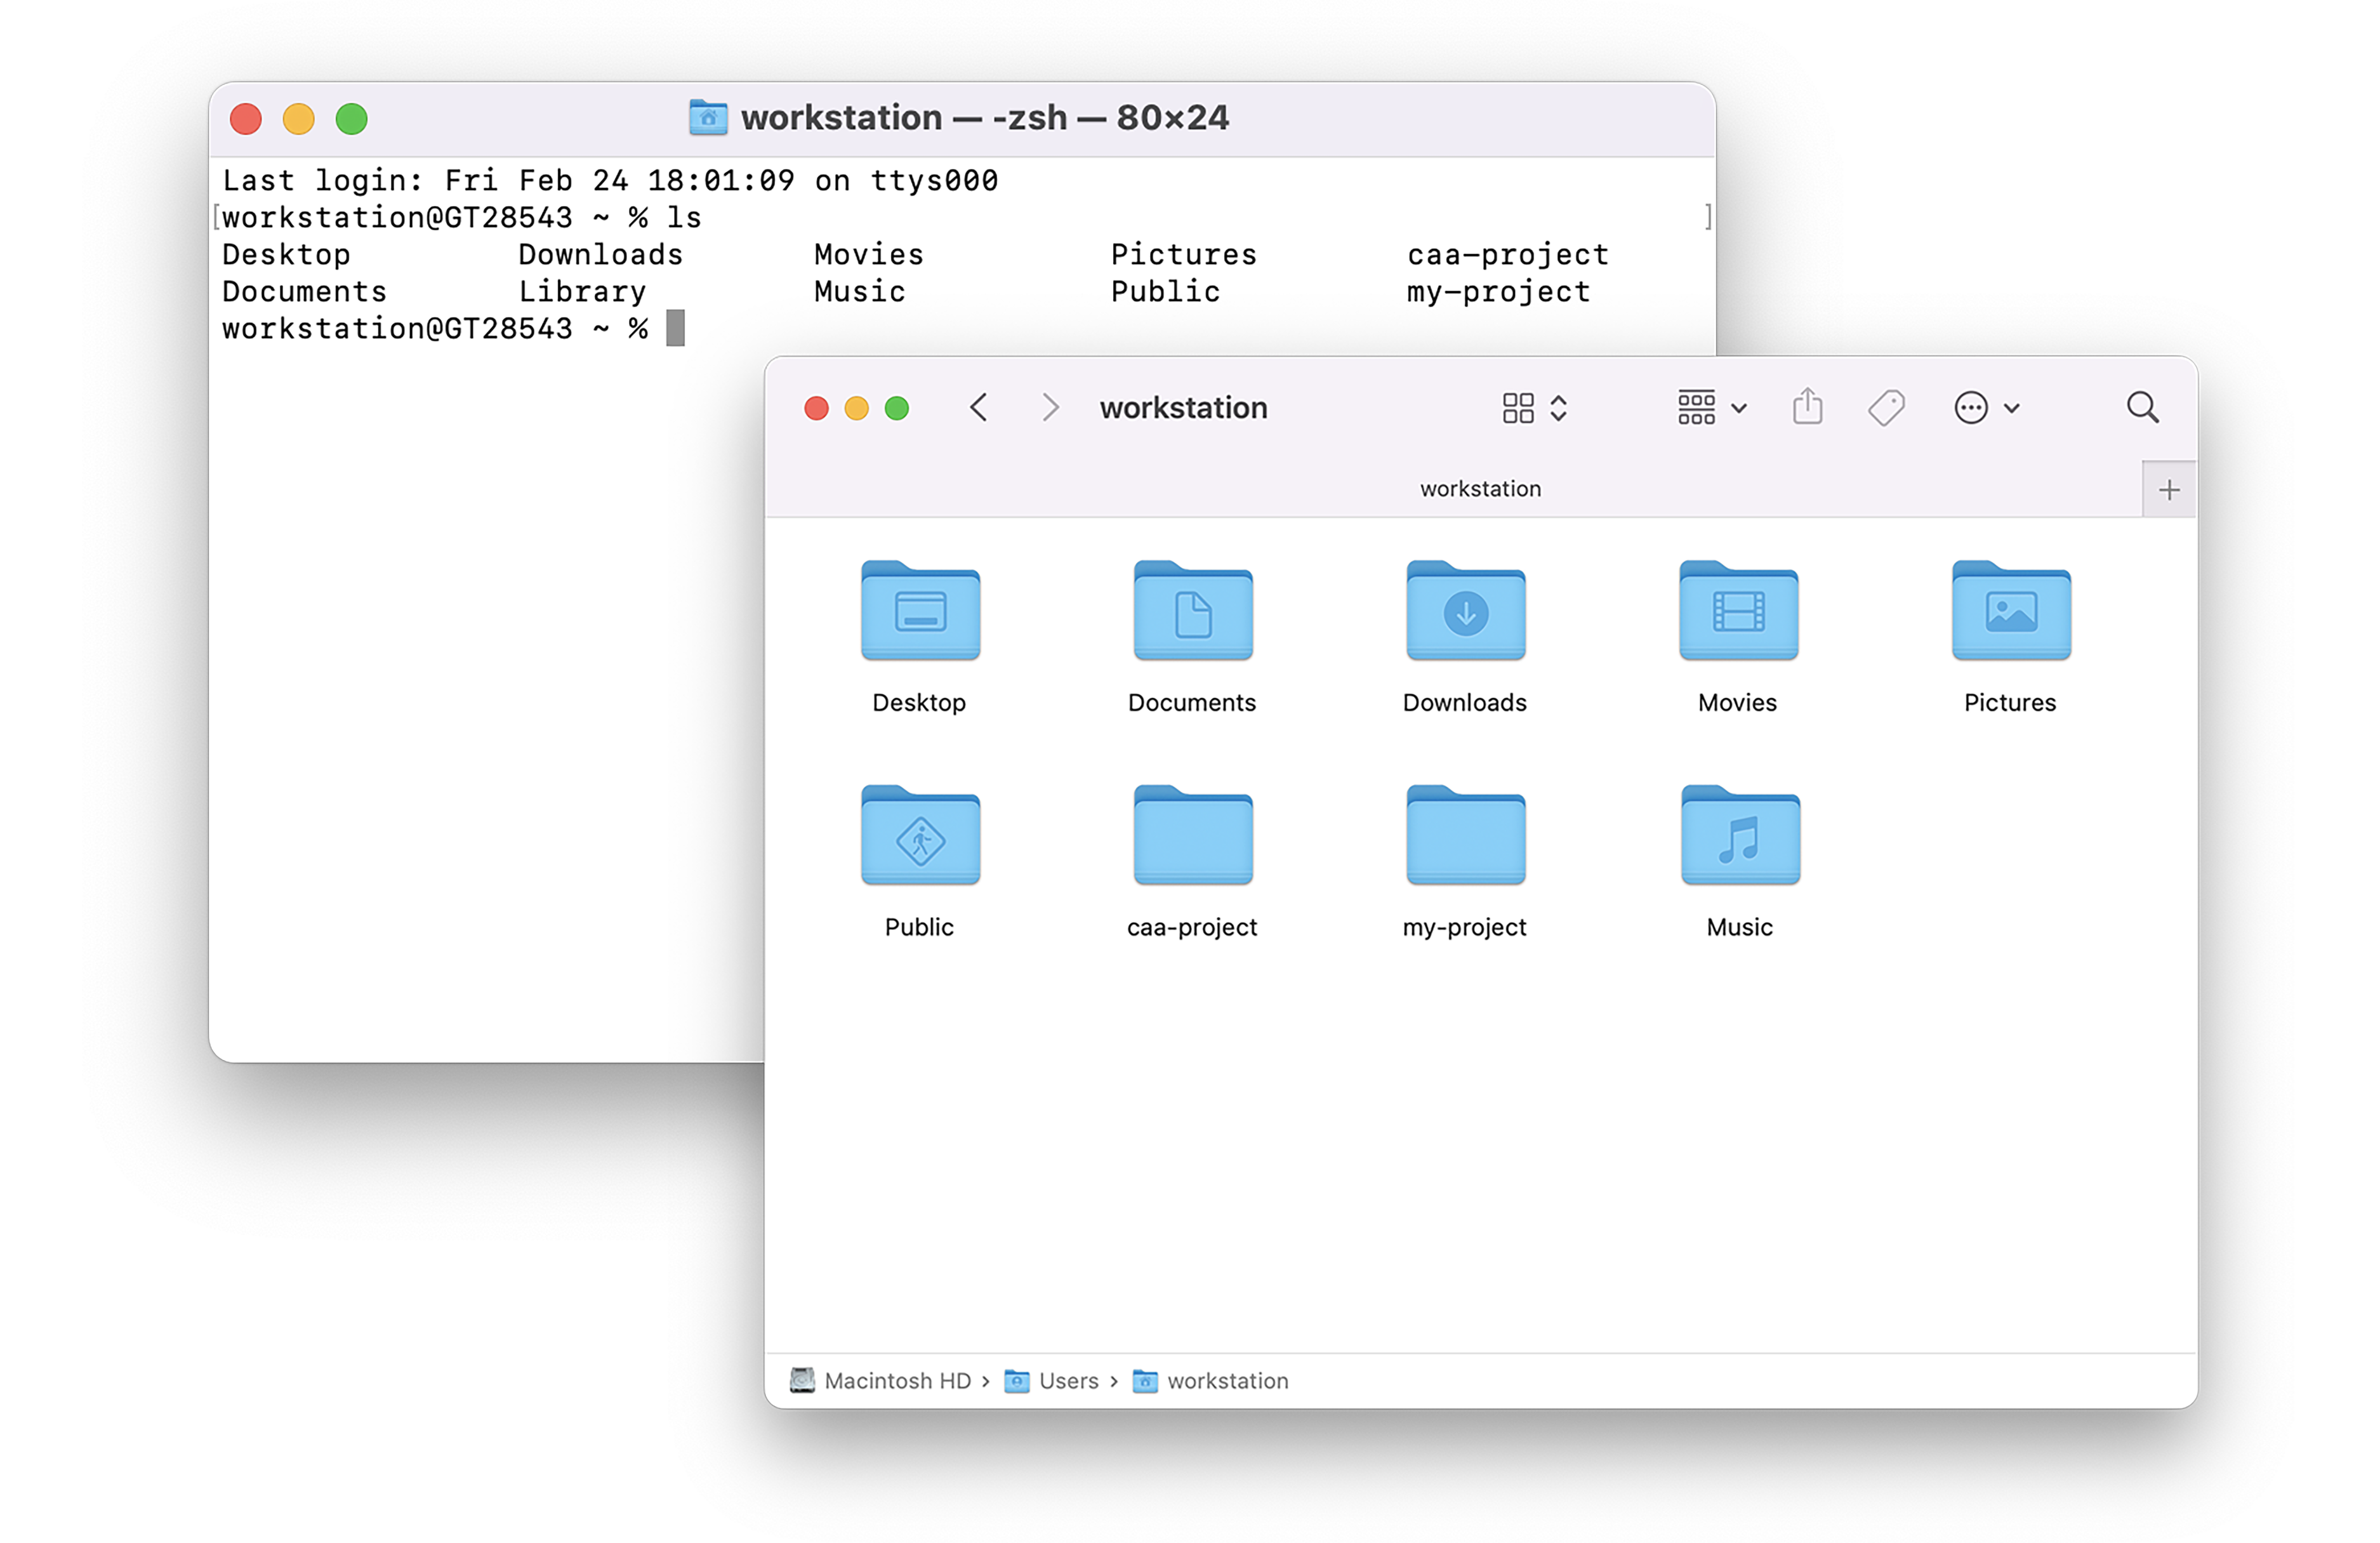
One of the primary functions of the CLI is to easily navigate files on your computer. In the exercise below, you will use commands like cd (“change directory”) and ls (“list”) to explore your computer’s home directory, the main storage folder that contains your personal files. You will then use Finder/Explorer to do the same thing. This demonstrates how running commands in the command-line shell mirrors the process of clicking through folders in your Finder/Explorer.
Try it Yourself
Mac:
- Press Command-Spacebar to open Spotlight
- Type “Terminal” (Mac’s name for the command-line shell) and hit enter
- Type
lsto list the contents of your computer’s home directory - Open your Finder
- Press Command+Shift+H (to open your “home directory”) and compare the files in that folder with what you see listed in the Terminal
PC:
- Open the Start menu
- Select “Windows Powershell” (Windows’ name for the command-line shell) and hit enter
- Type
~and hit enter to ensure you are in User and not Administrator mode. - Type
lsin Powershell to list the contents of your computer’s home directory - Click File Explorer
- Click the PC icon (to open your “home directory”) and compare the files in that folder with what you see listed in Powershell
Go Deeper:
- Choose a file you want to navigate into
- Type
cd, a space, and the name of the chosen folder and hit enter - Continue exploring your computer’s files
- Close your Terminal/Powershell when you are done
Learning to Love the Text Editor
You can think of your text editor, like the free tool Visual Studio Code, as a supplement to Microsoft Word. A text editor is used to create, change, or edit plain-text files. The beauty of plain-text files is that they do not require proprietary software. Therefore, content is written in a way where, should certain technology go obsolete, your content will remain stable and accessible. The text editor is your primary interface for working on your Quire project, so getting comfortable with it is essential. It is especially important to familiarize yourself with Markdown, the format used for your project’s more narrative/textual content.
What is Markdown?
Markdown might seem strange initially, but it is a very approachable language that uses simple character combinations to indicate structure and add formatting elements (headings, bulleted lists, URLs). Rather than using buttons to format the appearance of your text, as you would in Microsoft Word, you are using symbols instead. Quire then does the heavy lifting and converts those symbols into HTML for you. For example, something surrounded by asterisks in Markdown turns into italics in the final publication: *emphasis* = emphasis.
What are the benefits of using Markdown?
Markdown was designed for readability and is not heavily marked up with tags like other coding languages.
A list written in HTML:
<h2>An Unordered HTML List</h2>

<ul>
  <li>Coffee</li>
  <li>Tea</li>
  <li>Milk</li>
</ul>
The same list written in Markdown:
## An Unordered HTML List

- Coffee
- Tea
- Milk
The fact that Markdown is a human-readable format makes it very easy to edit and it also helps preserve the longevity of your content.
Try it Yourself
Mac:
- Open Visual Studio Code
- Go to File and select “New File”
- Title the file
test.mdand save it to your Desktop - In the file, type “- Hi my name is [your name]”
- Type “- Hi my name is [your name]” a second time and this time put two asterisks on either side of
**your name** - Press Command+Shift+V to preview the HTML version
- Press Command+\ to create a split screen and drag one tab over to the right side to view a side-by-side comparison
PC:
- Open Visual Studio Code
- Go to File and select “New File”
- Title the file
test.mdand save it to your Desktop - In the file, type “- Hi my name is [your name]”
- Type “- Hi my name is [your name]” a second time and this time put two asterisks on either side of
**your name** - Press Control+Shift+V to preview the HTML version
- Press Control+\ to create a split screen and drag one tab over to the right side to view a side-by-side comparison
Go Deeper:
- Visit this page and play around with the different Markdown options: http://quire.getty.edu/docs-v1/fundamentals/#markdown-basics
- Close Visual Studio Code when you are done exploring
Part 2. Basic Concepts In Action
Now that you understand two of the most fundamental tools needed to use Quire, it’s time to get a new project up and running and implement these basic concepts.
Use the CLI to Start and Preview a New Quire Project
In addition to using the CLI to navigate Quire, as we explored earlier, it can also be used to tell Quire what to do, including creating a new project, previewing a project, or outputting a website, PDF, and e-book. In the steps below, we will use the CLI to create a new project with the command quire new, navigate our computer’s files into that new project folder, and then preview it.
The command quire new generates a default starter project. It is a sample publication meant to serve as a jumping off point. It serves as a useful template with images and text that can be deleted or substituted when creating your own project.
Try it Yourself
- Open your Terminal or Powershell
- Type the command
quire new my-projectand hit enter. The process may take a few minutes. The process is complete when you see your username appear below the text “installing dev dependencies into quire project.” - Type
lsto see the contents of your home directory again. This time you will notice a new folder calledmy-project - Type
cd my-projectin your Terminal/Powershell to navigate from your home directory into your new project - Type
lsto browse the project files that were installed with the commandquire new - When you are ready, make sure you are still in the
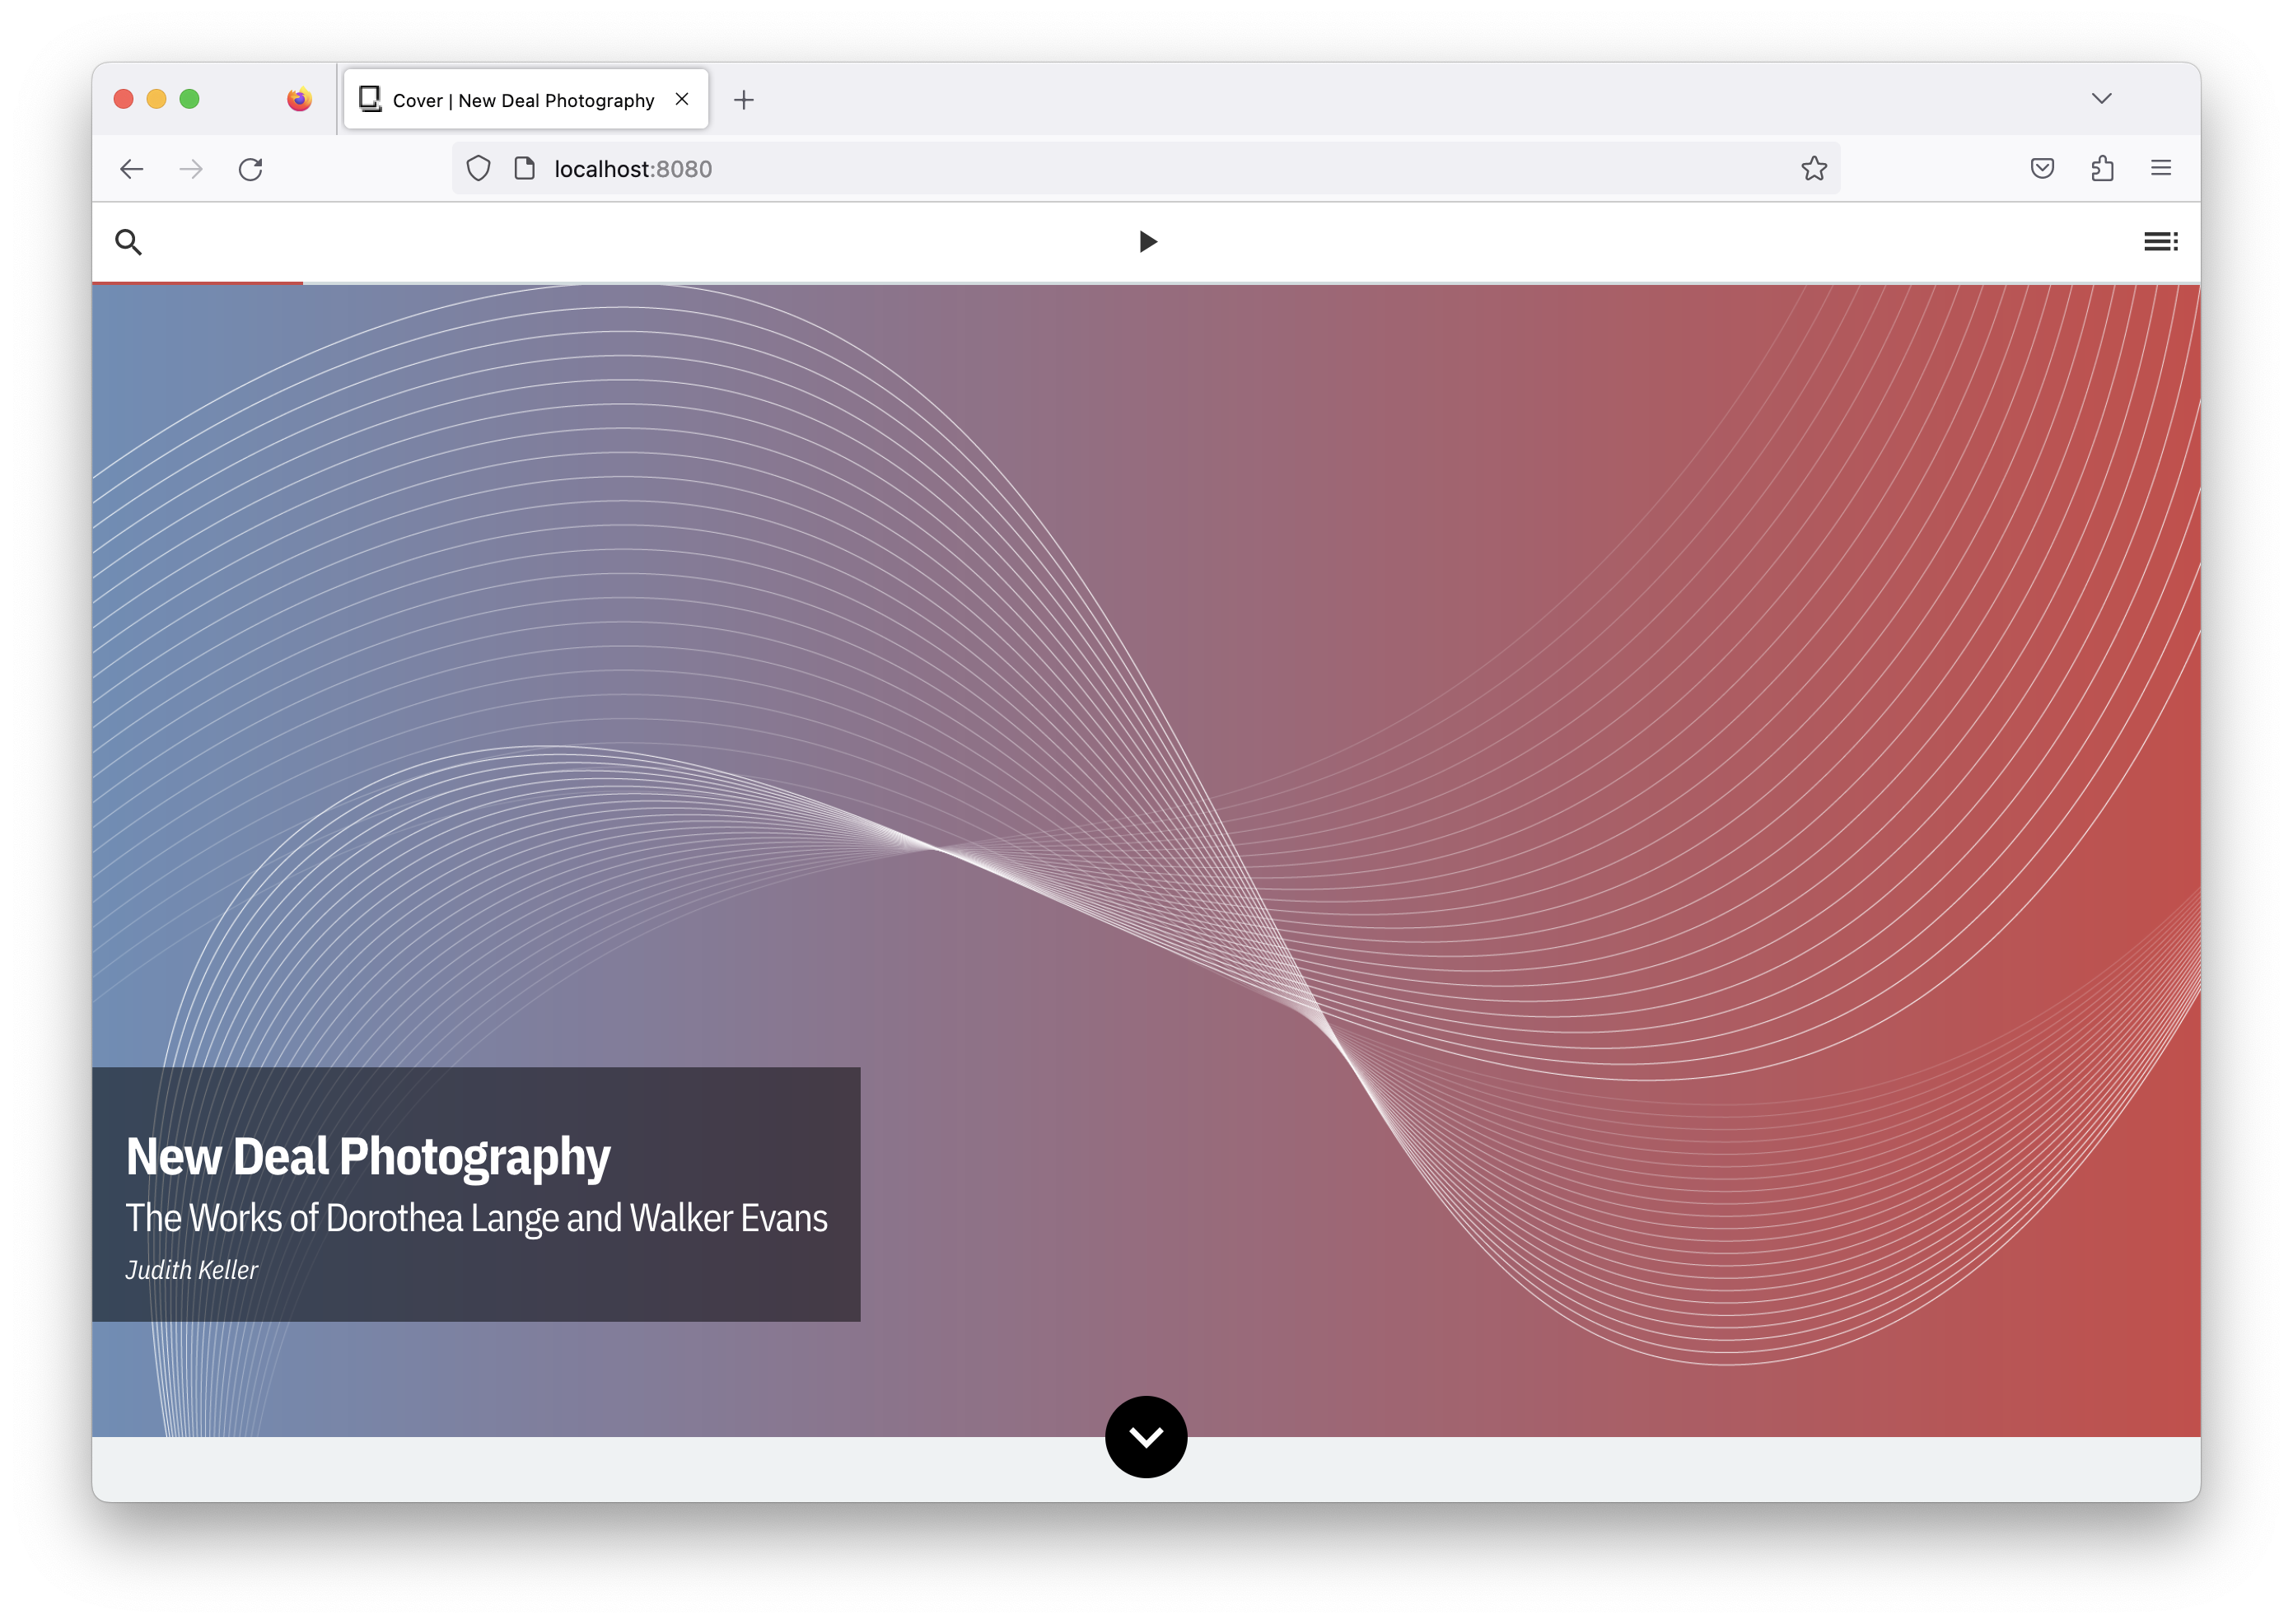
my-projectfolder and typequire previewto generate a preview website. Ignore the output in the Terminal/Powershell. Your project is ready to preview when you see http://localhost:8080/. - Cut-and-paste the URL into your browser. Ta-da! Your new project is up-and-running!
Open Your Project with Visual Studio Code
Now that you have your new project up and running, it’s time to edit it! First, we must open the project with our text editor and familiarize ourselves with the file structure.
This is what the default starter project will look like when it is first opened in your Text Editor. 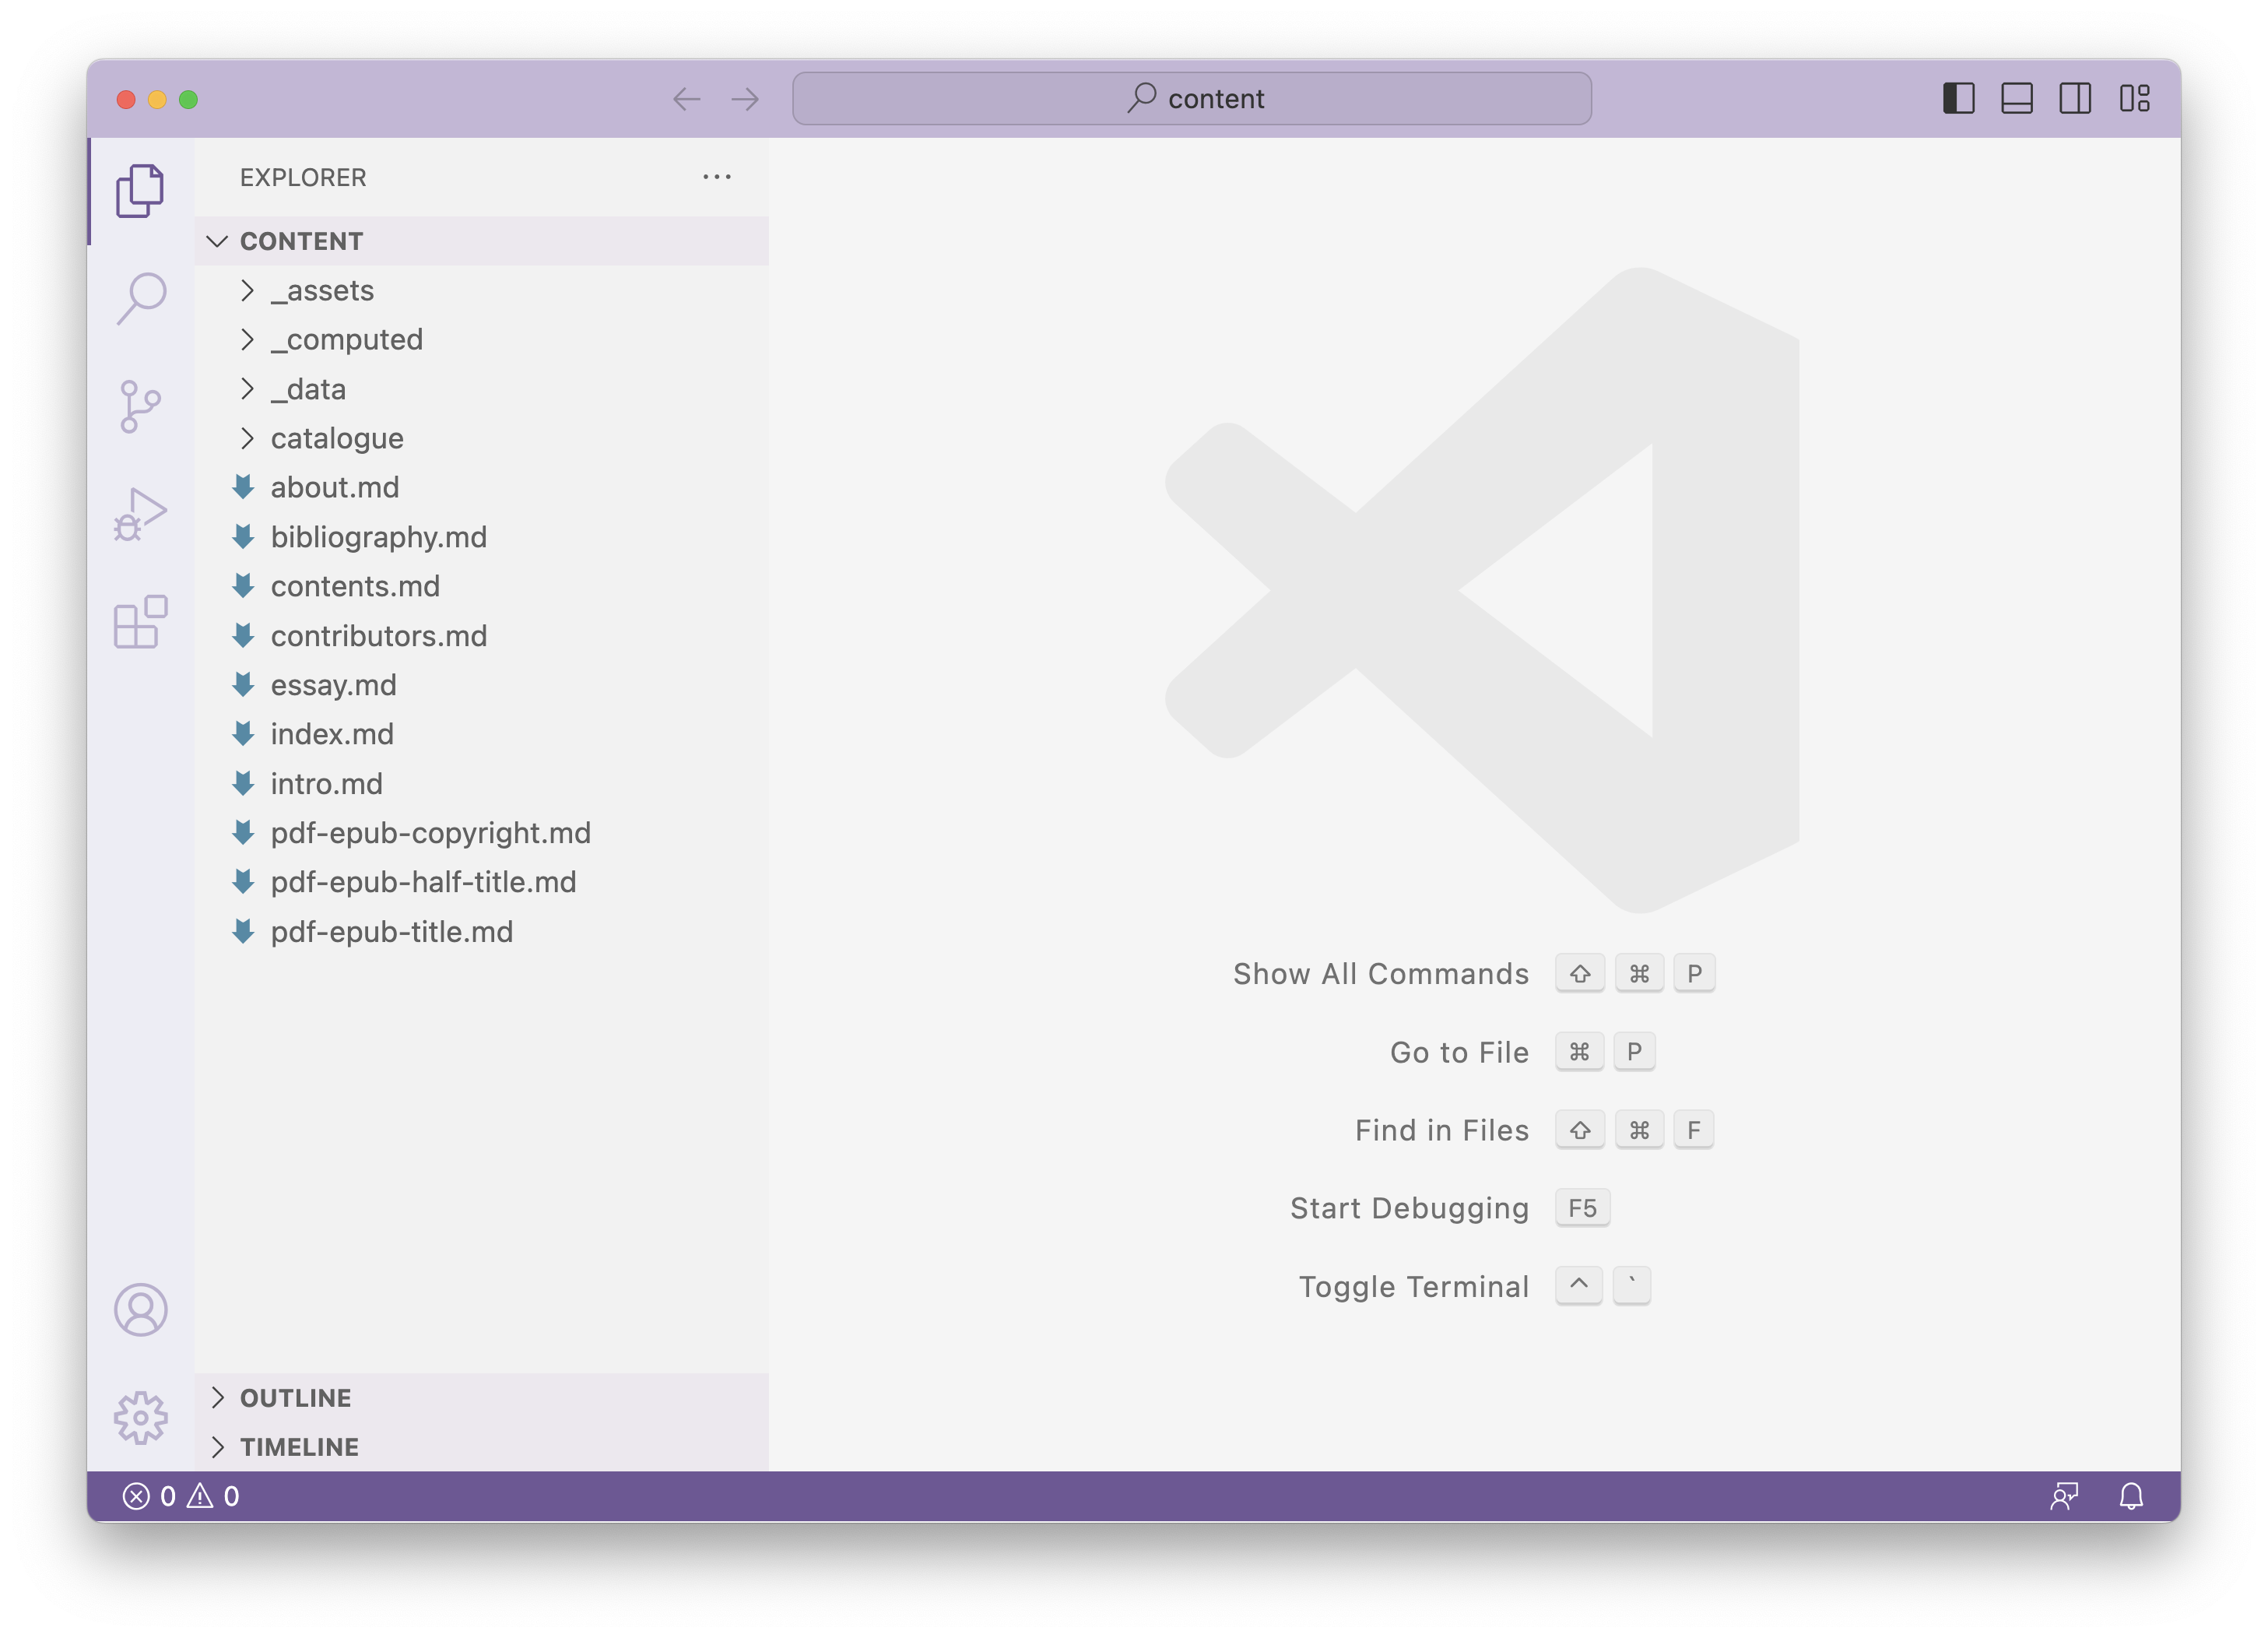
Try it Yourself
- Open Visual Studio Code
- Click File>Open Folder and then navigate to your home directory where you should see your
my-projectfolder - Select the
my-projectfolder and expand its contents - Find the
contentfolder and click the Open button - Go back to File and select Auto Save. This will come in handy later.
Navigating Files with Visual Studio Code
The content folder is where pretty much all the action takes place. The most important files/folders within content are the following:
| File/Folder | Purpose Served |
|---|---|
| Markdown files | Indicated by the .md suffix. This is where the vast majority of your content lives, with each file representing a different “page” in your publication |
_data folder | Contains YAML files. These are a plain-text way of capturing information that appears in multiple places throughout your publication like captions, chapter titles, object information, etc. |
_assets folder | Where a lot of the customization takes place. Includes things like fonts, images, and CSS/JavaScript files. |
Try it Yourself
- Take a moment to explore the various folders and files that make up your Quire project
- When ready, locate the
intro.mdfile and open it
Making Edits with Visual Studio Code
Let’s take a closer look at a Markdown file and make some simple edits based on what we learned in Part 1.
Try it Yourself
- Make any changes you would like to the Markdown of the
intro.mdfile. You can use this page of the Quire documentation as a reference: http://quire.getty.edu/docs-v1/fundamentals/#markdown-basics. - Navigate to your browser and preview the results
Part 3. Going Deeper: YAML
In addition to Markdown, YAML is the other format in which you will save content in Quire. YAML plays many roles in your Quire project, including storing important publication information like title, subtitle, authors, chapter titles, captions, references, and more.
Learning to Love YAML
What is YAML?
YAML stands for “YAML Ain’t Markup Language”. YAML’s primary purpose is to save text/content as data. When it comes to YAML, it’s all about how that information is formatted. It is always written as a data item followed by a colon, a space, and then the data item’s value.
Here is an example:
title: "My Project"
You can also use Markdown when storing information as YAML:
title: "*My Project*"
We advise always wrapping YAML values in quotations.
What are the benefits of using YAML?
YAML provides a way of capturing information that appears in multiple places throughout your project and is therefore treated like data. This prevents you from needing to write things multiple times. YAML is also considered easier to read and write than other data-specific formats, like JSON, especially for non-developers.
Page YAML
Every page of content in your Quire publication must start with a block of YAML. You can identify the YAML because it appears between a set of three dashes at the top of each .md file. The three YAML keys that must appear on every page are: title, layout, and order.
---
title:
layout:
order:
---
Let’s look at the intro.md file as an example. This is the YAML block that appears at the top of that page:
---
title: "Introduction"
subtitle: "A Tale of Two Photographers"
layout: splash
order: 10
image: figures/lange-house.jpg
---
The title is the title of the essay, the layout affects the format of the page, and order affects the page order of the publication. You can learn more about the different layout types in our documentation: https://quire.getty.edu/docs-v1/pages/#define-page-types.
As our next step, let’s rename the “Introduction”.
Try it Yourself
- Change the
titleof theintro.mdfile to anything you like - Go to your browser, and notice that the title of the essay has changed
- Navigate to the table of contents in your project and note how the title of the Introduction has changed there as well
publication.yaml
Another role YAML plays in your project is storing important metadata. This information is kept in the publication.yaml file and includes things like publication title and contributors, copyright information, BISAC codes, publisher information, etc. The data in this file is automatically included in the underlying code of every page of your project’s online edition, supporting Search Engine Optimization (SEO) and general discovery.
The publication.yaml file lives in the _data folder along with several other YAML files such as figures.yaml, objects.yaml, and references.yaml. We will look at those files a little later on. For now, our focus is just on the publication.yaml file.
Try it Yourself
- Navigate to the
_datafolder - Open the
_datafolder and find the file calledpublication.yaml - Take some time looking at the content of this file
publication.yaml Continued
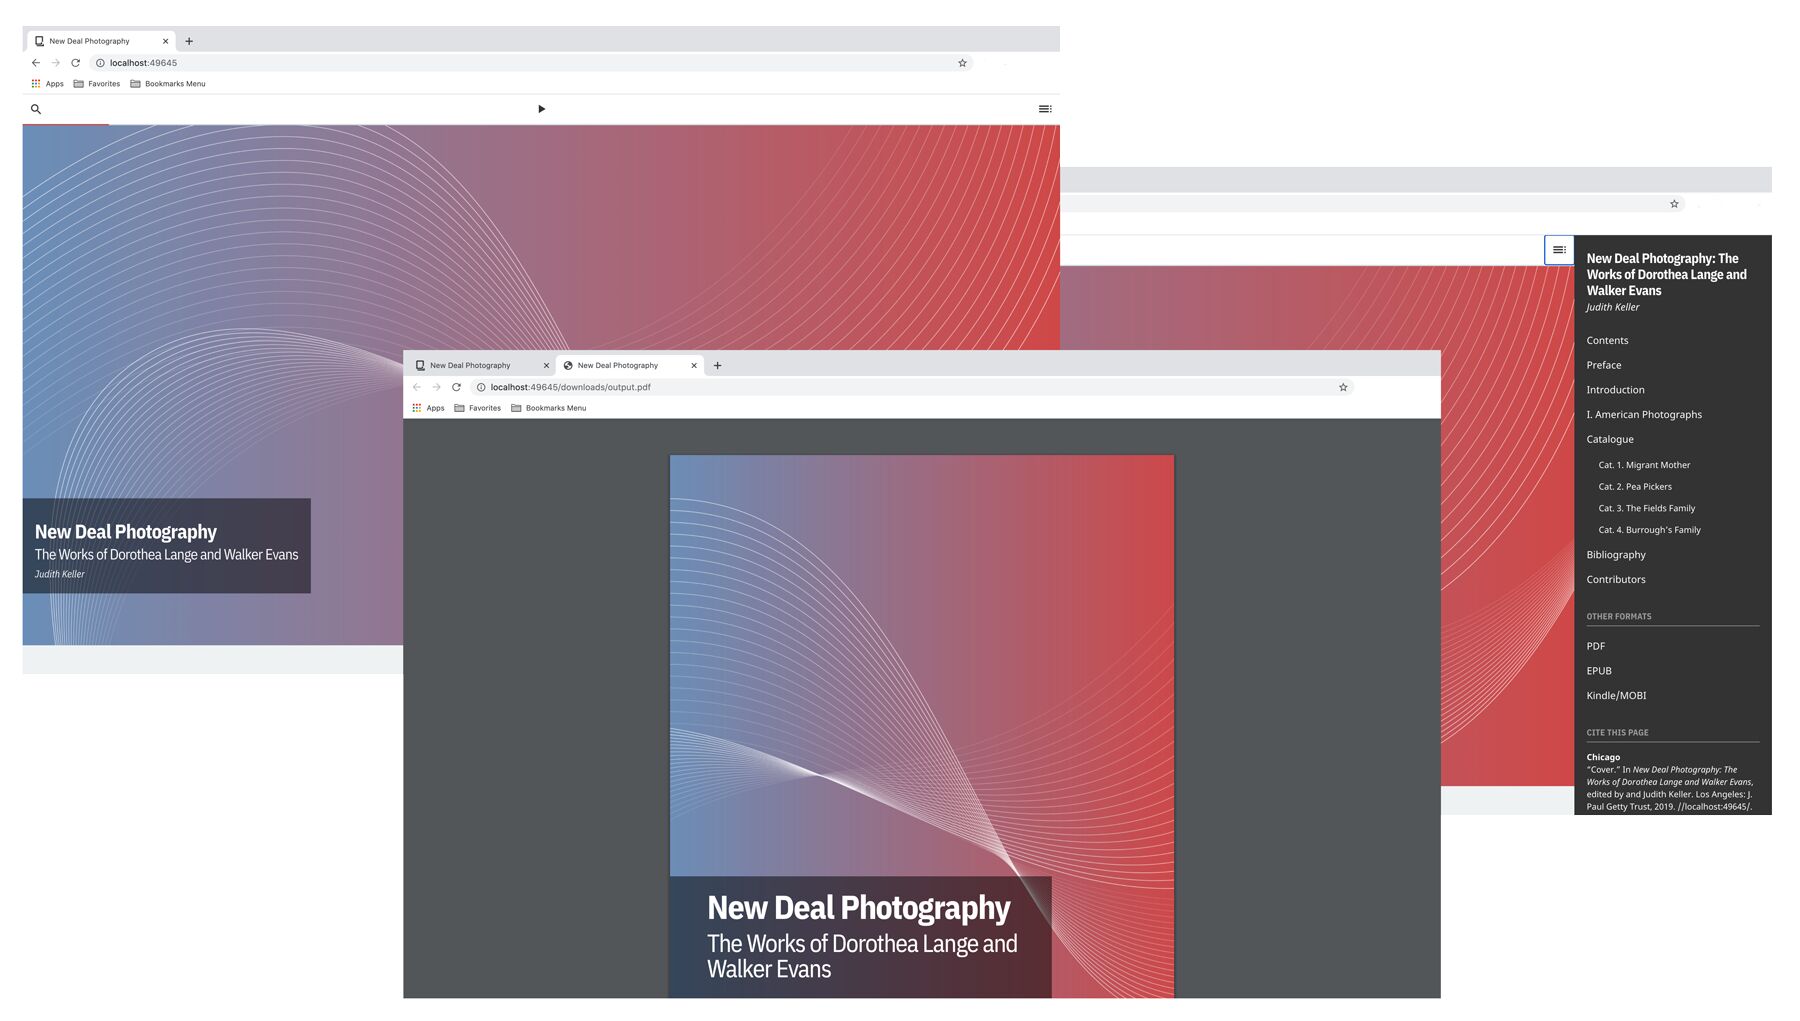
As previously mentioned, YAML stores information that is used in multiple places throughout your project. The publication.yaml file is a good example of that. For example, the only place the title of your Quire project lives is in this file, but that title is used on the project’s cover page, the sidebar menu, in the e-book and PDF version of your publication, and in metadata used for SEO and discovery.
Try it Yourself
- In the
publication.yamlfile, navigate to the# Title & Descriptionsection - Change the
titleandsubtitleto whatever you want it to be - In your CLI, press Control-C to stop the preview
- Type the command
quire previewto restart the preview - Navigate to the cover page of your project and note that the title has changed
- Open the sidebar menu and note that the title has changed there as well
When making changes to .yaml files it’s necessary to stop and restart the preview for the change to become active/visible.
Part 4. Going Deeper: Images
Now that we have changed the title of your Quire project, let’s also change the cover image.
Where images are stored
The images that comprise your Quire project live in the _assets folder in a subfolder called images.
Try it Yourself
- Navigate to the
_assetsfolder - Select the
imagesfolder - Can you locate Dorothea Lange’s famous photograph, “Migrant Mother”?
Adding new images to your project
Images can be easily added and subtracted from your Quire project. When adding new images they should be placed in the _assets/images/ folder. Once the images have been saved, there are a few ways to add them to the pages of your Quire project. The first is by including image: and the title of your image file (ending in .jpg or .png) in the page YAML.
For example:
---
title: Cover
layout: cover
order: 1
image: spiral-overlay.png
---
Try it Yourself
- Take some time to find an image that has a horizontal orientation
- Save it to the
_assets/images/folder (must be all lowercase and use dashes instead of spaces) - In Visual Studio Code, navigate to the
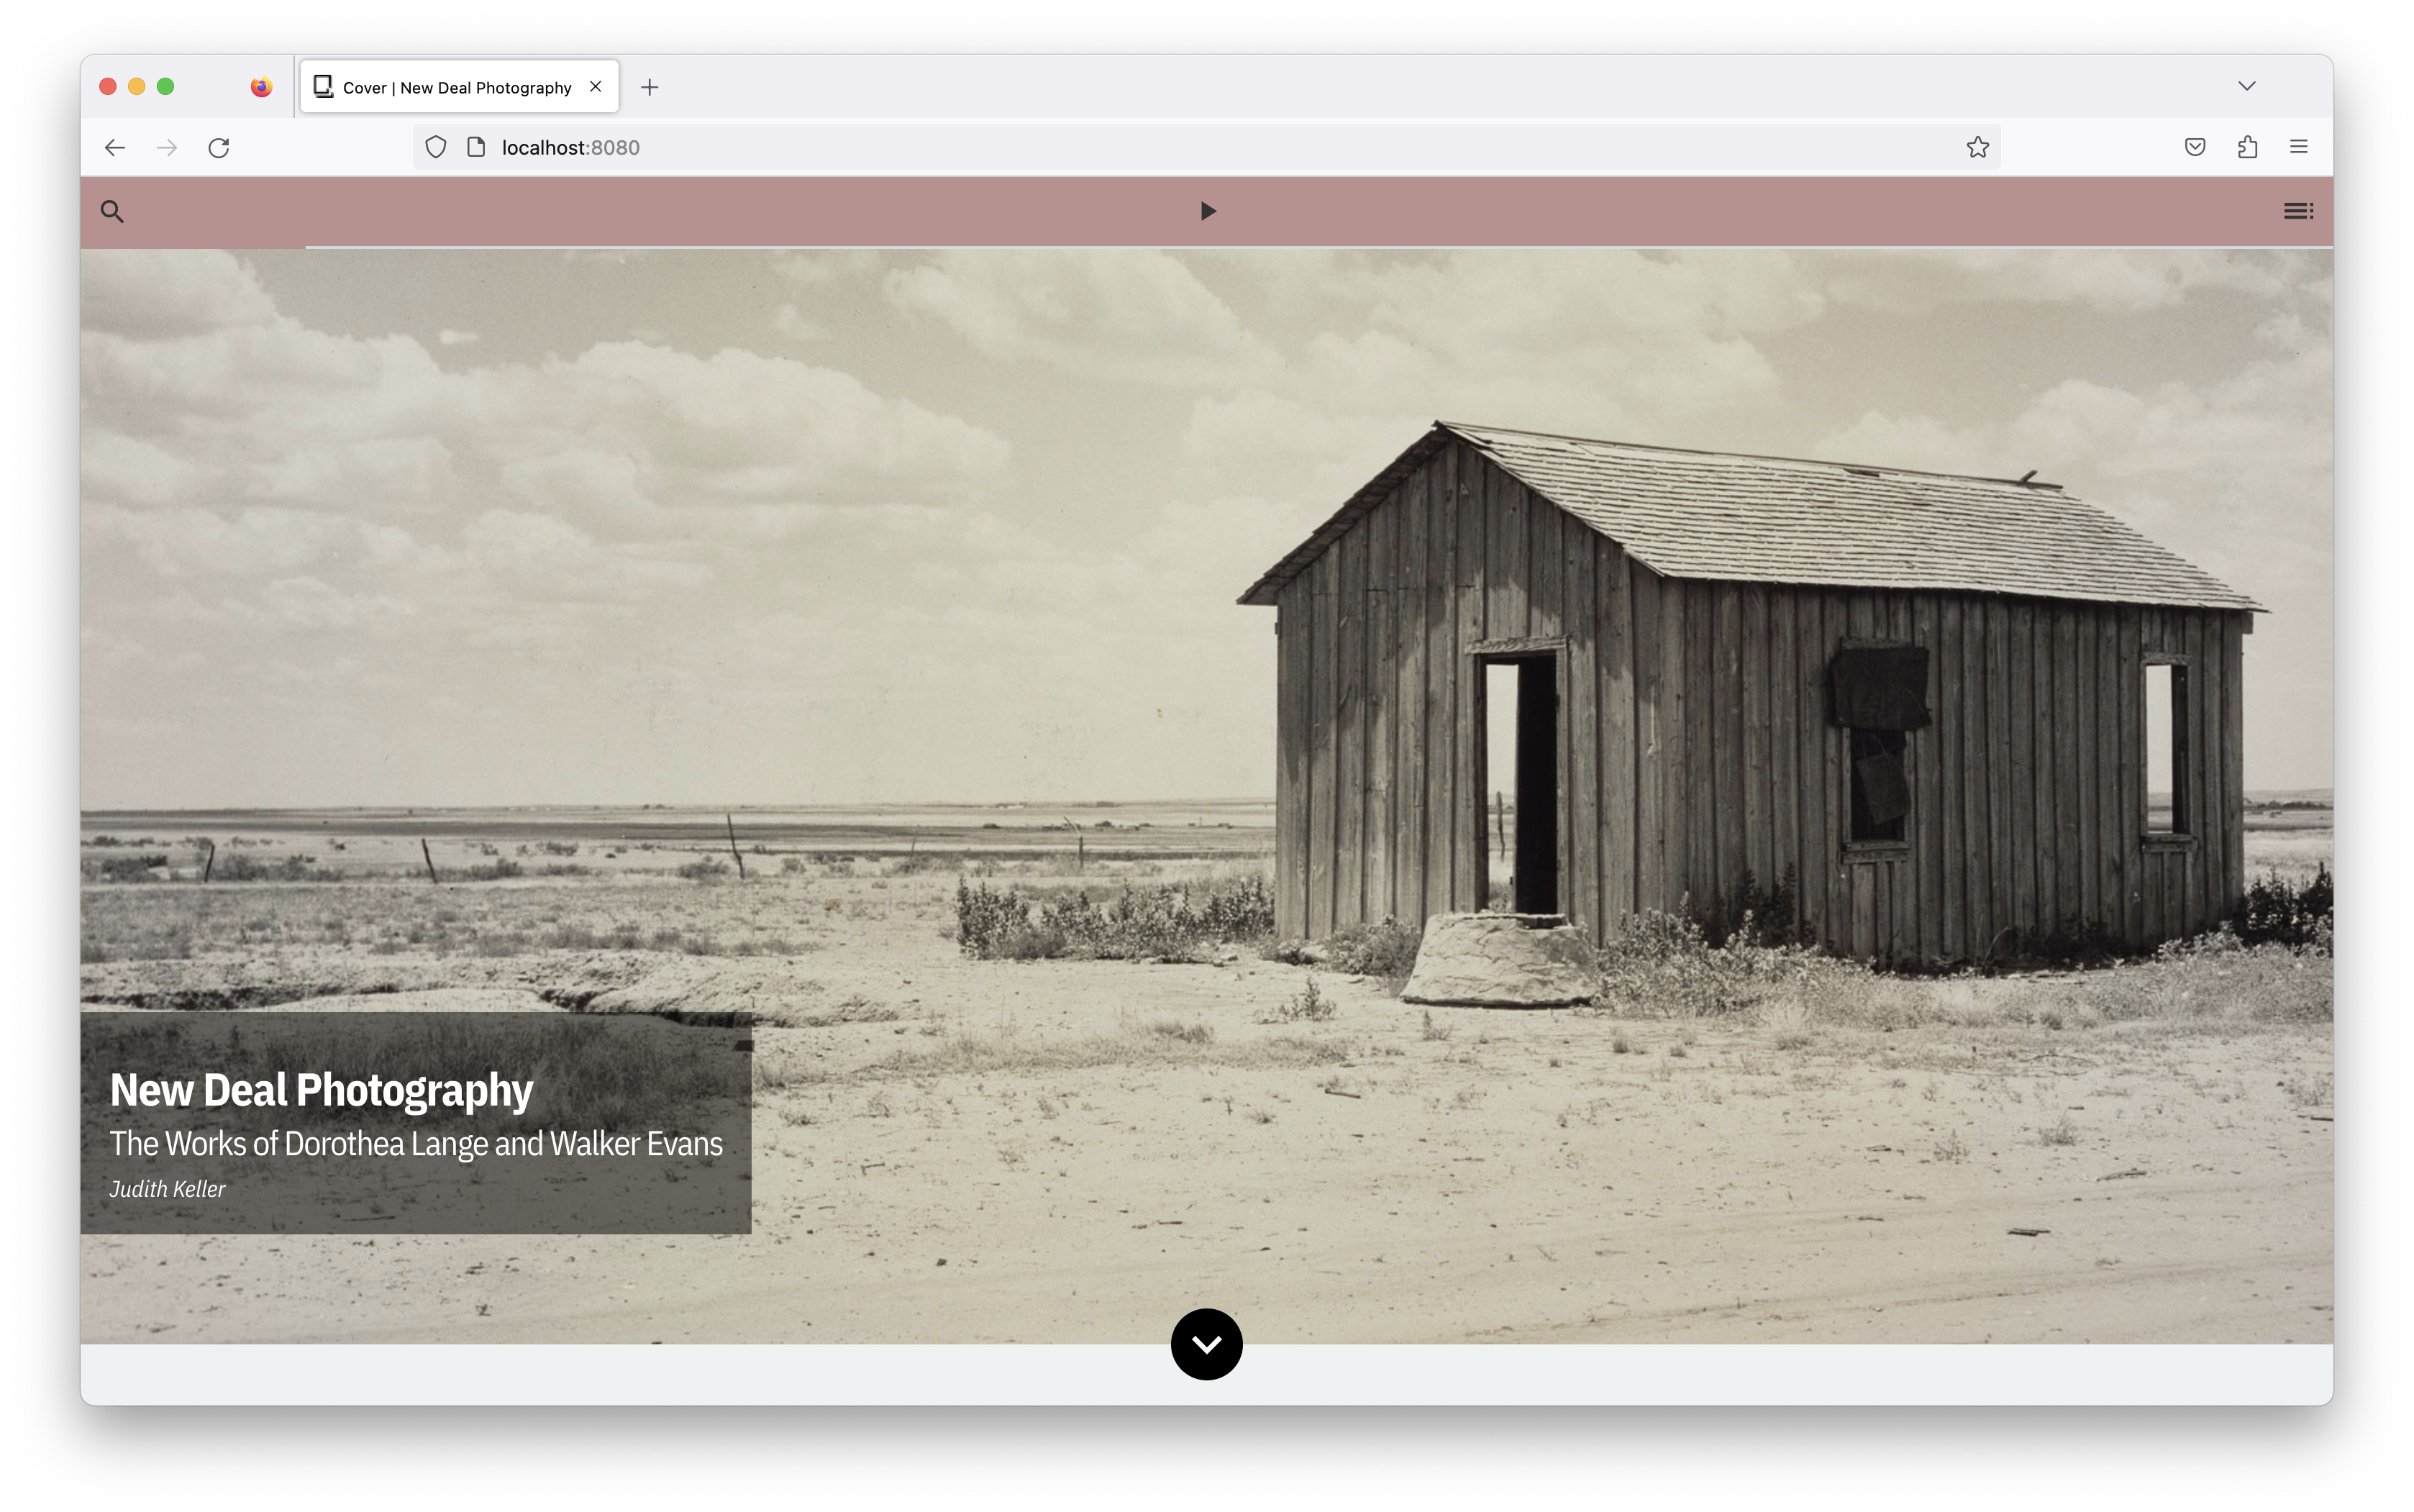
index.mdfile (this is the cover page for your project) - In the page YAML, find the
image:field, deletespiral-overlay.png, and add the name of your image file (ending in either .jpg or .png) in its place - Go to your browser and navigate to the cover page of your project. Note that in addition to the title changing, the cover image has changed too!
Part 5. Going Deeper: Shortcodes
The second way to include images in your Quire project is by using shortcodes.
Learning to Love Shortcodes
What are shortcodes?
A shortcode is a simple snippet of code inserted in a .md file that pulls in information from the _data files in your project. In Quire, shortcodes are used to insert figure images, citations, glossary terms, and more.
What are the benefits of using shortcodes?
Shortcodes save a lot of time and energy. Rather than repeating lengthy information in multiple places throughout your project, you can use a shortcode as a shortcut. A shortcode usually references an id. For example, the shortcode below is referencing a figure image that has been assigned the id fig-1 in the _data/figures.yaml file (which we will explore more closely in a minute):
{% figure 'fig-1' %}
When you insert the shortcode {% figure 'fig-1' %} into a .md file, you will automatically insert the image that has been assigned the id fig-1 into the body of the text in the exact spot where the shortcode is placed.
Here is an example of a shortcode being used in the preface.md:
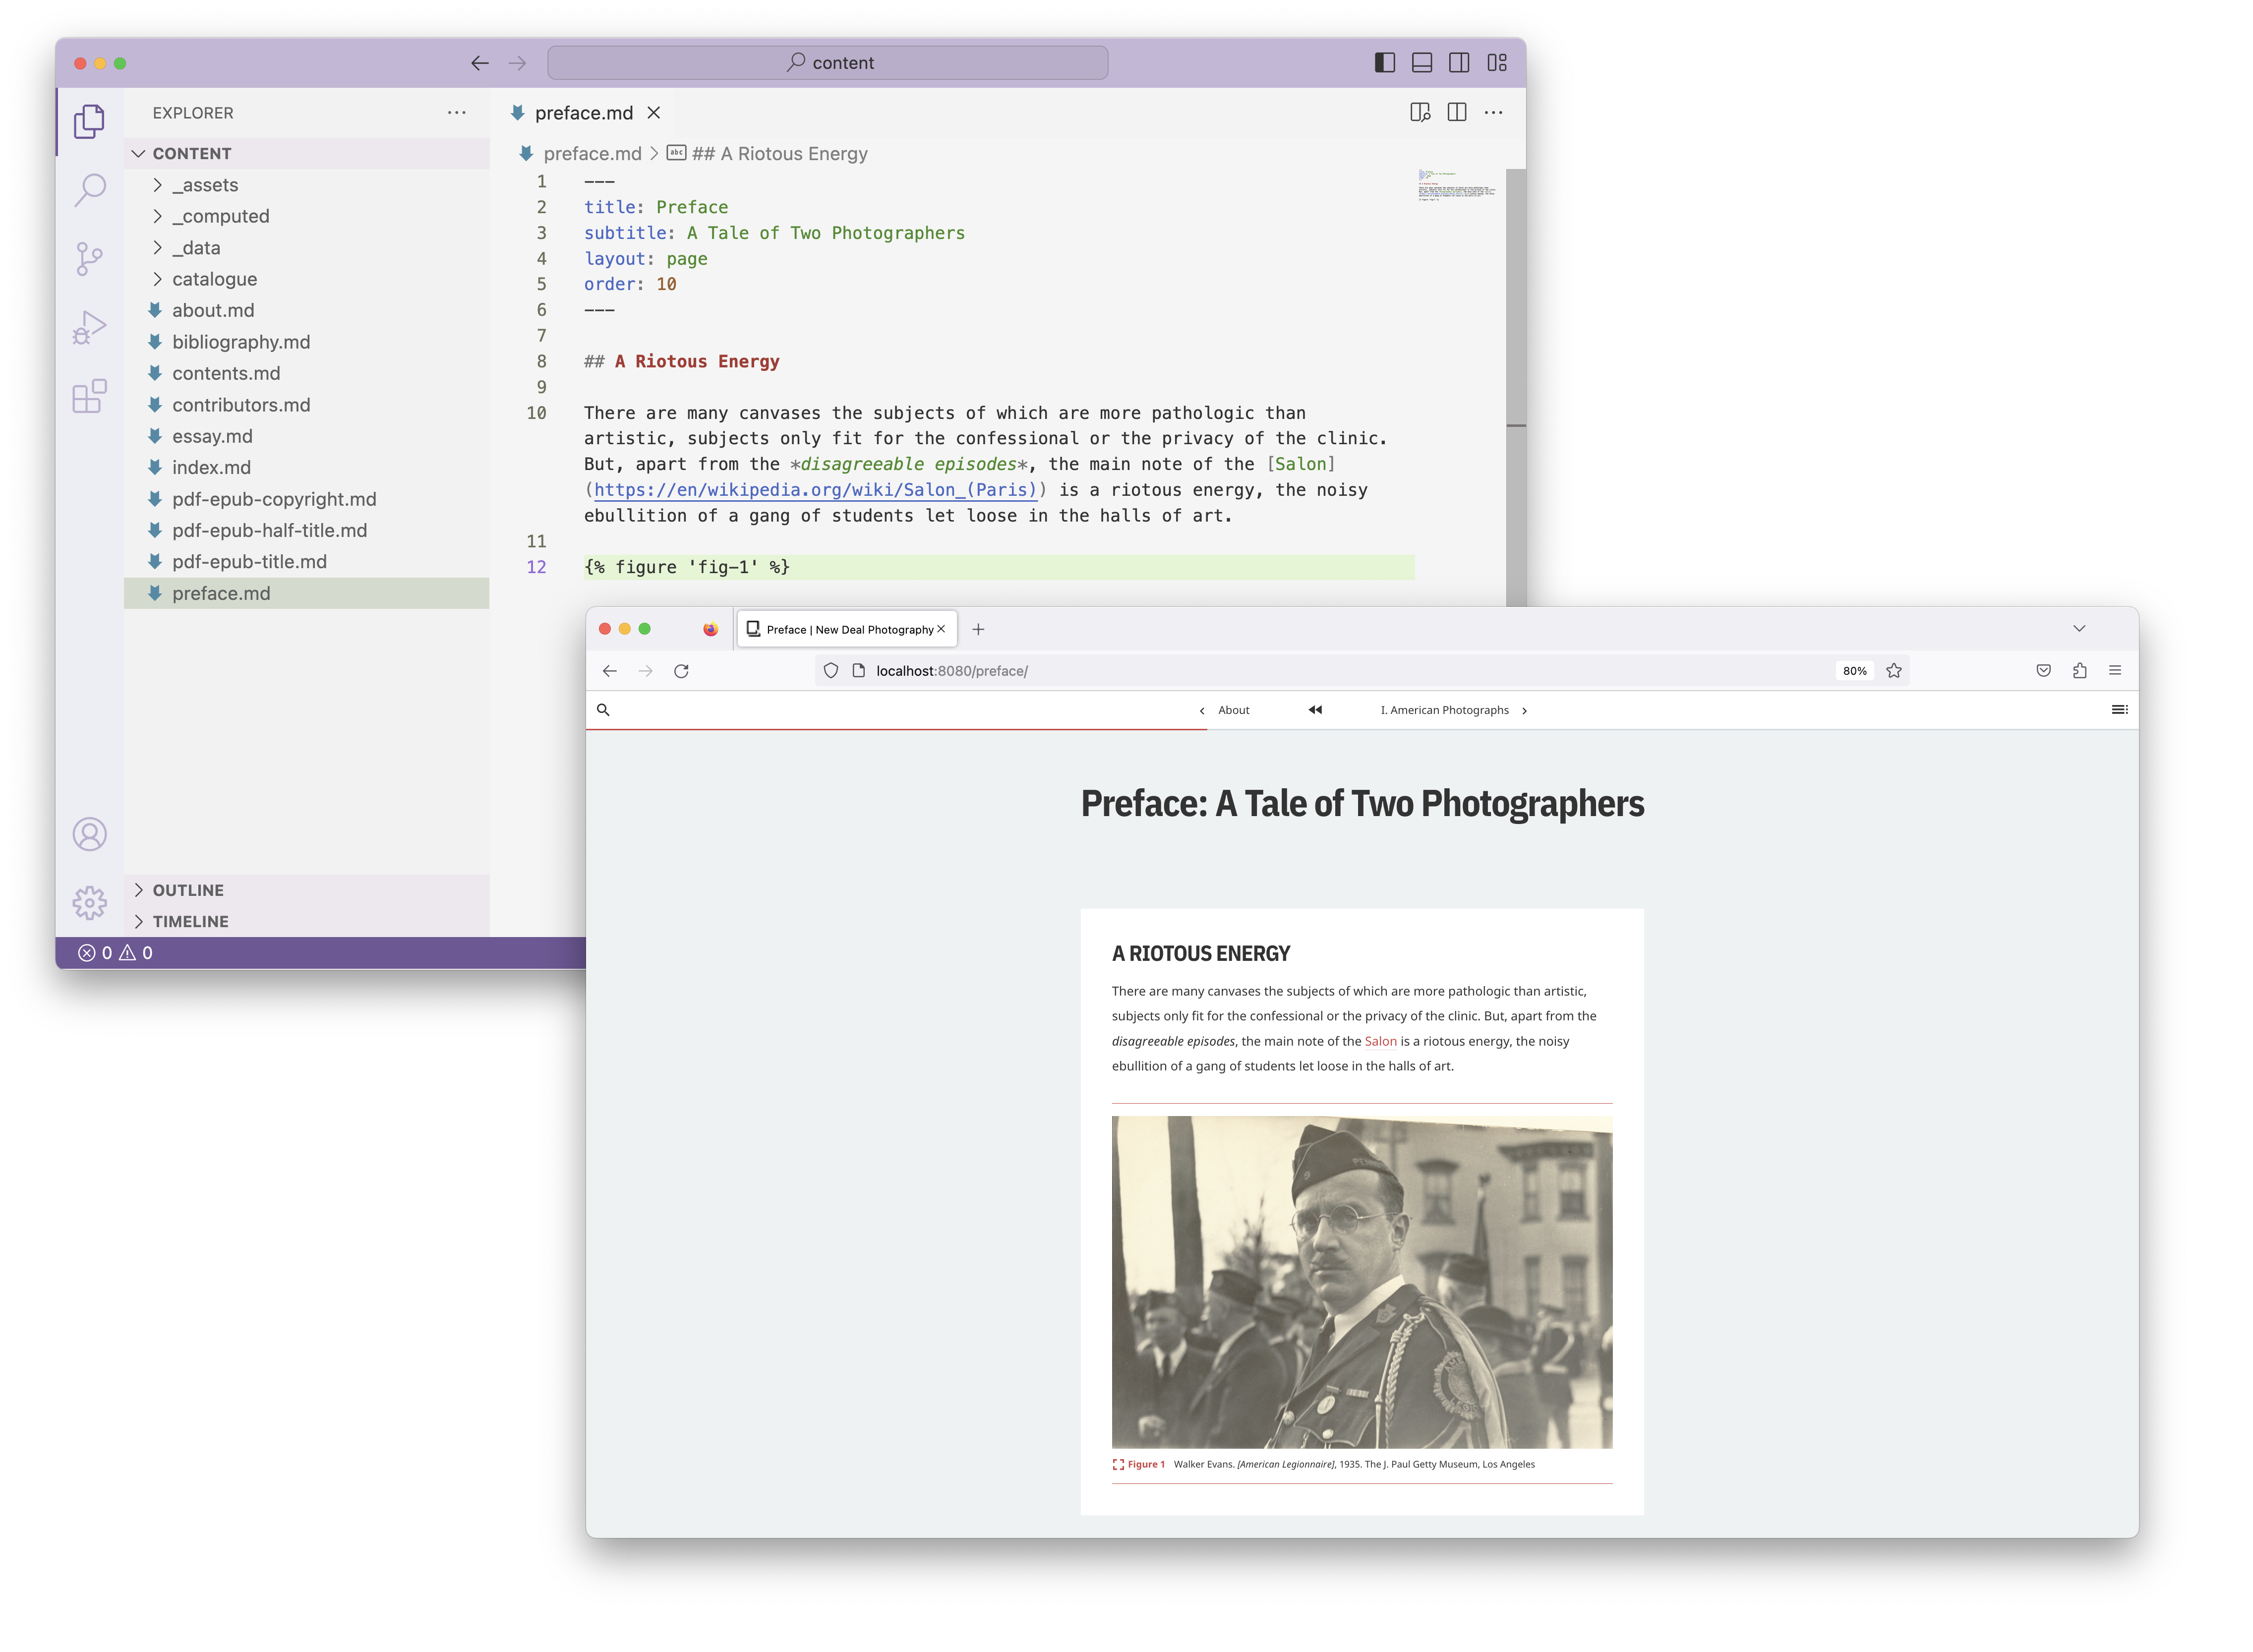
Try it Yourself
- In Visual Studio Code, navigate to the
essay.mdfile - Locate the shortcode that includes
fig-2 - Go to your browser and navigate to the essay “I. American Photographs”
- Scroll to the part of the essay that corresponds with the location of the shortcode in the
.mdfile. What do you see?
figures.yaml
Each image is assigned its own id in the figures.yaml file which is found in the _data folder. In addition to the image file, the id is also associated with the caption, credit, label, alt text, etc of an image. As mentioned earlier, the beauty of YAML is that you store information in one place and can reference it in multiple locations throughout your publication. For example, if you edit an image’s caption, rather than changing it everywhere the image appears in your publication, you only need to update it in the figures.yaml file and it will automatically update everywhere the id is used in a shortcode.
Here is an example of a figures.yaml entry:
- id: "fig-2"
  label: "Figure 2"
  src: figures/evans-sons.jpg
  caption: "Walker Evans. *Sons of the American Legion, Bethlehem, Pennsylvania*, 1935."
  credit: "The J. Paul Getty Museum, Los Angeles"
The src represents both the image file name and the path for where the image is stored in your project. In this case, the image evans-sons.jpg lives in a subfolder called figures in the main images folder. You can use subfolders to help organize your images; just be sure to include the subfolder name followed by a / in the src field. If you are not using subfolders then the src will just be the image file name (ending in .jpg or .png).
Try it Yourself
- In Visual Studio Code, navigate to the
_datafolder - Now locate the
figures.yamlfile - In the
figures.yamlfile, find the entry that corresponds with theid: fig-2 - Make an edit to the
captionfor that entry - In your CLI, press Control-C to stop the preview
- Type the command
quire previewto restart the preview - Navigate back to your browser and note how the caption has been updated
Inserting the image
Inserting a new image is a three-step process. First, save the image in the _assets/images/ folder. Next, you must create an entry for that image in the figures.yaml file and assign the image an id. Finally, decide what .md file and where within that file you want the image to appear. Then enter a shortcode that references the assigned id.
Try it Yourself
- Find any image you want and save it in the
_assets/images/folder (the file name must be all lowercase and use dashes instead of spaces) - Go to the
figures.yamlfile and create a new entry. A new entry leads off with a dash. Make sure that all text indentations are aligned with the other entries or your will receive an error when you try to preview. - Create an
idfor that image. It must be all lowercase, use dashes instead of spaces, and must start with a letter (for example,fig-15.) Then write whatever you want for the label, caption, and credit - The
srcwill be the image file name (ending in .jpg or .png) - Now go back to the
essay.mdfile, and change theidin the shortcode{% figure 'fig-2' 'is-pulled-right' %}to theidyou just created - In your CLI, press Control-C to stop the preview
- Type the command
quire previewto restart the preview - Navigate back to your browser. You should now see your new image, caption, credit, and label inserted in the text
Part 6. Going Deeper: References
YAML can also be useful when it comes to creating a bibliography or adding pop-up citations to your project. All bibliographic information for your publication is stored in the references.yaml file, which is also located in the _data/ folder.
Each entry in the references.yaml file must include the full form of the bibliographic reference and an id.
  - id: "Evans 1938"
    full: "Evans, Walker. *American Photographs*. New York: Museum of Modern Art, 1938."
As in the example above, the id would typically be the short form of the reference in an “Author Date” format. Note that unlike the figures.yaml file, the id used for references can have spaces and capital letters. The way the id is written is how it will appear in both the bibliography and clickable text for the pop-up citation.
Creating a Bibliography
In the default starter project there is a file called bibliography.md. When looking at the page YAML you’ll notice there is a special layout type of bibliography. A .md file with this layout type will automatically pull in the information found in the references.md file and sort it alphabetically.
Try it Yourself
- Open the
references.yamlfile and note the three entries listed there - Navigate to your browser and click on the “Bibliography” page to see how the references are rendered online
Inserting pop-up citations
Similar to inserting images with shortcodes, you can also use a shortcode to insert pop-up citations. This is an example of what a citation shortcode looks like:
{% cite 'Evans 1938' %}
When the shortcode is added to a .md file, the same text that is used as the id appears underlined, indicating that it can be clicked on. When you click on the underlined text, the content stored in the full portion of the YAML entry appears.
In addition to adding the reference information as a pop-up citation, it will also appear as an entry in a page-level bibliography.
Try it Yourself
- Open the
essay.mdfile and find an example of a cite shortcode - Navigate to your browser and see how that pop-up citation is rendered online
- Scroll down to the bottom of the essay and note the corresponding page-level bibliography
Go Deeper
- Back in the
references.yamlfile, create a new entry including thefullversion of the citation, and assign anidwritten in “Author Date” format (for example: “Evans 1938”) - Navigate to the
essay.mdfile and choose a place where you want to insert the pop-up citation - Add the citation using the shortcode:
{% cite 'id' %}, replacingidwith the one you just created in thereferences.yaml - Stop and restart your preview
- Go to your browser and find both the pop-up citation and the addition to the page-level bibliography in the essay. You can also navigate to the “Bibliography” and note that the new reference has been added there as well.
Part 7. Going Deeper: Customization
There are several ways to customize your Quire project with varying degrees of difficulty.
To make Quire approachable to everyone, regardless of technical experience, we’ve added built-in style variables that allow for relatively easy customizations.
Learning to Love Style Variables
What are style variables?
Variables are essentially a list of built-in options for making style customizations. You can use them to control things like text and background colors, specific element sizes, fonts, paragraph indents, PDF margins, and more.
What are the benefits of using style variables?
While the style variables have a limited range of customizations you can make, they still give you a lot of flexibility when it comes to changing the look and feel of your project without needing to learn CSS/HTML or going deeper into the code and stylesheets.
Editing Style Variables
The style variables are located in the _assets folder, in a subfolder called styles. There, you will find a file called variables.scss.
Variables are prefixed with a dollar sign and are descriptive of what they control. For instance, $content-background-color changes the background color of the main content area. The following variable would make the background color appear light grey:
$content-background-color: LightGrey;
Here is a list of the variables defined in Quire and what they control: https://quire.getty.edu/docs-v1/variables/#defined-variables.
Here is an example of a customization (the addition of rosy pink at the top of the page) made to the default starter project using the style variables:
Try it Yourself
Navigate to
_assets/styles/variables.scssMake the following changes:
- Change
$accent-colorfromnulltodarkred - Change the
$themefrommoderntoclassic - Change
$navbarfromnormaltoaccent
- Change
Navigate back to your project. What do you notice has changed?
Go Deeper:
- Check out this list of potential color choices: https://www.w3schools.com/cssref/css_colors.php
- Continue to play around with the variables until you find a color combination that you like!
Learning to Love CSS
Another way to customize your Quire project is through custom CSS. This is a more involved process than using the variables.scss file, but you have both more precise and broader control of changes across your project.
What is CSS?
CSS stands for “Cascading Style Sheets”. It is a language used to define styles and layouts for webpages written in HTML. While HTML describes the contents of a page, CSS controls the style and formatting of the elements on the page.
What is the benefit of using CSS
CSS saves a lot of time because you can apply rules across a website by just editing one file (custom.css).
Creating Custom Classes with CSS
While CSS can be used to apply changes across an entire website. There is another, more pinpointed, way to use CSS through the creation of custom classes. Say, for example, you wanted to make either a word or entire block of text appear purple. You would do that by first creating a new class called purple-text in the _assets/styles/custom.css file and then applying that new class to either a specific block of text or specific words through the use of the <div> and <span> HTML tags.
Note: you can name a class whatever you like. For the sake of simplicity, we are calling the class that will change text to the color purple purple-text.
Try it Yourself
- Assign a custom class by navigating to the
_assets/styles/custom.css - Add the following custom class to that file
.purple-text {
  color: purple;
}
The <span> Tag
Now that you have created the new purple-text class, let’s apply it to a specific word with the HTML tag. This tag is used when you want to customize in-line elements.
Try it Yourself
- In the
essay.mdfile, write the sentence “This word should appear purple”. - Before the word “purple” write
<span class="purple-text">(this is the opening tag) and after the word “purple” write</span>(this is the closing tag). - Preview your project and note the word “purple” now appears purple.
The <div> Tag
In addition to targeting a single word with the tag, you can also make changes to an entire block of text. You would do this with the <div> tag.
Try it Yourself
- In the
essay.mdfile, write the sentence “This entire sentence should appear purple” anywhere on the page. - Above the sentence write
<div class="purple-text">(this is the opening tag) and below the sentence write</div>(this is the closing tag). - Preview your project and, voila, the entire sentence should now be purple.
Go Deeper
- In
_assets/styles/custom.ssfile add the following CSS to create a new class that will center text on the page.
.centered-text {
  text-align: center;
}
- Change the
classin the<div>tag to readcentered-text. - Preview your project and note that the sentence “This entire sentence should appear purple” is now centered on the page.
Overriding Styles with Custom CSS
In addition to creating custom classes in the custom.css file and applying them with HTML tags, you can also override existing styles in a broader sense. One of the most common requests we get for help with custom CSS is hiding the title and subtitle from the cover page of your project, as in this example from the Leventhal Map & Education Center: https://www.leventhalmap.org/digital-exhibitions/terrains-of-independence/. Please follow the steps below to achieve this.
Try it Yourself
- Navigate to your project’s
_assets/styles/custom.cssfile. - Cut and paste the lines of CSS listed below into the
custom.cssfile.
.quire-cover__hero-body {
    clip: rect(0 0 0 0);
    clip-path: inset(50%);
    height: 1px;
    overflow: hidden;
    position: absolute;
    white-space: nowrap;
    width: 1px;
  }
- Refresh your project and navigate to your cover page to confirm the custom CSS worked correctly.
Next Steps
You can continue reinforcing the concepts above by creating a new page in your Quire project, adding text and images, and a pop-up citation.
Try it Yourself
- In Visual Studio Code, create a new
.mdfile by right clicking thecontentfolder and choosing “New File”. The file name should be all lowercase with dashes instead of spaces and should end in.md. - Add a YAML block to the top of the page, including
title,layout, andorder. You cannot repeat anordernumber that has already been used in another.mdfile. Don’t forget to include three dashes both above and below the YAML block. - Add content below the YAML block written in Markdown
- Add a new image to the project in the
_assets/images/folder - Add a
figures.yamlentry for that image. Start with a dash and make sure the indents are aligned with the entries above it. Include anid,caption,credit,label, and include the image file name forsrc. - Use the
{% figure %}shortcode to insert that image into the.mdfile you just created by including theidyou assigned it in thefigures.yamlfile - Add a new entry in the
references.yamlfile. Include both anid(written in “Author Date” format) and a value forfull - Use the
{% cite %}shortcode to insert the pop-up citation into the.mdfile by including theidyou assigned it in thereferences.yamlfile - In your CLI, press Control-C to stop the preview
- Type the command
quire previewto restart the preview
If you get stuck at any point, please refer to the Quire documentation for assistance.